12 Ways to Edge Your Garden (Without Breaking the Bank)

My garden looked messy for years before I figured out the real problem. Mulch spilled onto the lawn. Grass crept into my flower beds. Nothing had a clean line.
A simple border fixed all of it, and I wish I’d tried it sooner. These 12 garden border edging ideas cover every budget and skill level, so grab your gloves and let’s get your garden looking sharp.
Why Is Garden Edging Necessary?
Let me ask you something. Have you ever mowed your lawn and accidentally shredded half your flower bed? I have, more times than I want to admit. That’s exactly why edging matters so much.
Grass doesn’t respect boundaries. It creeps into beds, chokes out your plants, and undoes weeks of hard work. Weeds sneak in the same way, and mulch just walks off into your lawn every time it rains.
A good border stops all of that. It draws a clear line your mower can follow safely. It keeps soil, mulch, and gravel exactly where you put them. Your plants get protected from foot traffic too, which matters more than you’d think.
Honestly, edging is the difference between a garden that looks planned and one that looks like it’s fighting itself. I learned that the hard way, and I don’t want you to.
14 Modern Garden Border Edging Ideas on a Budget
1. Hand-Edging: The Free Fix
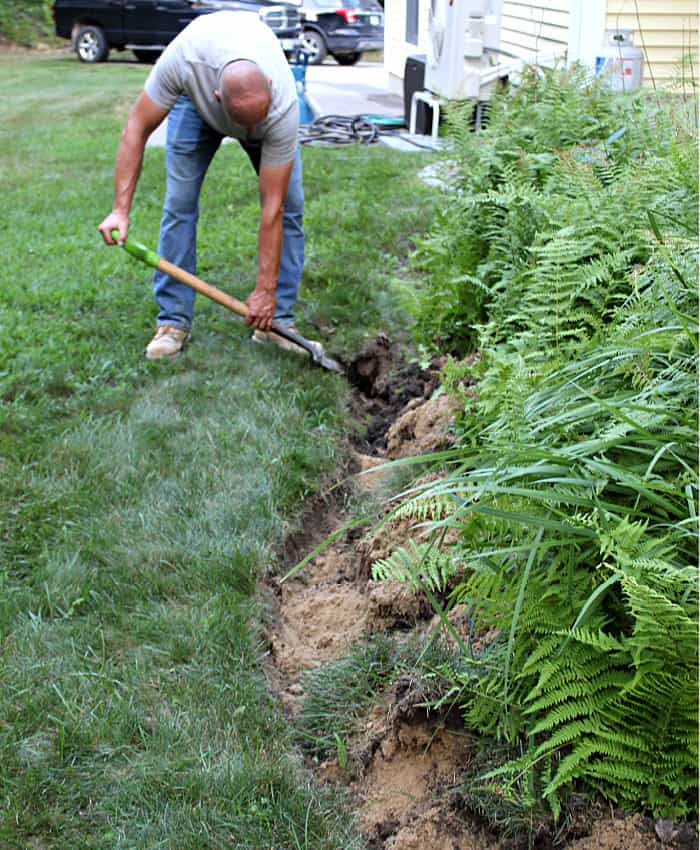
Cash isn’t required for this one. Grab a flat spade or a half-moon edger and cut straight into the soil where your lawn meets the bed.
Sink it 4 to 6 inches deep for a clean, defined line. Sharp tools make this job so much easier.
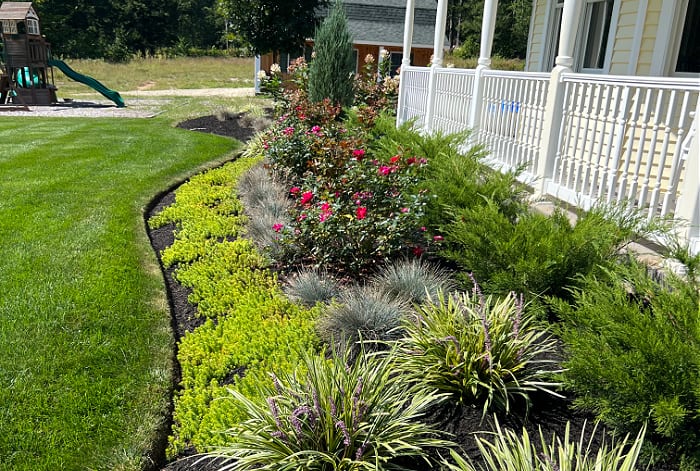
Curved beds work great with this method too. Just lay a garden hose along the ground to map your curve before you cut. Leave that hose overnight if you can. Fresh eyes in the morning help you catch any wobbly spots.
My only warning here involves tree roots. Never cut close to a mature tree, since you risk damaging roots that keep it healthy. Everything else in your yard is fair game.
Also read: 15 Dreamy Garden Border Plants That Define Edges
2. Plastic Edging Strips
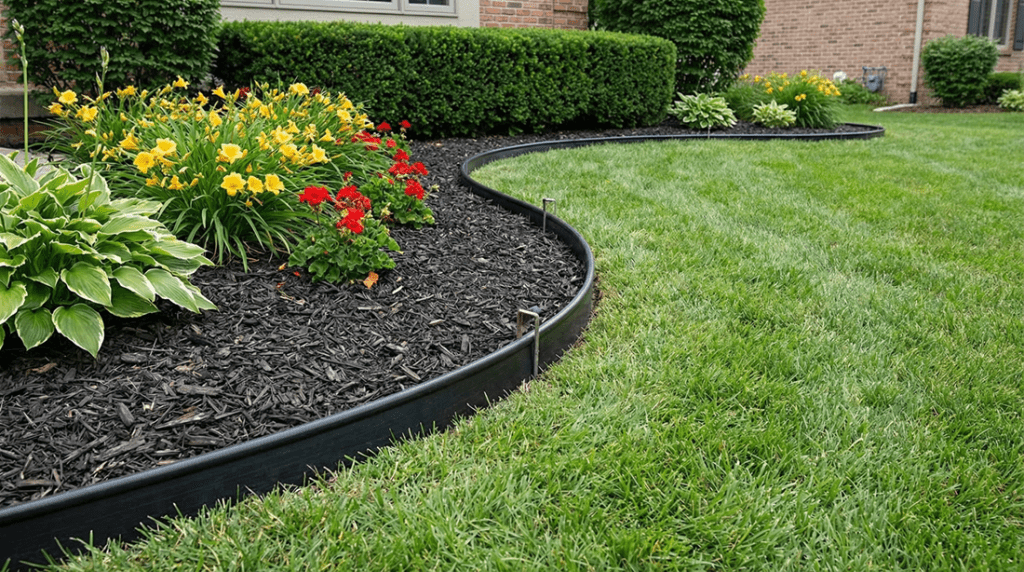
Budget matters to most of us, and plastic strips deliver real value. Rolls of this stuff bend into nearly any shape you need. Curves, corners, and long straight runs all work fine.
Digging a shallow trench comes first. Slide the plastic strip into that trench, then backfill both sides with soil, mulch, or grass seed. Nobody will even notice the edging once everything fills in around it.
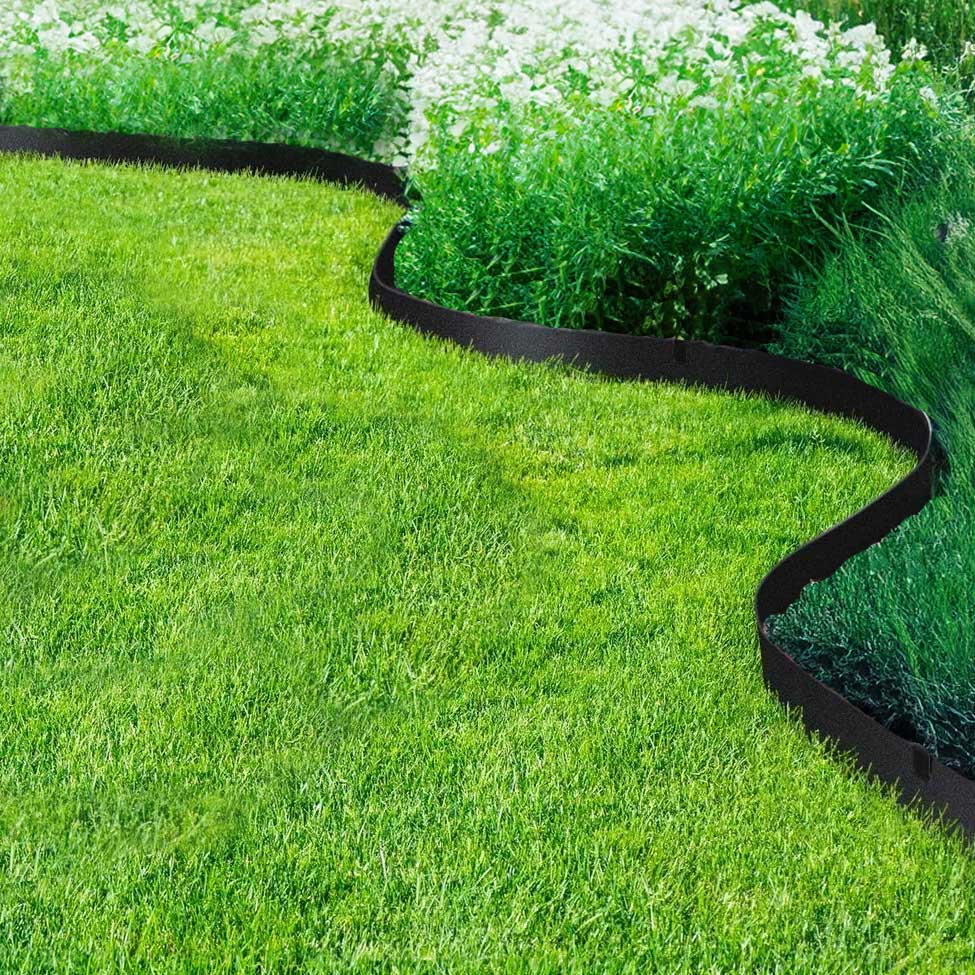
Durability sits at the top of this material’s strengths. Rain, sun, and years of mowing barely touch it. That said, thinner rolls can crack in extreme cold, so check the thickness before you buy.
3. Pound-In Plastic Edging
Small panels separate this style from the rolled plastic above. Each piece gets hammered straight into the ground using a rubber mallet, and the whole project moves fast. Tight corners and odd angles become simple to handle.
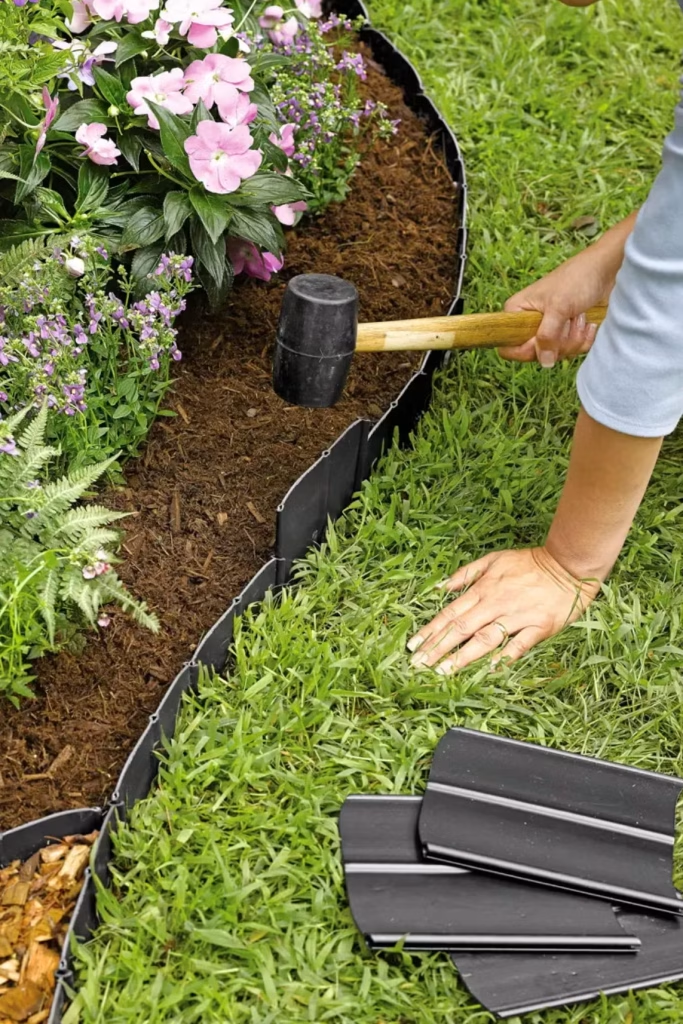
Frost can push these panels upward over a cold winter. Don’t panic if that happens to yours. A quick tap with the mallet each spring pushes everything back into place.
Would I pick this over hand-edging? Honestly, it depends on how firm a barrier you want.
Pound-in edging holds a stronger line against grass runners than a plain cut edge does, which matters if your lawn grass spreads aggressively.
4. Metal Garden Edging
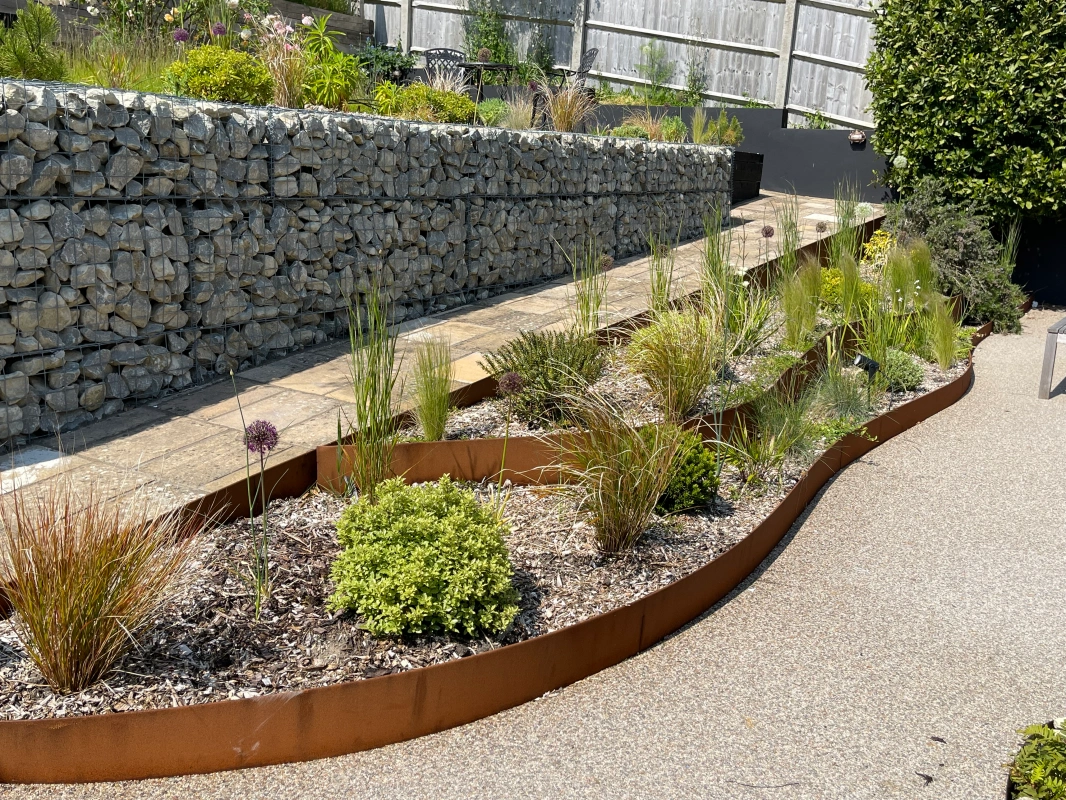
Metal edging gives you a firm, flexible border that holds its shape for years. You just pound it into the ground with a mallet, and it stays put. Most yards can handle this material without any trouble.
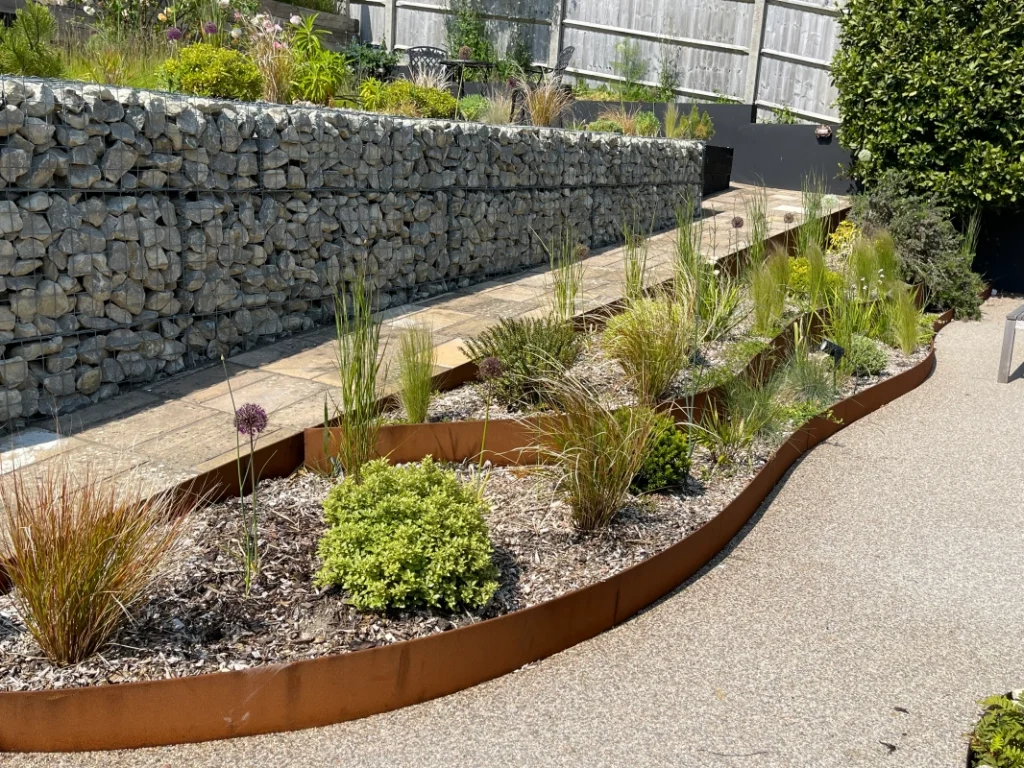
Two finishes exist here, and each ages differently. Powder-coated steel keeps its original color for a long time. Corrosion-resistant steel darkens into a rich patina over the years, and I actually love that weathered look.
Do you want a modern edge or something more rustic? Metal handles both looks well. It just depends on which finish you pick.
5. Wrought-Iron Edging
Wrought-iron edging brings old-world charm to any garden bed. Small linked pieces, usually six to twelve inches each, connect together into one long border. Stakes at the base anchor everything firmly into the soil.
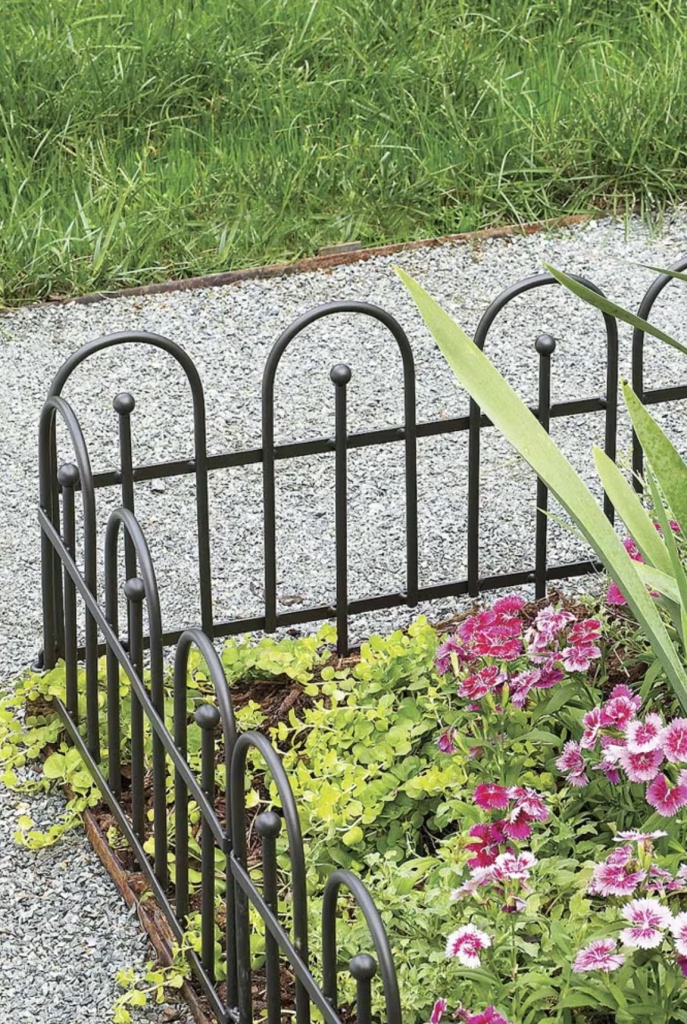
I think this style suits cottage gardens best. The decorative curves and points add real personality. Your flower beds get a vintage touch without much installation effort.
Installation stays simple here. You just push the stakes into soft ground, and the pieces lock together on their own. No tools are required for most setups.
6. Brick Edging
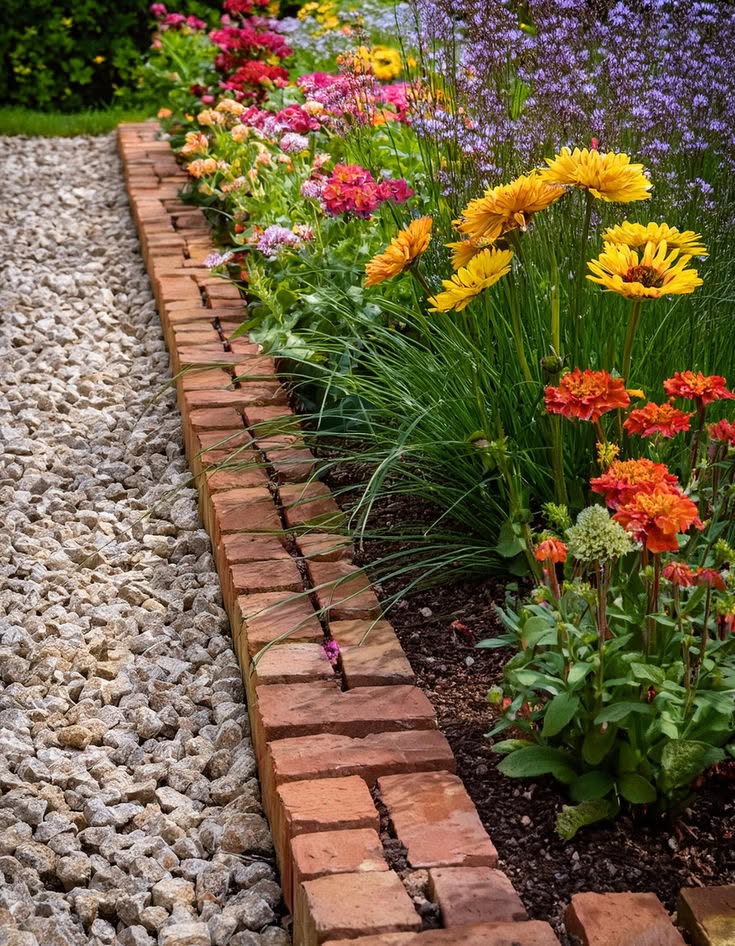
Brick never goes out of style, and I mean that. You can lay bricks flat for a low profile, or stack them for extra height. Either way, you get a classic look that matches almost any home.
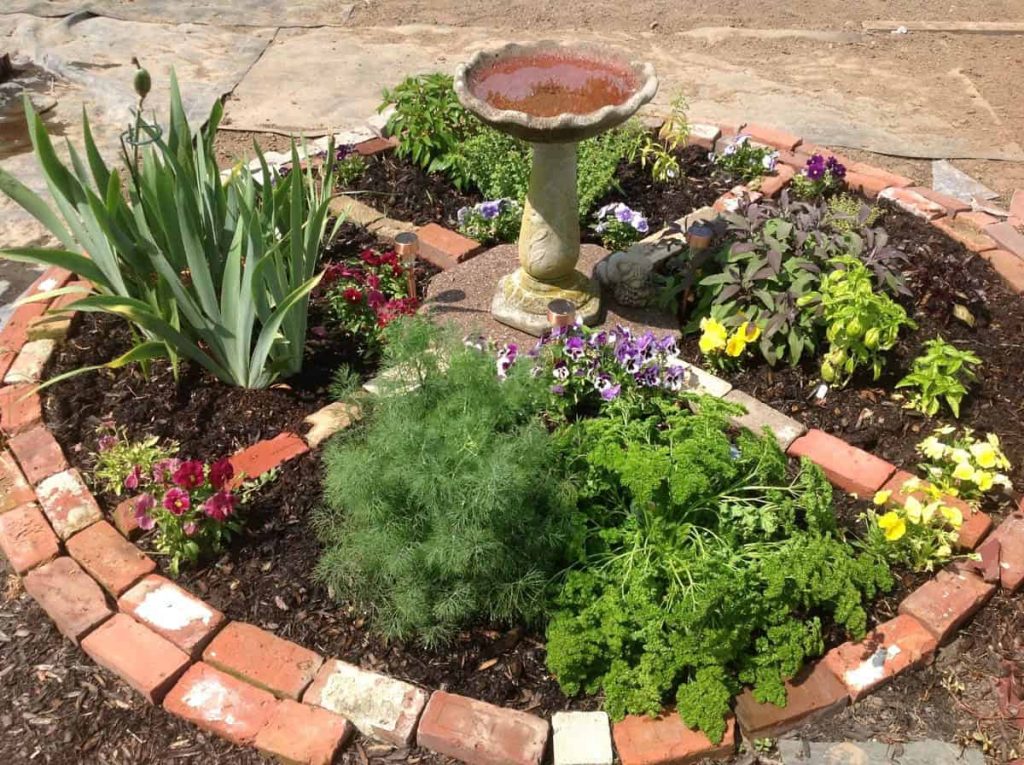
Trench depth matters a lot with brick. Bury about one-third to one-half of each brick below ground level. This keeps the whole border stable and stops bricks from shifting over time.
Curves and odd corners aren’t a problem either. Bricks are small, so you can adjust your line easily. Secure them with compacted soil for a casual look, or use mortar if you want something permanent.
7. Poured Concrete Edging
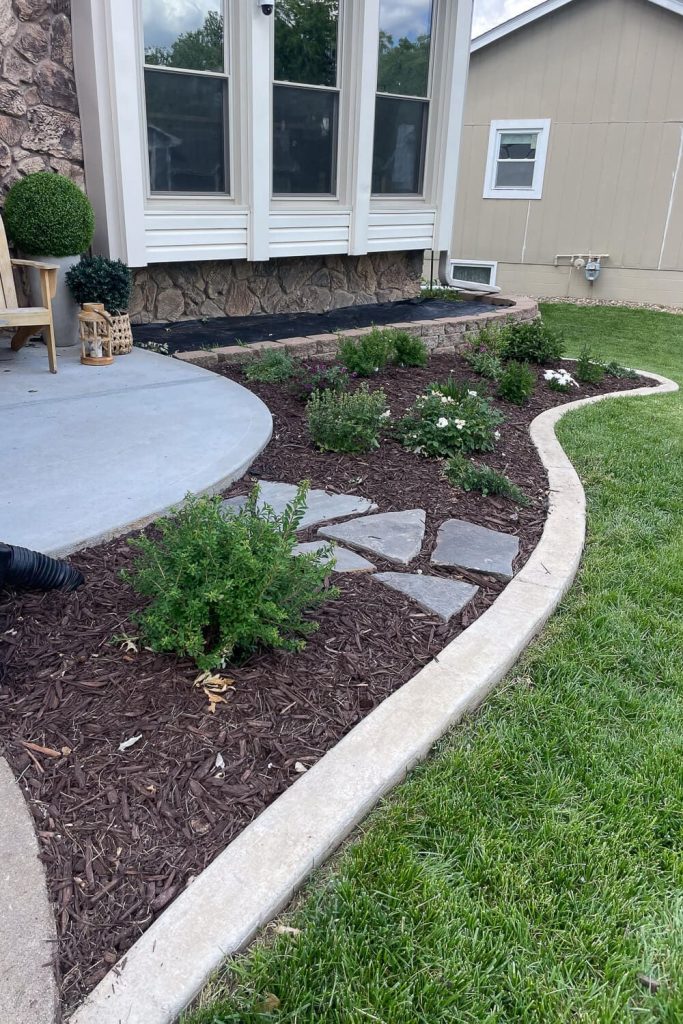
Poured concrete gives you the cleanest, most seamless border you can get. It molds into any shape, so curves flow perfectly around your beds. I really admire how sharp this look stays over time.
This isn’t a weekend DIY job, though. You need real skill to pour and finish concrete correctly. Hire a pro for this one, and save yourself a headache.
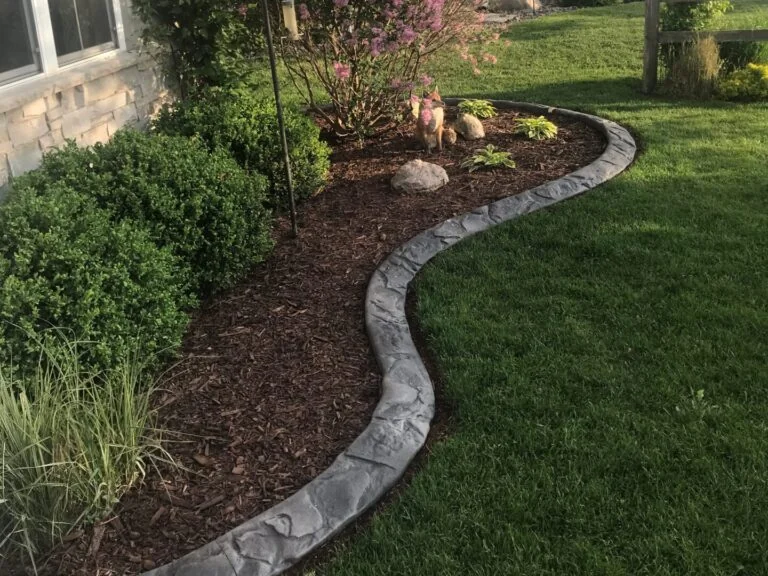
Cost runs higher than most other options on this list. But durability makes up for it. A well-poured edge can last decades without cracking or shifting.
8. Concrete Blocks
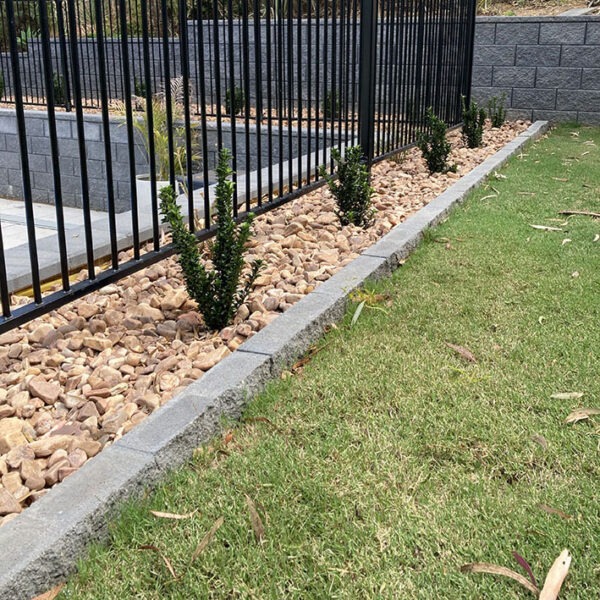
Maybe poured concrete feels like too much commitment. Concrete blocks give you a similar look without hiring anyone. You just set each block into place by hand.
Weekend installation is totally realistic here. Dig a shallow trench, level your base, and place the blocks one by one. Anyone with basic tools can finish this project in a day.
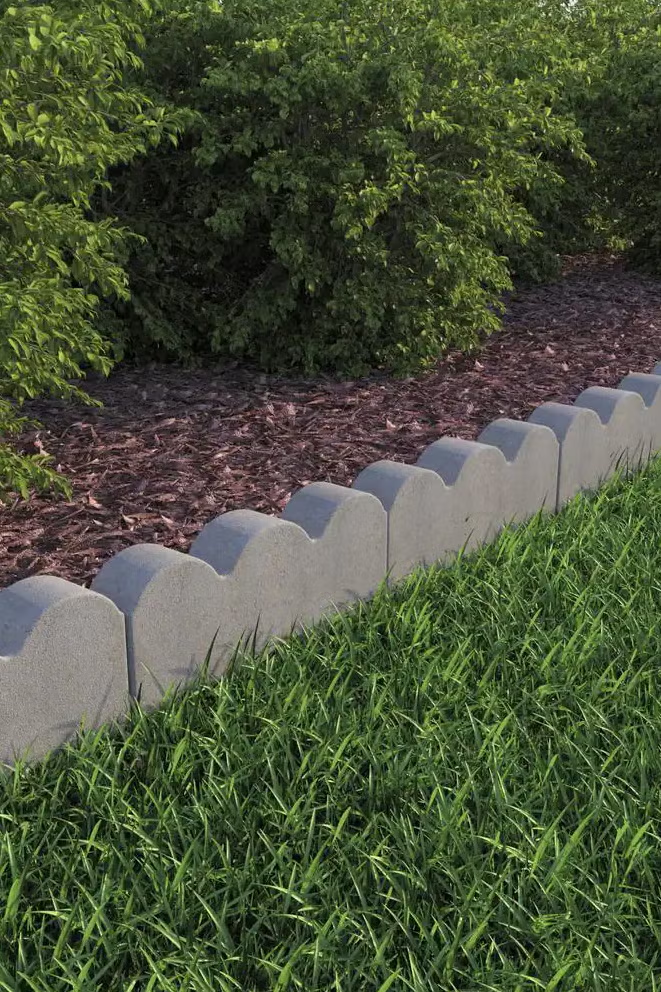
I like blocks for straight borders especially. They line up cleanly along patios and walkways. Curved beds work too, though you’ll need smaller blocks to follow the shape.
9. Rock, Gravel, and Pebble Edging
Nothing beats rocks and gravel for a natural, relaxed border. You just scatter or arrange them along your bed’s edge. Almost any garden style welcomes this look.
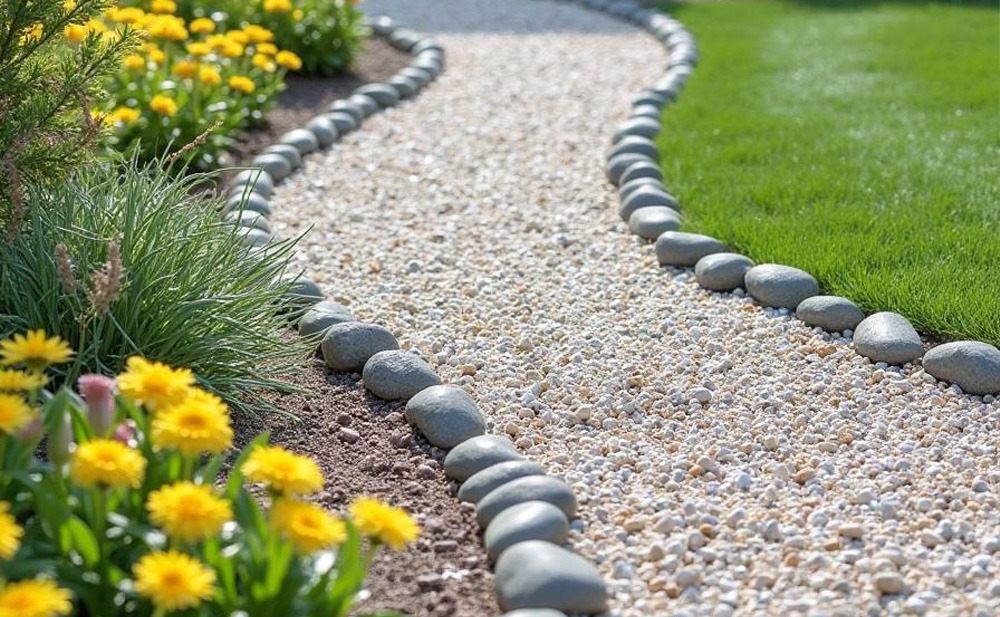
Budget-friendly is an understatement here. Rocks cost little, and installation takes almost no effort. Spread your gravel, adjust the line, and you’re done.
Perfect precision isn’t the goal with this method, though. Some mulch will drift into your gravel, and some gravel will drift into your grass.
I think that natural mixing actually adds charm.
10. Wood Plank Edging
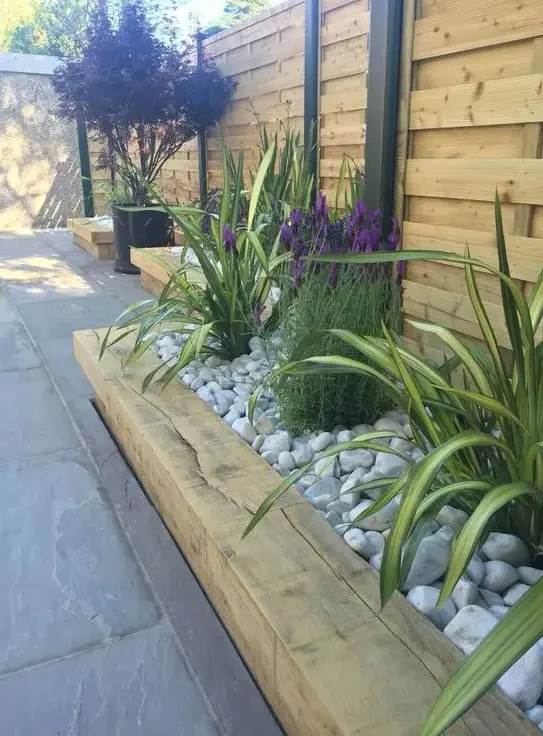
Wood brings warmth that most materials can’t match. Straight edges work best with natural wood planks. Your beds get a rustic, cozy feel almost instantly.
Curved borders need a different approach, though. Composite lumber bends where natural wood won’t. Look for planks with built-in hinges if your garden has soft curves.
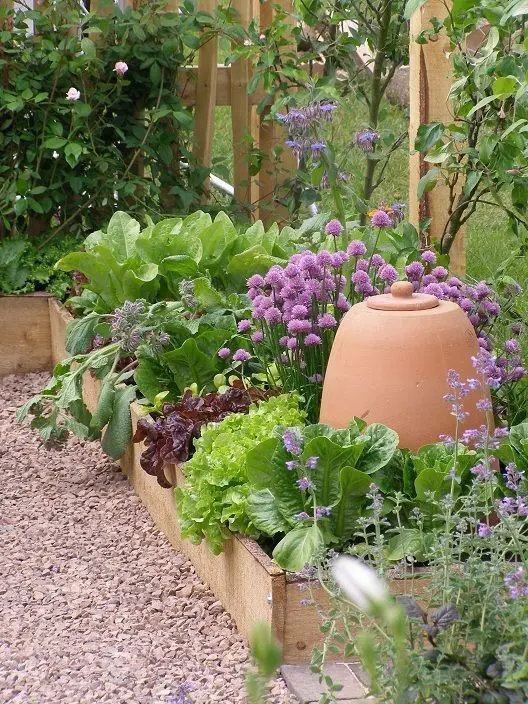
Replacement stays easy with this material. Wood ages and wears over years outdoors. Swap out a damaged plank in minutes, and your border looks fresh again.
11. Shrub Edging
Living borders bring a totally different vibe to your yard. Boxwood and holly work great for this style. You get a green, textured line instead of a hard material.
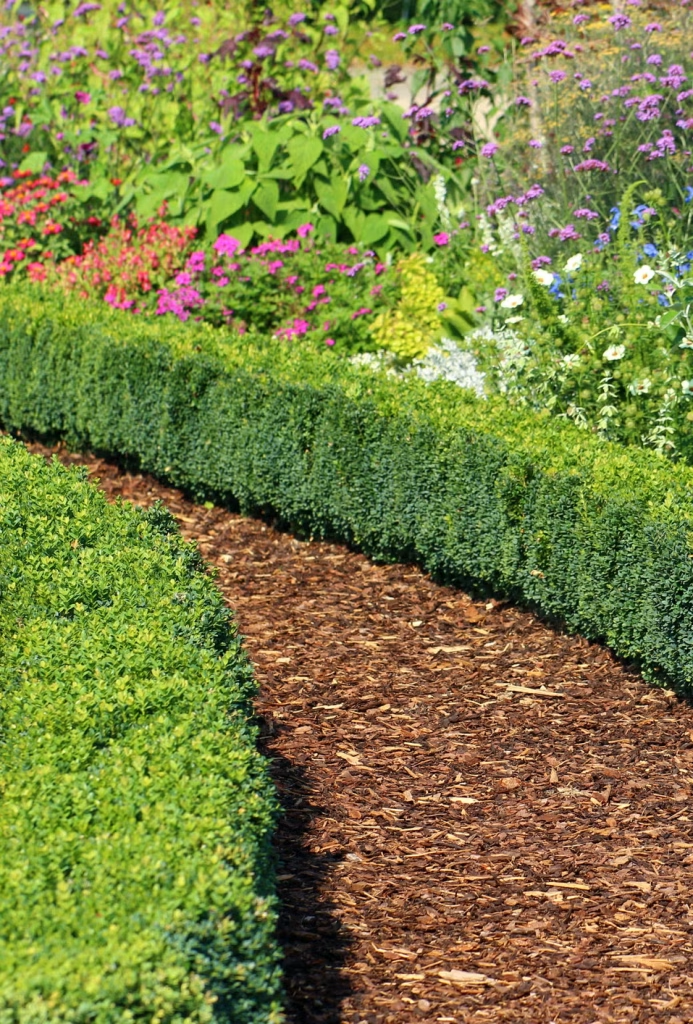
Pruning keeps everything neat and compact. I trim mine twice a year to hold the shape. Regular care turns these shrubs into a tidy, living fence.
Patience matters here more than with other options. Shrubs take time to fill in and mature. But the payoff is a border that grows more beautiful every season.
12. Staked Rope Edging
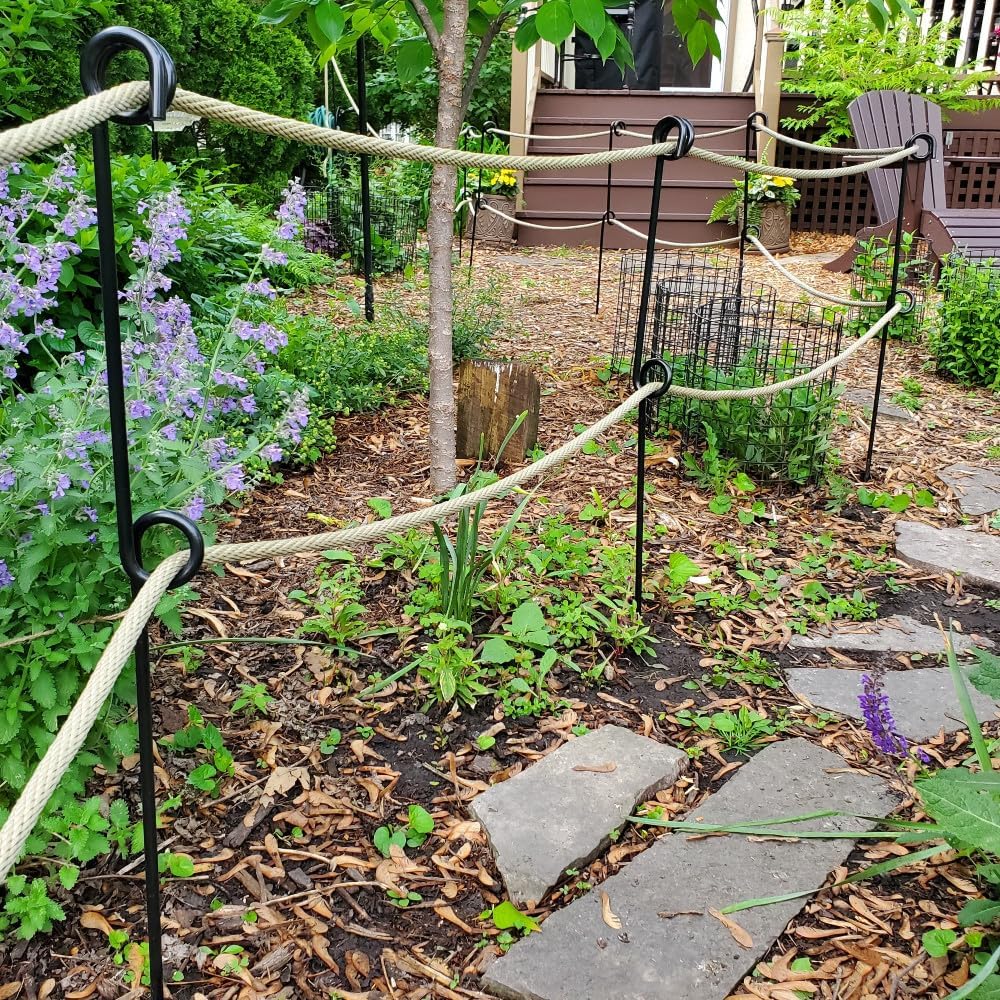
Tall, wispy plants need a different kind of support. Rope threaded between stakes holds ferns and fronds back nicely. Your walkway stays clear, and your plants stay contained.
Stake height matters a lot for this to work. Set your stakes about a third of the way down from your plants’ tops. That height catches drooping growth without looking too rigid.
I love this option for informal, flowing gardens. It doesn’t fight the natural movement of your plants. It just gently guides them where you want.
Your Garden, Your Border
Twelve options, and every single one solves the same problem. Your lawn stays put. Your beds stay defined. Your whole yard looks more intentional the moment you add a border.
Start small if you feel unsure. Pick one bed, try hand-edging or gravel, and see how you like the results. You can always upgrade to brick or metal later.
I edged my first bed with nothing but a spade and a garden hose. That single afternoon changed how my whole yard looked. Grab a tool, pick your favorite idea from this list, and give your garden the finish it deserves.