10 Garlic Planting Mistakes That Shrink Your Harvest (And Easy Fixes)

Garlic is easy to grow. I really believe that. You push a clove into the soil, walk away, and dig up a whole bulb next summer.
But there’s a catch. You can’t see what happens underground all winter. By the time you spot a problem, it’s too late to fix it.
That’s why garlic disappointments all look the same. Tiny bulbs. Yellow leaves. One round clove instead of a plump head.
Most gardeners blame the weather or bad luck. Most of the time, the real cause is a small mistake made on planting day.
The good news? Every one of those mistakes is easy to avoid.
In this guide, I’ll walk you through ten of them. For each one, I’ll show you what you’ll see next summer if you slip up. Then I’ll give you a simple fix. No fancy tools. No complicated rules.
Before You Start: Garlic in 60 Seconds
A little background makes every mistake on this list easier to understand. Here’s the short version.
You plant in fall. Garlic grows roots before the ground freezes. Then it rests all winter. Top growth starts again in spring.
Your goal this fall is roots, not leaves. Strong roots in fall mean a fast start in spring. Lots of green growth before winter just invites trouble.
Garlic needs cold. Winter chill tells each bulb to split into separate cloves. Without it, you may get one big round clove instead.
One clove makes one bulb. Each clove you plant grows into a full head. A single pound of cloves can turn into many pounds of garlic. That’s a great deal for a little planting time.
You wait until next summer. Most garlic is ready somewhere between June and August. It depends on your climate.
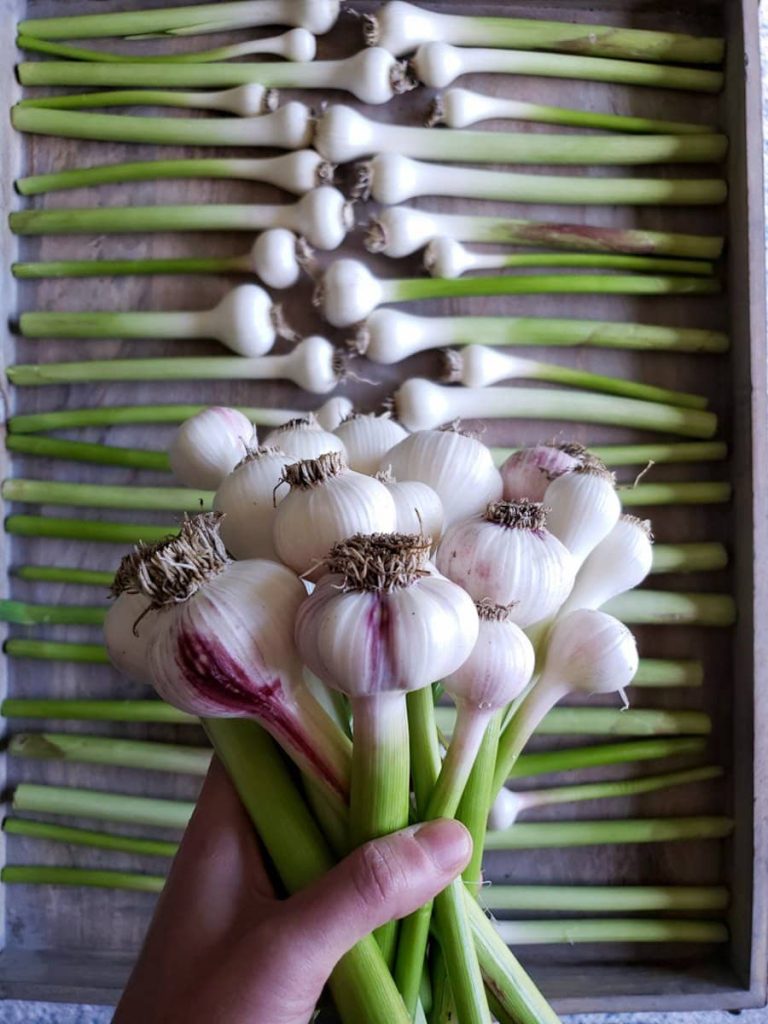
There are two main types. Hardneck garlic loves cold winters. It also gives you a bonus, the curly scapes. Softneck garlic suits milder winters and stores longer. I’ll show you how to choose later in the guide.
Read more: Planting Garlic Cloves in Fall: 7 Steps for Big Bulbs Next Summer
Gather These First
Pull your supplies together before you plant. It takes five minutes and saves you a lot of rushing.
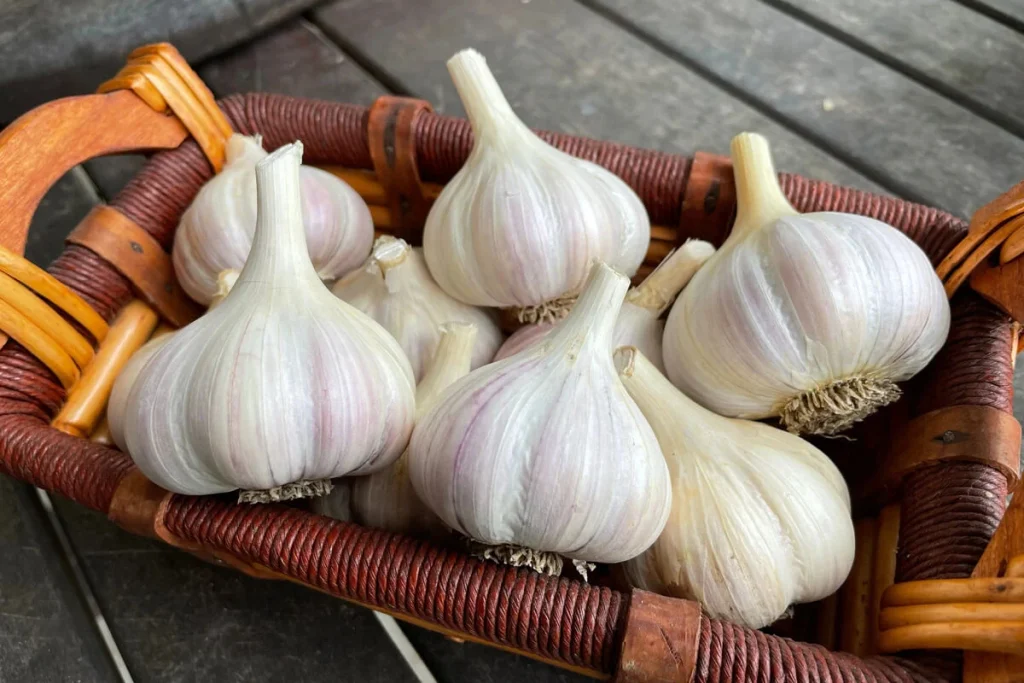
- Seed garlic (whole bulbs, not loose cloves)
- Compost or other organic matter
- Straw or shredded leaves for mulch
- A trowel
- A ruler or tape measure
How to Read This Guide
Each mistake follows the same four steps:
- The mistake. What gardeners get wrong.
- What you’ll see next summer. The result of that mistake.
- The fix. What to do instead, in plain steps.
- My rule of thumb. One line to remember (or screenshot).
Let’s start with the first mistake. It trips up more gardeners than any other.
Mistake 1: Planting by the Calendar Instead of the Soil
The mistake
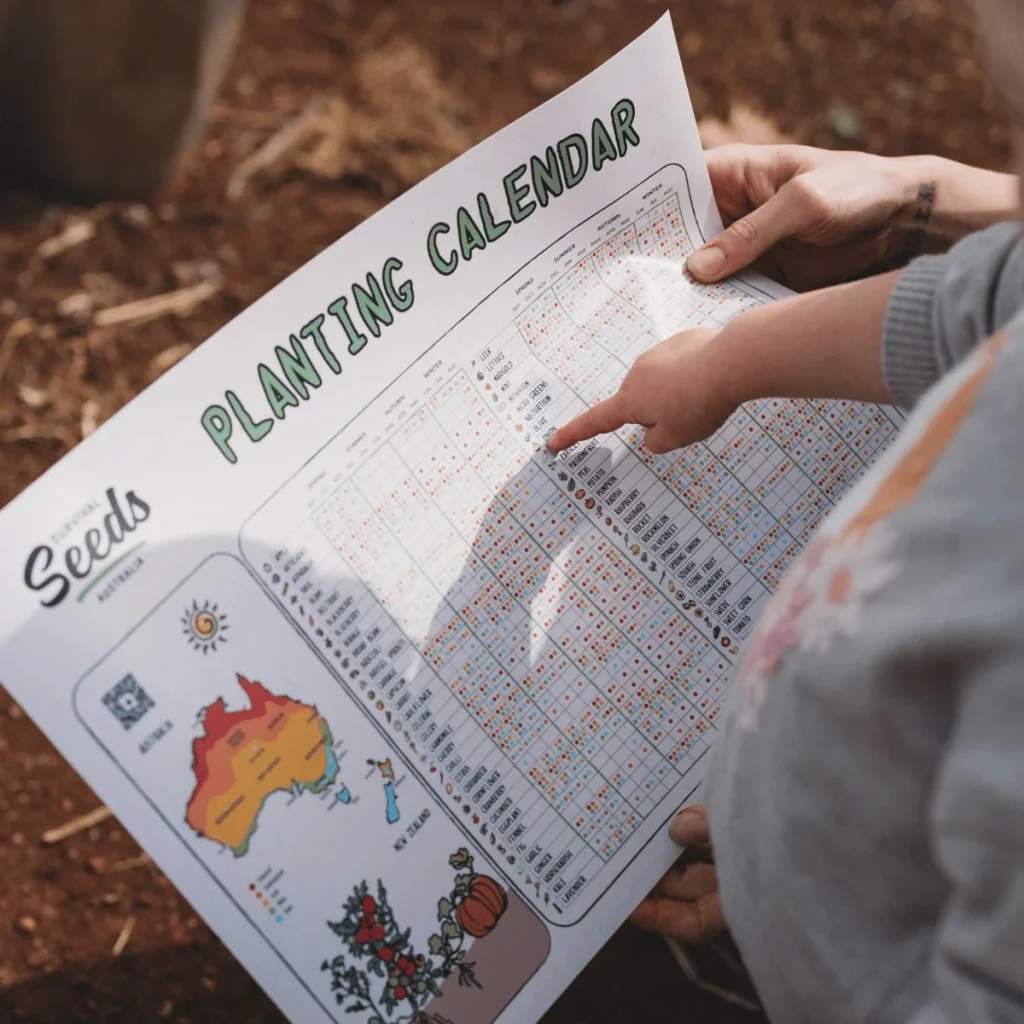
Many gardeners plant garlic on a set date. “I always plant on October 15th.” It sounds smart. But weather changes every year. A warm fall and a cold fall need different dates.
What you’ll see next summer
Plant too early, and the cloves sprout before winter. You get tall, tender shoots that winter can damage. Plant too late, and the roots don’t have time to settle in.
The plants start spring weak. The cloves can also heave out of the ground during freeze-and-thaw cycles.
The fix
Check your soil temperature. It takes one minute. Push a soil thermometer about 4 inches deep in the morning. Aim to plant when the soil drops to about 50°F.
In most places, that lands about 2 to 4 weeks before the ground freezes.
No thermometer? Use this simple clue. Plant after the first few cool nights, but before the soil turns hard.
My rule of thumb
Let the soil pick your planting day, not the calendar.
Mistake 2: Planting Garlic From an Unknown Source
The mistake
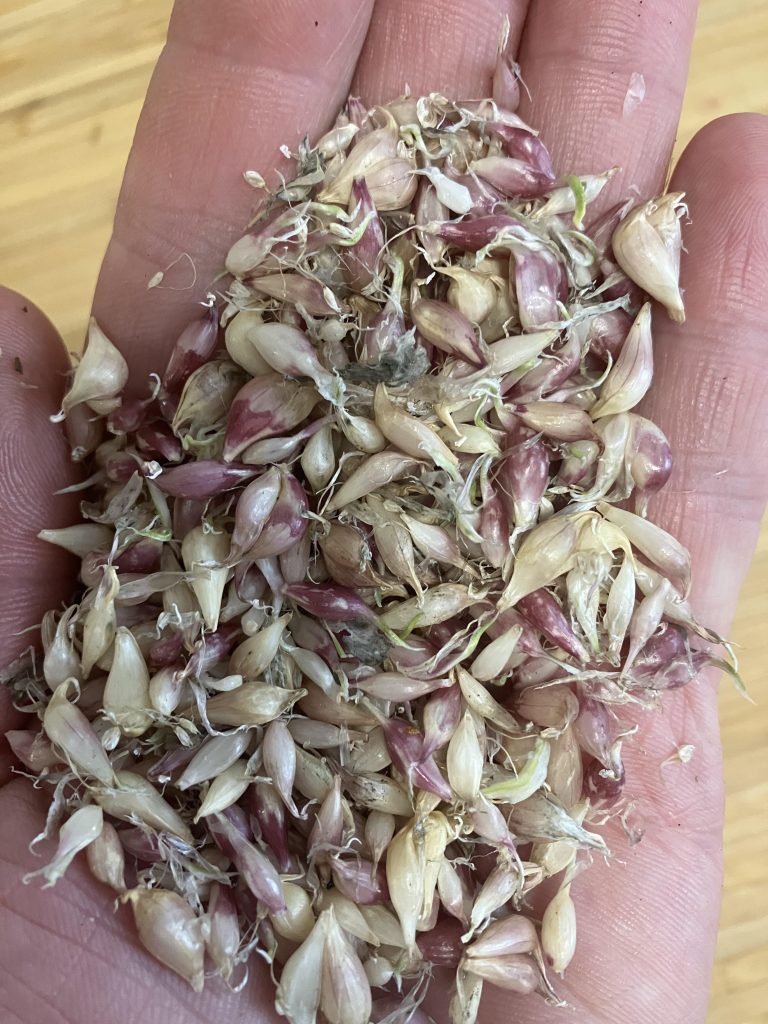
You grab a few bulbs from the grocery store and push them into the ground. I get it. They’re right there, and they’re cheap. But this one is a gamble.
Some grocery garlic gets treated to stop sprouting. It often grew in a very different climate than yours.
It may also carry hidden problems, like bulb mites, nematodes, or white rot. Those pests and diseases can stay in your soil for years.
What you’ll see next summer
Cloves that never sprout. Patchy rows. Yellow, stunted plants. Bulbs that turn soft or rot in the ground.
The fix
Buy seed garlic. Good places to find it:
- Local garlic growers
- Farmers markets
- Garden centers
- Trusted seed companies
Look for bulbs that feel firm and plump. Skip any that look soft, moldy, or shriveled. Ask what variety it is and where it grew. A good seller will tell you.
If you save your own garlic, keep bulbs from your healthiest plants only.
My rule of thumb
Buy seed garlic from someone who can tell you what it is and where it grew.
Mistake 3: Planting the Runts
The mistake
You break open a bulb and plant every clove. Big ones, small ones, even the tiny ones. It feels wasteful to leave any behind.
But clove size matters. A big clove holds more stored energy. It gives the plant a strong start. A tiny clove gives it a weak one.
What you’ll see next summer
Small bulbs. Thin, weak plants. Lots of effort for little reward.
The fix
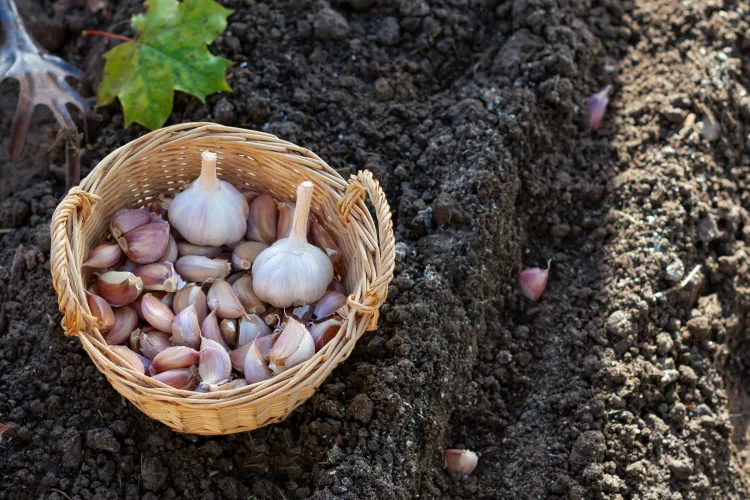
Sort your cloves before you plant. Set the largest, plumpest ones aside. Those go in the ground. The small ones aren’t wasted. Use them in the kitchen.
Don’t worry if you end up with fewer cloves to plant. A smaller number of strong plants beats a bed full of weak ones.
My rule of thumb
Plant your biggest cloves. Eat your smallest.
Mistake 4: Breaking Bulbs Apart Too Early (or Too Roughly)
The mistake
You separate all the cloves a week early. Maybe you peel off the papery skins to “clean” them. It feels like good prep work.
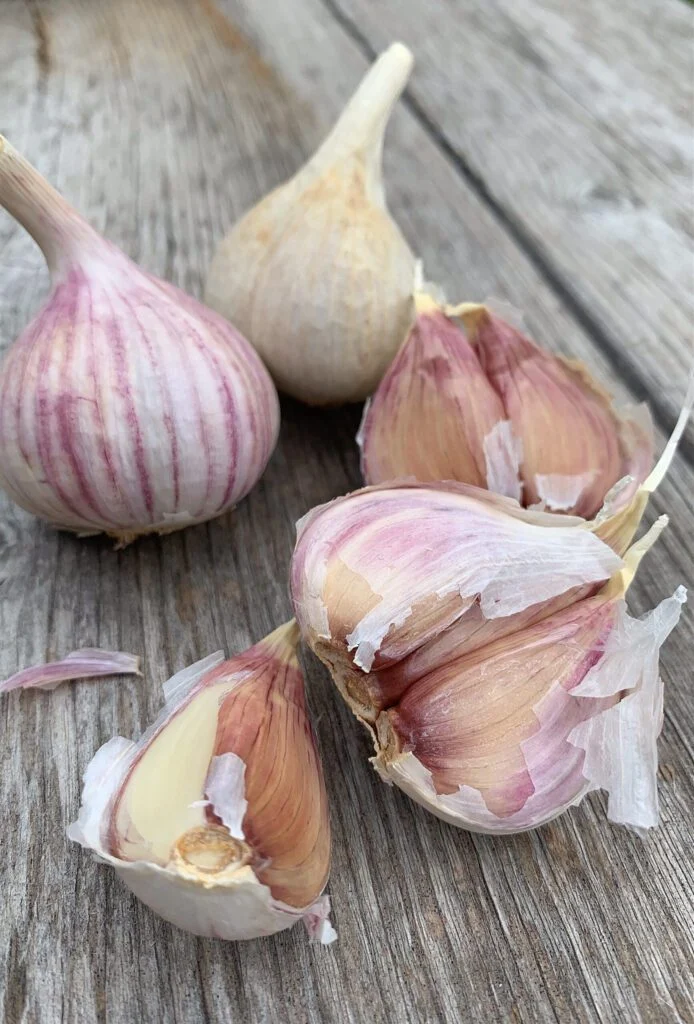
It isn’t. Cloves dry out once you separate them. The papery skin is their armor. It guards against rot and bruising.
The flat bottom of each clove, called the basal plate, is where the roots grow. If you damage it, that clove won’t grow well.
What you’ll see next summer
Gaps in your rows. Weak plants. Cloves that never came up at all.
The fix
Break the bulbs apart the day before you plant, or that same morning. Use your hands. Twist gently.
Then do a quick check:
- Keep the papery skin on.
- Keep the basal plate intact.
- Toss any clove that looks bruised, soft, or moldy.
My rule of thumb
Break the bulb apart just before you plant.
Mistake 5: Choosing the Wrong Type for Your Climate
The mistake
You pick garlic by looks, or by what’s on sale. You don’t ask if it suits your winters. That matters more than most gardeners expect.
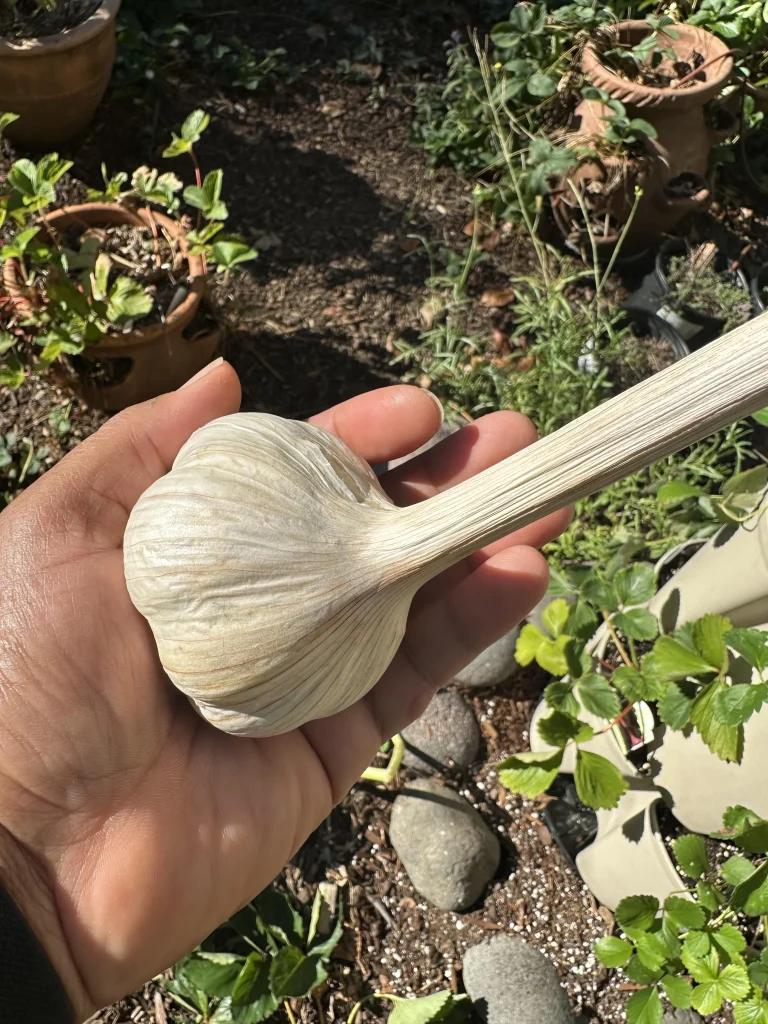
Hardneck garlic grows best where winters are cold. It sends up curly scapes in early summer. You can eat those, and they taste great. Hardneck usually stores for a few months.
Softneck garlic suits milder winters. It stores longer and braids beautifully. It’s the type you often see in grocery stores.
What you’ll see next summer
Hardneck in a warm climate may give you a single round clove instead of a divided head. Softneck in a very harsh winter may struggle or fail.
The fix
Match the type to your winter.
- Cold winters: Choose hardneck.
- Mild winters: Choose softneck.
- Somewhere in between: Either one can work. Try a few varieties.
Live somewhere warm and love hardneck? Chill the cloves in your fridge for about 4 to 8 weeks before planting. That gives them some of the cold they need.
Not sure what grows best near you? Ask a local garlic grower. They know which varieties thrive in your area.
My rule of thumb
Cold winters call for hardneck. Mild winters call for softneck.
Mistake 6: Picking the Wrong Spot
The mistake
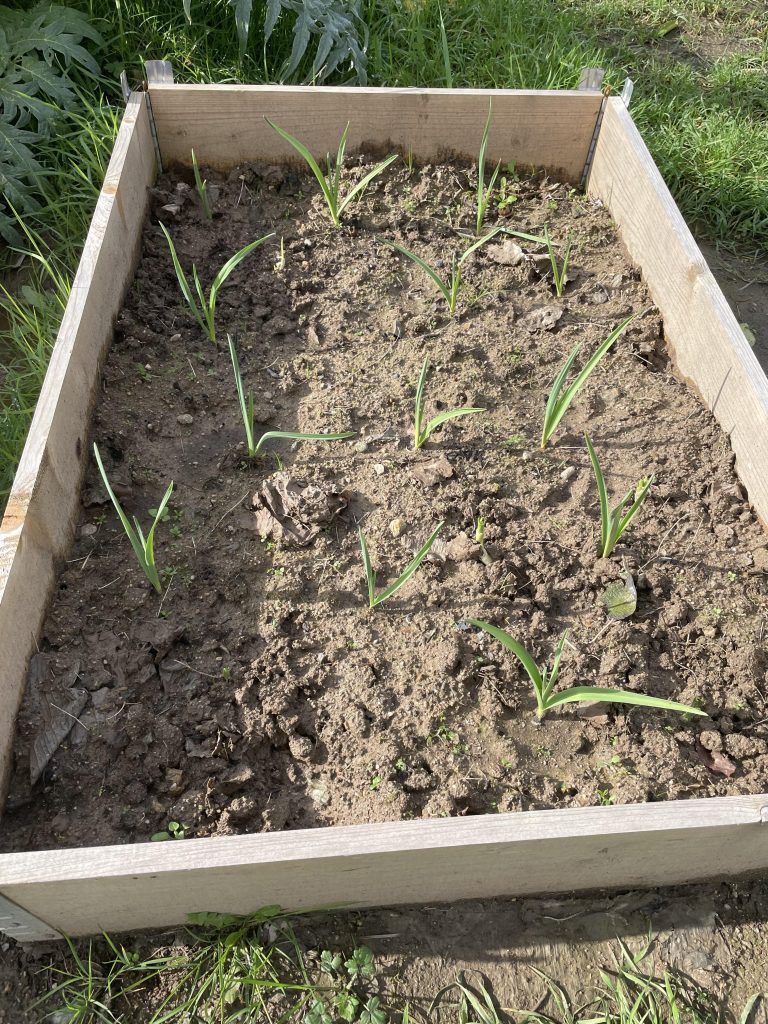
You plant garlic wherever there’s an empty patch. Maybe it’s a shady corner. Maybe it’s a low spot where water collects. Garlic is tough, but it has two firm demands. It wants sun. It hates wet feet.
What you’ll see next summer
Small bulbs from too little light. Yellow leaves and soft, rotten bulbs from soggy soil.
The fix
Pick a spot with full sun. Aim for at least 6 to 8 hours a day. Check that water drains away after rain. If it pools, choose another spot.
Then prepare the soil. Loosen it about 6 inches deep. Mix in a few inches of compost. Garlic grows best in loose, fertile soil with a pH around 6.0 to 7.0.
Have heavy clay? Build a raised bed. It solves drainage fast.
My rule of thumb
Full sun, loose soil, no puddles.
Mistake 7: Planting Where Onions or Garlic Grew Recently
The mistake
Your garlic bed looked great last year. So you plant garlic there again. It seems logical. But garlic, onions, leeks, shallots, and chives all belong to the same family. They share the same pests and diseases. Those problems build up in the soil.
What you’ll see next summer
Yellow, stunted plants. Weak growth. Bulbs that rot in the ground. It looks like a watering or feeding problem. It isn’t.
The fix
Rotate your crops. Keep garlic and its relatives out of the same bed for at least 3 to 4 years. Plant tomatoes, beans, or squash there instead.
Not sure where garlic grew last time? Start a simple garden map. Even a quick note on your phone works.
My rule of thumb
Give your alliums a 3 to 4 year break.
Mistake 8: Getting Depth and Direction Wrong
The mistake
You push cloves into the soil in a hurry. Some go in sideways. Some go in upside down. Some barely get covered.
What you’ll see next summer
Cloves planted too shallow can pop out of the ground in winter. They can also dry out or freeze. Cloves planted too deep take longer to come up in spring.
Upside-down cloves waste energy. They twist their way toward the light and often grow weaker.
The fix
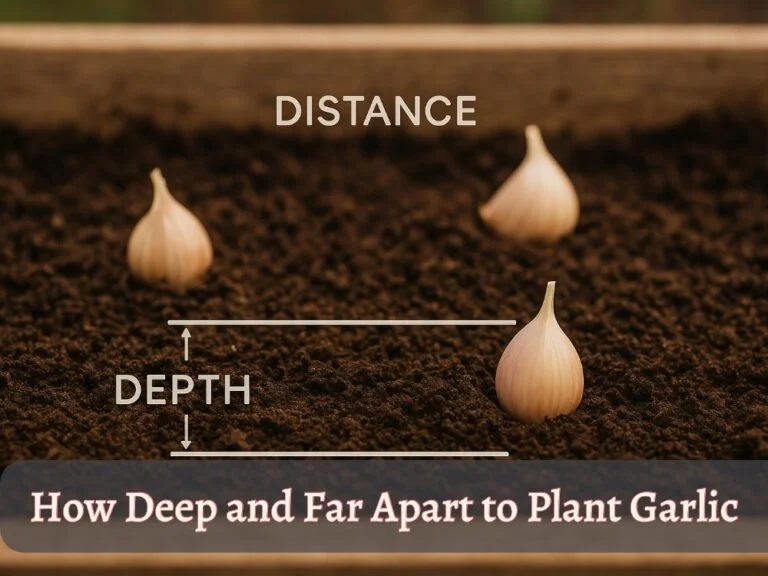
Plant each clove with the pointy end up. The flat, root end goes down.
Plant 2 to 3 inches deep in most gardens. Where winters are harsh, go closer to 3 or 4 inches. Measure from the top of the clove to the soil surface.
Use a trowel or your finger to make each hole. Drop the clove in. Cover it with soil. Press down gently.
My rule of thumb
Pointy end up. Root end down. Two to three inches deep.
Mistake 9: Crowding the Cloves
The mistake
You want a big harvest. So you tuck the cloves close together. It feels like you’re getting more garlic from your space. You’re not.
What you’ll see next summer
Small bulbs. Plants fight for water and nutrients. Poor airflow also raises the risk of disease.
The fix
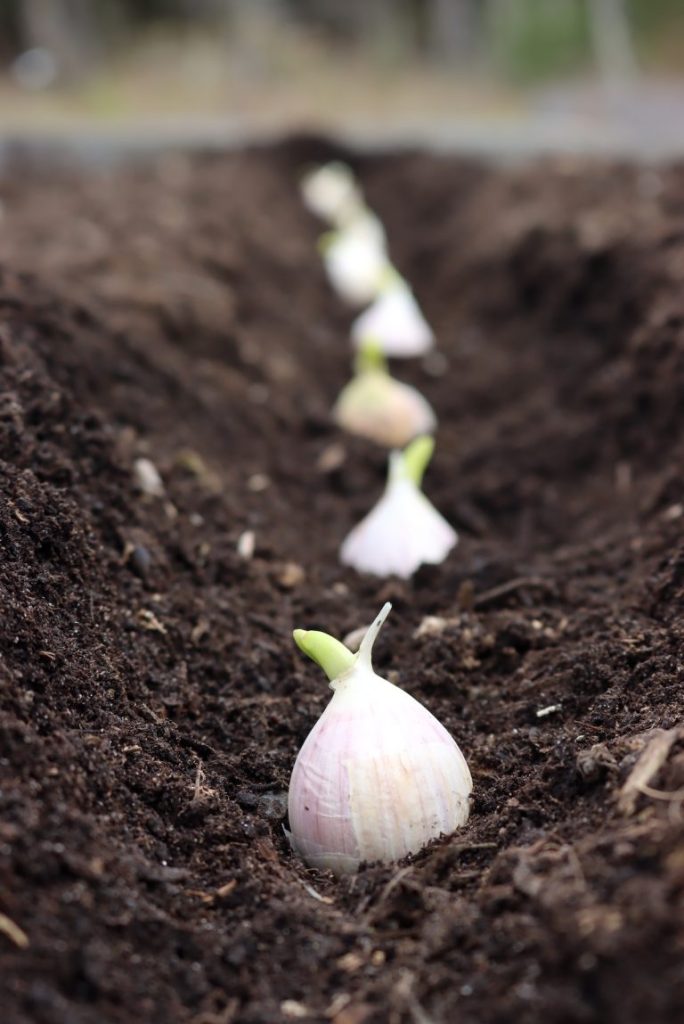
Give each clove about 6 inches of space. Leave 12 to 18 inches between rows. That gives every plant room to grow a full head.
Short on space? Plant fewer cloves, not closer ones. Ten big bulbs beat thirty tiny ones.
My rule of thumb
Give every clove 6 inches. They need elbow room.
Mistake 10: Getting the Mulch Wrong
The mistake
Some gardeners skip mulch. Others pile it on like a mountain. Both cause trouble.
What you’ll see next summer
Too little mulch leaves cloves open to freeze-and-thaw swings. Weeds also move in. Too much mulch can slow growth in spring. The soil stays cold and wet.
The fix
Spread about 3 to 4 inches of mulch right after planting. Use seed-free straw or shredded leaves. Skip hay. It brings weed seeds.
Live somewhere very cold? Go up to about 6 inches. Add a second layer after the ground freezes.
In spring, check the bed. When the shoots push up, pull the mulch back a little. The soil will warm up faster.
My rule of thumb
Mulch like a blanket, not a lid.
The Quick-Fix Cheat Sheet
Save this one. It sums up the whole guide.
| # | Mistake | The Quick Fix |
|---|---|---|
| 1 | Planting by the calendar | Plant when soil hits about 50°F |
| 2 | Unknown garlic source | Buy seed garlic from a trusted grower |
| 3 | Planting the runts | Plant your biggest cloves |
| 4 | Splitting bulbs too early | Break them apart just before planting |
| 5 | Wrong type for your climate | Hardneck for cold, softneck for mild |
| 6 | Wrong spot | Full sun, loose soil, good drainage |
| 7 | No crop rotation | Wait 3 to 4 years between alliums |
| 8 | Wrong depth or direction | Pointy end up, 2 to 3 inches deep |
| 9 | Crowding | 6 inches between cloves |
| 10 | Wrong mulch | 3 to 4 inches, pulled back in spring |
When Should You Plant? A Simple Climate Guide
Use these as rough windows. Soil temperature always wins. When the soil reaches about 50°F at 4 inches deep, you’re good to go.
| Your Winters | Rough Planting Window |
|---|---|
| Very cold (zones 3 to 5) | Late September to mid-October |
| Cold to moderate (zones 6 to 7) | October to early November |
| Mild (zones 8 to 9) | November to early December |
| Very mild (zones 10 and up) | Late November to January. Use softneck or pre-chilled cloves. |
Already Made a Mistake? Don’t Panic.
Most garlic mistakes are fixable. Here’s what I’d do.
- Planted too early, and shoots are up: Add a few inches of mulch to protect them. Many plants bounce back.
- Planted late: Plant anyway, as long as the ground isn’t frozen solid. Mulch well. You may get smaller bulbs, but you’ll still get garlic.
- Cloves popped out of the ground: Push them back in. Cover them with mulch.
- Planted a few upside down: Leave them. Most still grow. They may come up later or smaller.
- Used grocery store garlic: Keep an eye out for yellowing or rot. Don’t save cloves from that crop. Next year, plant fresh seed garlic in a new spot.
- Mulched too heavily: Pull some back in early spring.
Quick FAQ
Can I plant garlic in spring?
You can, but expect smaller bulbs. Plant as soon as the soil is workable. Chill the cloves in your fridge for several weeks first.
How long does garlic take to grow?
About 8 to 9 months from fall planting to summer harvest. Patience pays off here.
Do I need to water after planting?
Yes. Give the bed a good soak. If your fall stays dry, water about once a week until the ground freezes.
Can I grow garlic in pots?
Absolutely. Use a pot at least 10 inches deep with drainage holes. Space cloves 4 to 6 inches apart. Keep the pot outside so the cloves get their winter chill.
Should I fertilize at planting?
Mix compost into the soil first. Save heavier nitrogen feeding for spring, when the leaves start to grow.
Final Thoughts
Garlic rewards the gardeners who get the small things right. Plant at the right time. Start with healthy, plump cloves. Give them sun, space, and a soft blanket of mulch.
Then walk away and let winter do its work.
Next summer, you’ll pull up fat, fragrant bulbs. You’ll know exactly why they turned out so well.
Pin this guide for planting day. Your future garlic will thank you.