
Planting Garlic Cloves in Fall: 7 Steps for Big Bulbs Next Summer

Garlic asks for one odd thing. You plant it right when the rest of the garden is winding down. Do it this fall, and you get plump bulbs and tender scapes next summer.
Wait until spring, and you get smaller heads. This guide covers variety, timing, soil, spacing, and mulch.
You also get a planting window for your climate and a simple calendar from planting day to harvest.
Also read: 15 Flowers and Vegetables to Plant in October for a Head Start on Spring
Why Fall Beats Spring
Garlic is a slow crop. It needs a long season to bulk up, and fall gives it one.
The cloves grow roots first. Those roots keep working through the cool months. By early spring, the plant has a strong base ready to push out leaves fast. More leaves mean bigger bulbs.
Cold matters too. Garlic needs a stretch of winter chill to split into separate cloves. Without it, you may get one round bulb instead of a full head.
Spring planting can work. The results usually come out smaller, though. Fall planting gives you more mature plants and larger bulbs.
Read more: 13 Best Fall Vegetables to Plant in Zone 8 Garden
Your Planting Window by Climate
Forget the calendar for a moment. The best planting time depends on your soil.
You want the cloves to grow roots and maybe a tiny shoot before winter. You do not want tall green tops. Those tops can suffer in a hard freeze.
A soil temperature near 50°F at 4 inches deep is a good target. A cheap soil thermometer takes the guesswork out.
Use these ranges as a starting point. Adjust them to your local first frost date.
- Cold climates (zones 3-5): Plant from late September to mid-October. That is usually within a couple of weeks of your first hard frost.
- Mild climates (zones 6-7): Plant from mid-October to early November. Aim for after the soil cools but before it freezes solid.
- Warm climates (zones 8-10): Plant from November into December. Fall stays warm here, so waiting is smart. Planting too early in warm soil gives you leggy tops.
Warm gardens also need one extra step. Hardneck garlic needs real cold to form cloves. If your winters stay mild, chill the bulbs in the fridge first.
Put whole bulbs in a paper bag, not plastic. Keep them in the crisper drawer, away from apples and bananas. Give them 4 to 8 weeks. Some growers in the hottest regions go longer.
Never use the freezer. Frozen cloves will not grow.
Choose your variety with care in warm zones. Softneck, Creole, and Turban types handle mild winters better than hardneck types.
Read more: 10 Garlic Planting Mistakes That Shrink Your Harvest (And Easy Fixes)
Step By Step Fall Garlic Planting Guides
1. Pick the Right Garlic for Your Climate
Start with the type, because it shapes every other choice. Hardneck garlic loves cold winters. It gives you bold flavor, big cloves, and edible scapes.
It keeps for a few months, so use it first. Softneck garlic suits milder areas. It stores longer and braids beautifully.
Living in a warm zone? Look for Creole or Turban types. They need less winter chill. Not sure what fits? Ask a local nursery what they stock.
2. Buy Garlic Cloves From Your Local Farmer’s Market
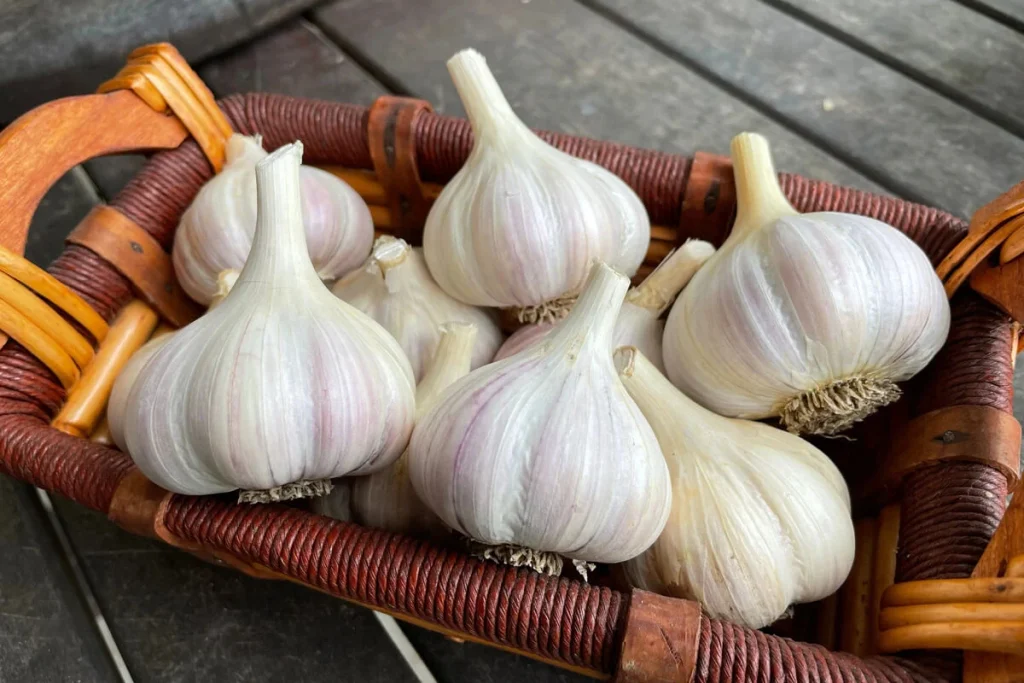
Garlic is best grown by planting individual cloves.
To find varieties suited to your region, look for garlic at local farmers’ markets or produce stands, as these are typically well-adapted to your local climate.
Grocery store garlic is riskier to plant—much of it is sourced from California or imported, making it hard to know if it will survive in your area.
3. Prep a Sunny, Well-Drained Bed
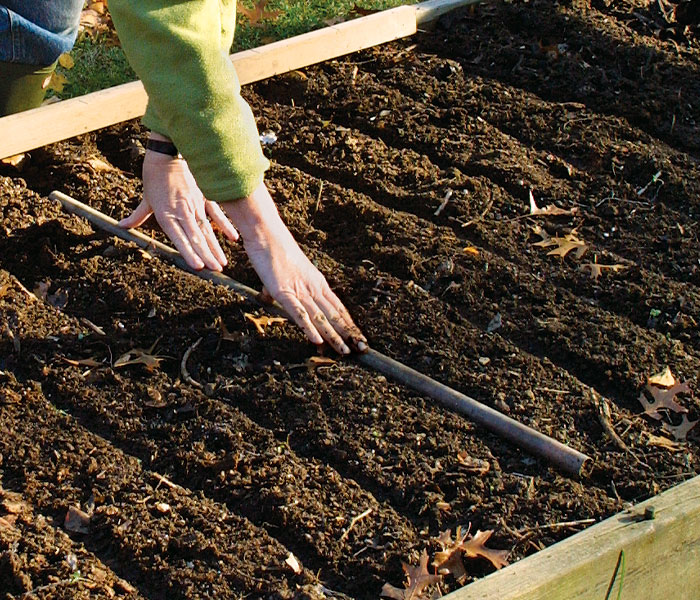
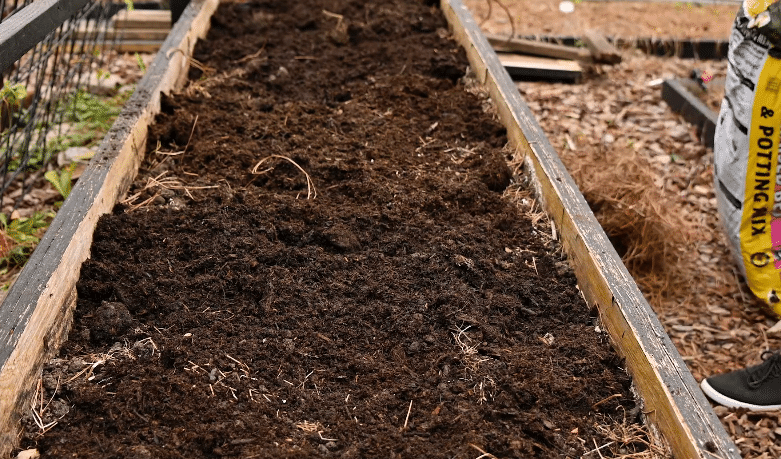
Garlic wants full sun and loose, fertile soil. Choose a spot with good drainage, because soggy ground rots cloves. Loosen packed soil.
Hard ground grows small bulbs. Mix in an inch or two of compost. If you can, test your soil first.
Garlic likes a pH between 6.0 and 7.0. Skip any spot where onions or garlic grew in the past two or three years. Clear weeds now, since garlic competes poorly.
4. Split the Cloves Just Before Planting
Keep the bulbs whole until a day or two before planting. That stops the cloves from drying out.
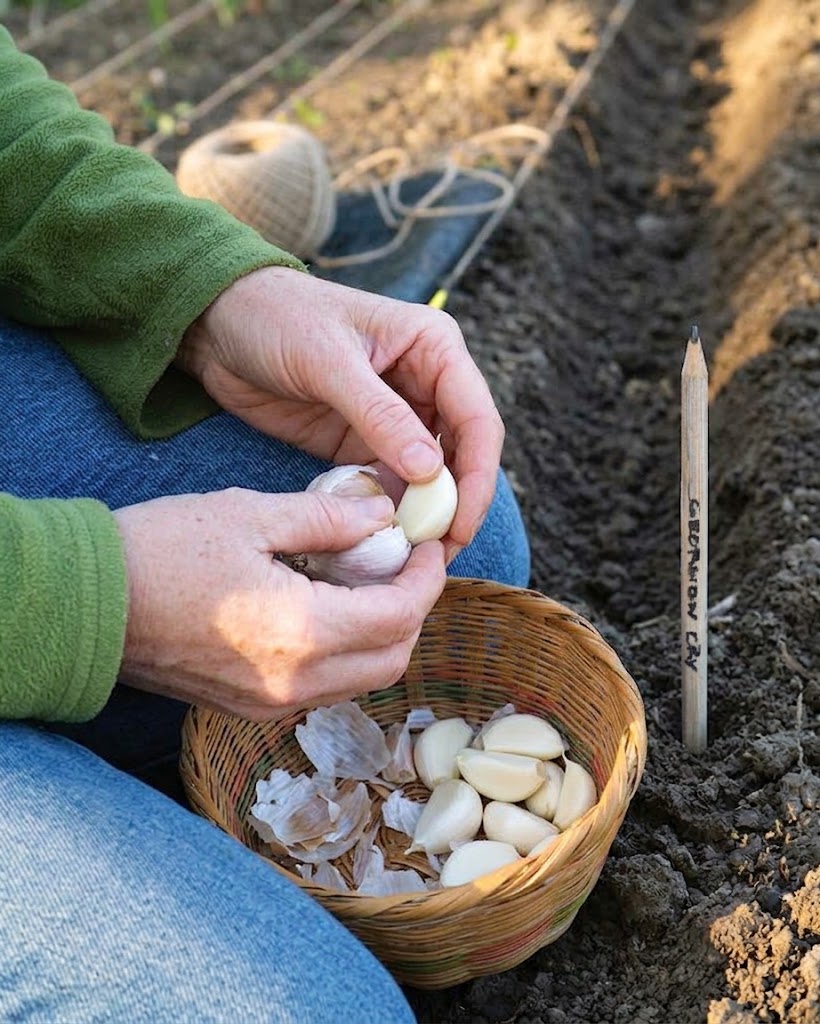
Break each bulb apart gently. Leave the papery skin on, because it shields the clove from rot. Then sort them.
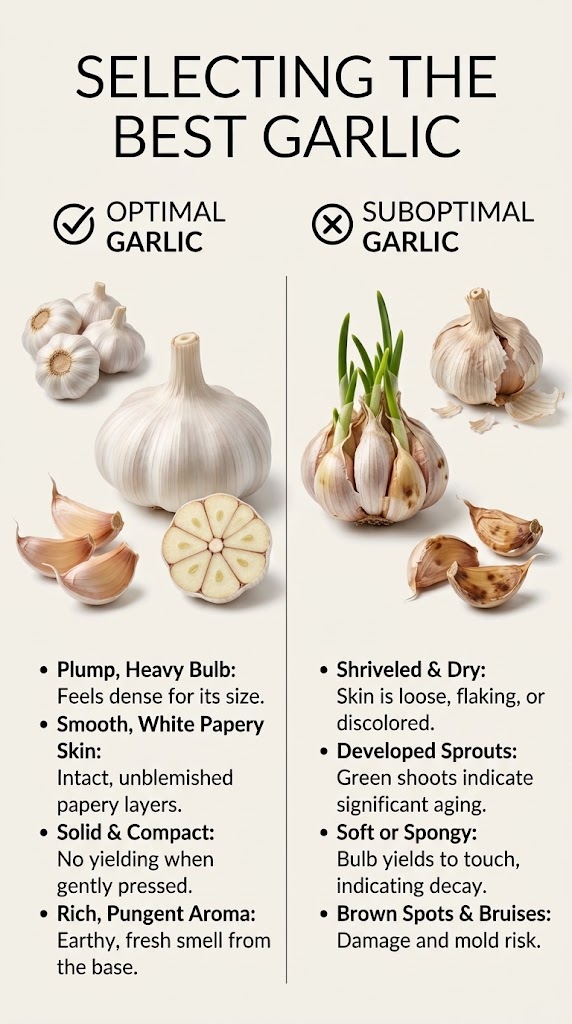
Plant the biggest, plumpest cloves, since large cloves grow large bulbs. Toss any that look moldy, soft, or spotted. Eat the small ones in the kitchen. They still taste great.
5. Plant Cloves Pointed End Up
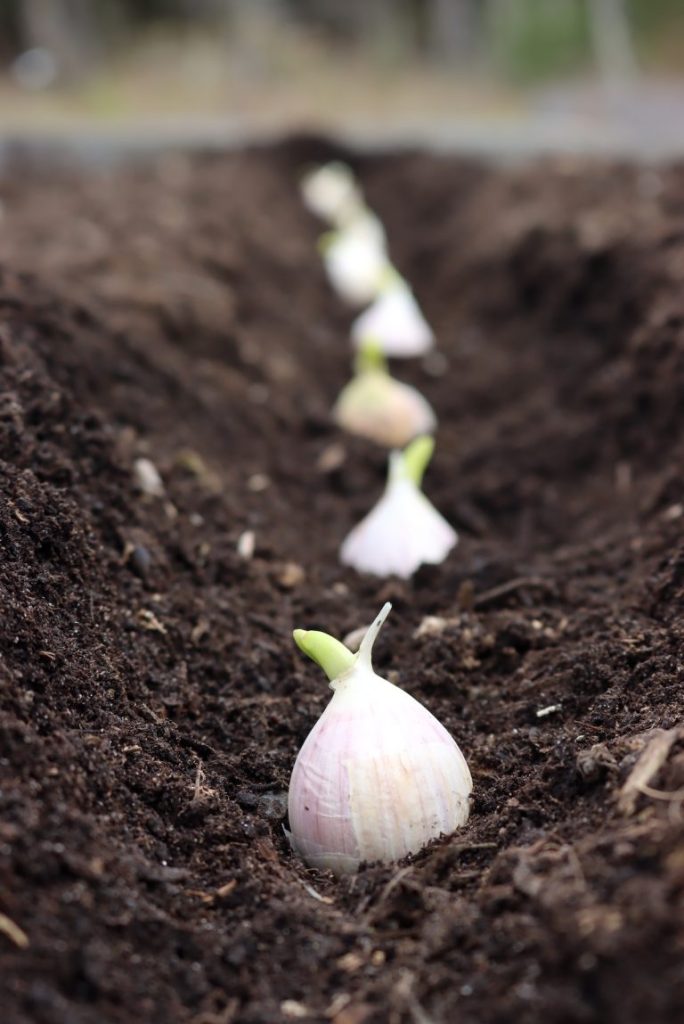
Set each clove with the pointy tip facing up and the flat root end down. Upside-down cloves grow twisted, misshapen bulbs.
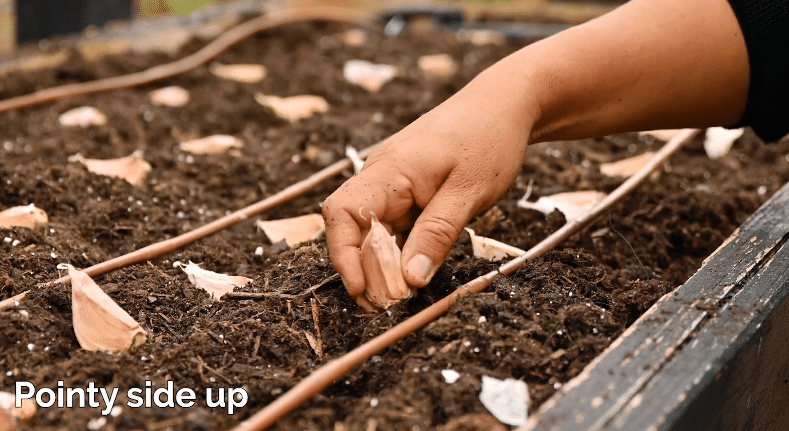
Plant them 2 to 3 inches deep. Go deeper, up to 4 inches, where winters freeze hard. Space cloves 4 to 6 inches apart, in rows about 12 inches apart.
Tighter spacing gives more, smaller bulbs. Wider spacing gives fewer, bigger ones. Cover with soil and pat down gently.
6. Water In and Mulch Well
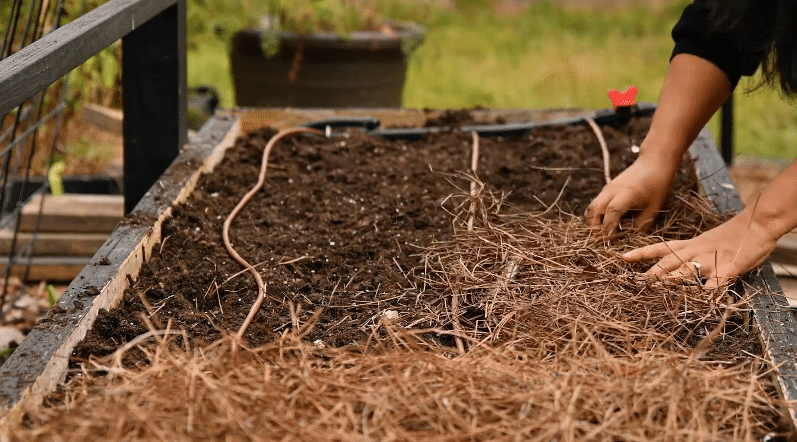
Water the bed right after planting. Keep the soil lightly moist for the next couple of weeks. That helps the cloves root.
Then add mulch. Straw, chopped leaves, and clean hay all work. Spread about 4 inches in cold climates.
In mild areas, 1 to 2 inches is enough. Mulch blocks weeds, holds moisture, and stops freeze-thaw cycles from heaving cloves out of the ground. Mark your rows too, so you remember where they are.
7. Care for Garlic Through Winter and Spring
Winter needs almost nothing from you. If green shoots poke up early, leave them alone. The mulch protects them. In spring, pull weeds by hand.
Water during dry spells. Feed only if growth looks pale and your soil was light on compost. Use a nitrogen fertilizer in early spring.
Too much nitrogen gives you leafy plants and small bulbs. On hardneck types, snip the scapes once they curl. That sends energy to the bulb.
Here’s a quick video to follow:
Your Garlic Calendar: From Planting Day to Harvest
Garlic moves slowly. Here is what to expect, month by month.
Fall: You plant the cloves. Roots grow under the soil. You may see a tiny shoot, but nothing tall.
Winter: Garlic goes dormant. The mulch does the work. You can relax.
Early spring: Bright green shoots push through the mulch. Pull weeds by hand and water during dry spells.
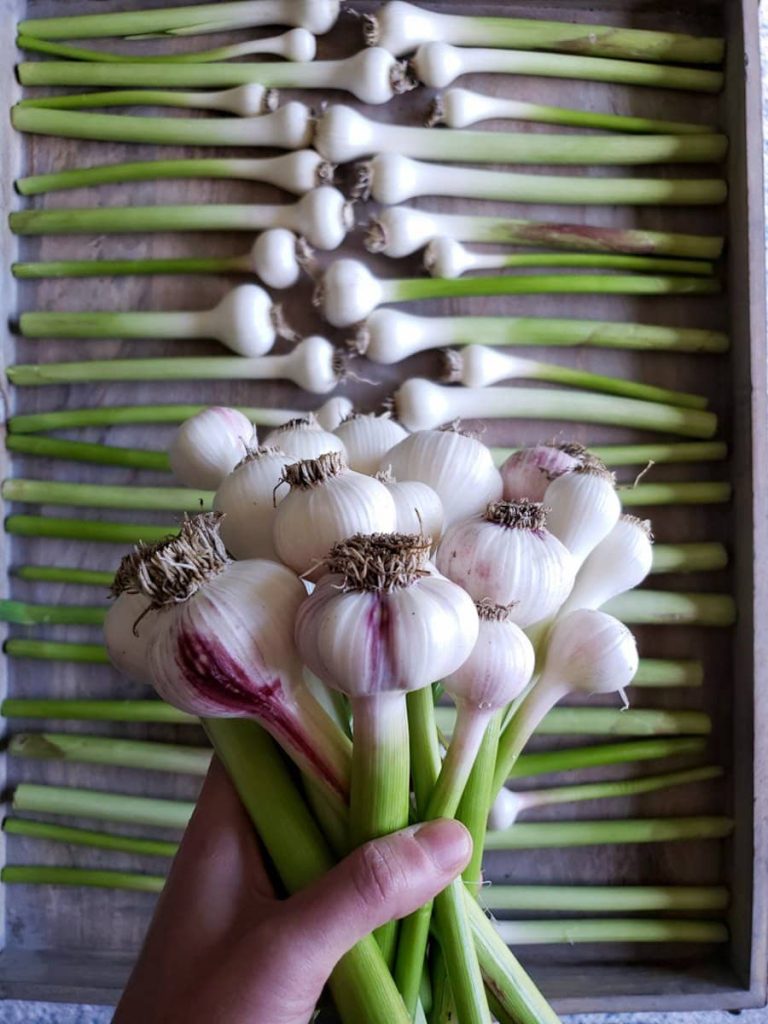
Late spring: Hardneck garlic sends up curly scapes. Snip them off. They taste great in eggs and pesto.
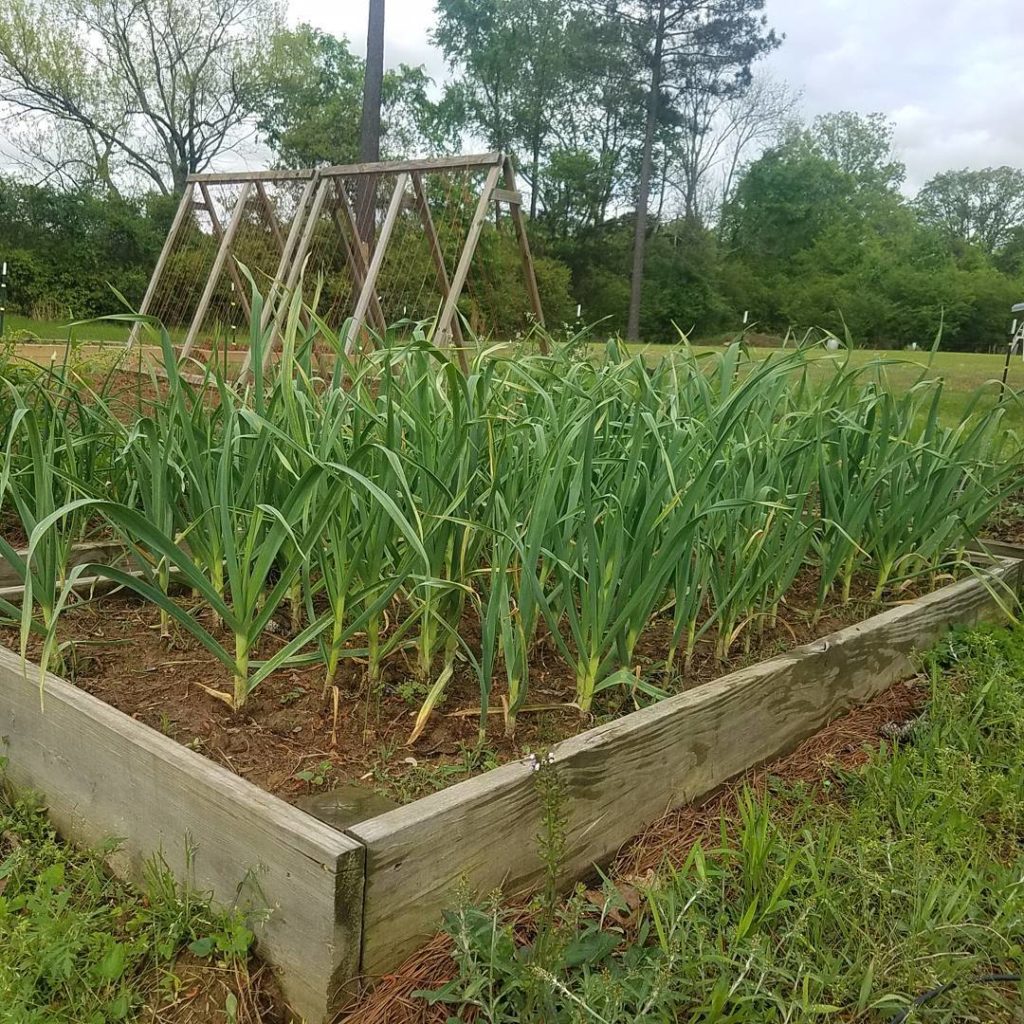
Midsummer: The bottom leaves turn yellow. About half the plant is still green. That is your harvest signal. Pick a dry day. Dig the bulbs gently. Do not pull them.
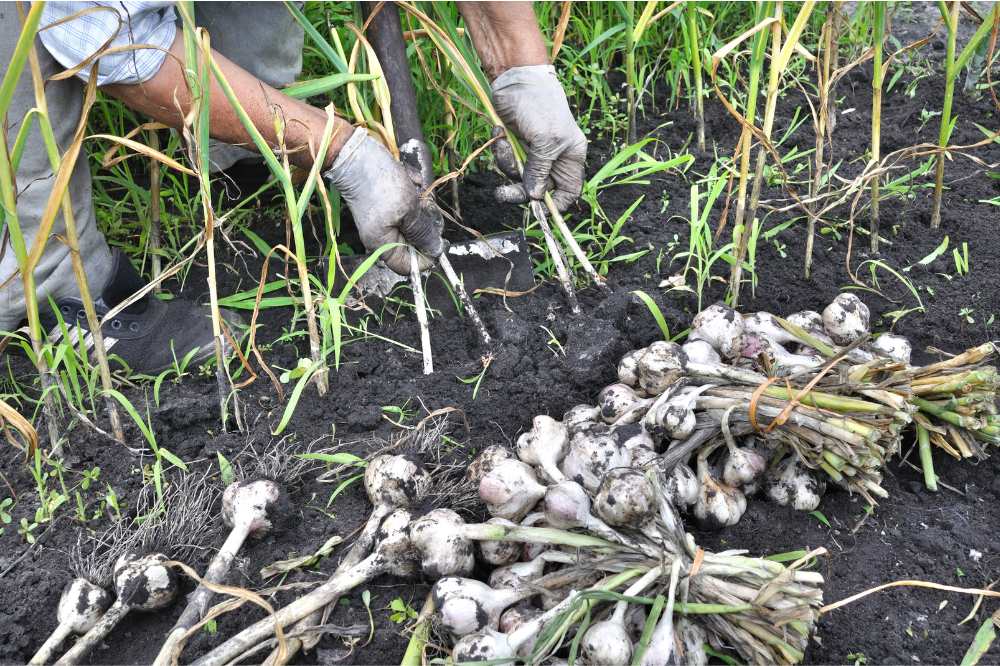
After harvest: Cure the bulbs for 2 to 4 weeks. Keep the leaves on. Use a shady, dry spot with good airflow. Then trim and store.
Most gardeners harvest between June and August. Your exact date depends on your climate and variety.
7 Mistakes That Shrink Your Bulbs
Most garlic problems start on planting day. Here are the common ones and the fixes.
Planting too early: Warm soil pushes out tall shoots. Winter can damage them. Wait until the soil cools.
Using grocery store garlic: These bulbs may be treated to stop sprouting. Buy seed garlic instead.
Planting cloves upside down: The shoot has to twist around to find light. Always point the tip up.
Crowding the cloves: Packed cloves compete for space and food. Stick to 4 to 6 inches apart.
Planting where onions grew: Onion relatives can leave disease behind. Rotate your beds every two to three years.
Skipping the chill in warm climates: Without cold, garlic may form one round bulb. Pre-chill your bulbs in the fridge.
Forgetting the mulch: Bare soil invites weeds and frost heave. Add that layer right after planting.
Growing Garlic in Pots and Raised Beds
No garden bed? No problem. Garlic grows well in containers.
Choose a pot about 12 inches wide. A 5-gallon size works well. Make sure it has drainage holes. Fill it with rich, loose potting mix. Plant six cloves, about 4 inches apart. Water them in and mulch the top.
Pots freeze faster than the ground. In cold climates, set yours against a sheltered wall. Add a little extra mulch.
Raised beds work beautifully too. They drain fast and warm up early in spring. Follow the same depth and spacing as above.
Frequently Asked Questions
Can I plant garlic in spring instead?
Yes, but expect smaller bulbs. Chill your cloves in the fridge for about 8 weeks first. Then plant as soon as the soil is workable.
How long does garlic take to grow?
Fall-planted garlic is ready the following summer. That usually means June through August. Hardneck scapes show up a few weeks earlier.
Can I plant sprouting garlic from my kitchen?
You can try. Results are hit or miss. Store bulbs may be treated, and many are softneck. Seed garlic gives you a much better crop.
What if I miss the ideal planting window?
Plant anyway, as long as the soil is workable. Mulch a little heavier. Your bulbs may come out smaller, but you will still get a harvest.
Can I save my own garlic to replant?
Yes. Set aside your biggest, healthiest bulbs at harvest. Replant those cloves in fall. Garlic often adapts to your garden and improves over the years.
Final Thoughts
Garlic rewards patience. You spend one afternoon planting. Then nature does the heavy lifting all winter. Come summer, you dig up your own bulbs. Nothing from the store tastes quite the same. Grab a few cloves this weekend and get them in the ground.

One Comment