How to Plant Sweet Potatoes in Grow Bags (A Beginners Guide)

I never thought I’d grow sweet potatoes in Vermont. Cold springs and short summers seemed like a recipe for failure. Then I tried grow bags, and my whole garden game changed.
Now I get a portable, sun-chasing setup that works even in a tough climate like mine.
Do you have a tiny patio or unpredictable weather where you live? You’re going to love this method. Grab your gloves, and let’s dig in together.
Why I Choose Grow Bags Over Garden Beds
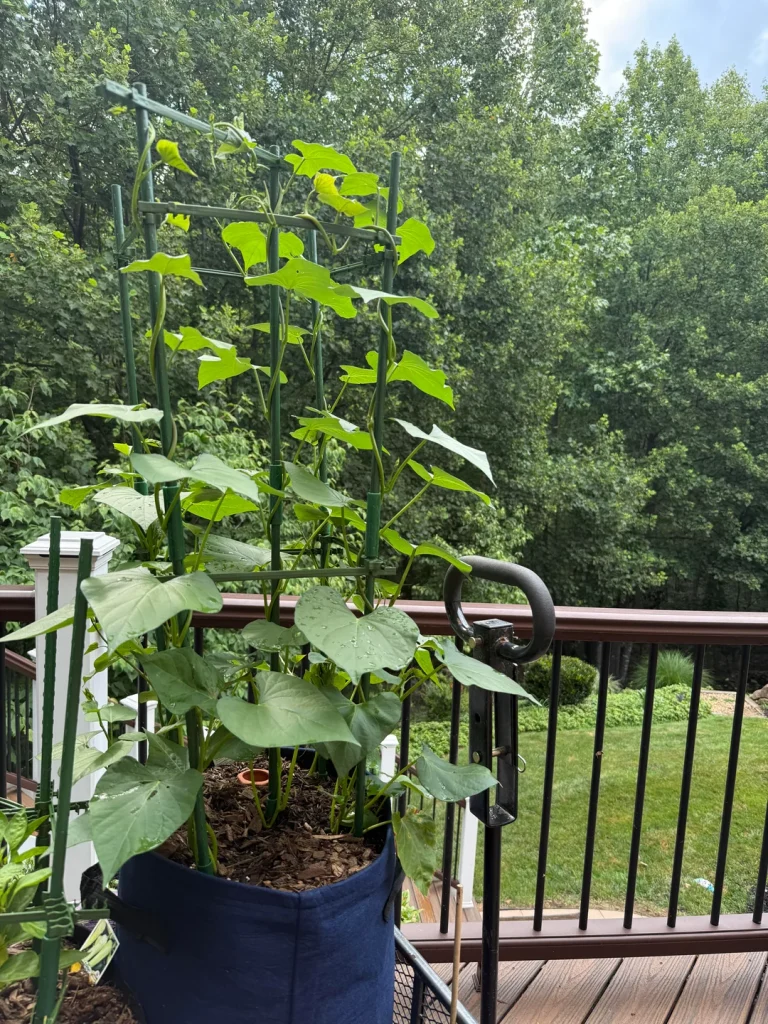
Limited space holds back so many gardeners, and I get it. You don’t need a sprawling plot to grow sweet potatoes at home. I just tuck a single bag onto my deck and call it done. Mobility is honestly the best part for me.
Cold snap rolling in? I just carry my bag indoors for the night. Sweet potatoes hate the cold, and bags let you dodge that problem completely. That kind of flexibility is why I’ll never go back to in-ground planting for these.
Soil inside a bag warms up faster than soil in the ground. Sweet potatoes crave heat, so you’re giving them a real head start. Northern gardeners like me benefit the most from that extra warmth.
I’ve grown these in zone 4 with this trick, and trust me, it worked better than I ever expected.
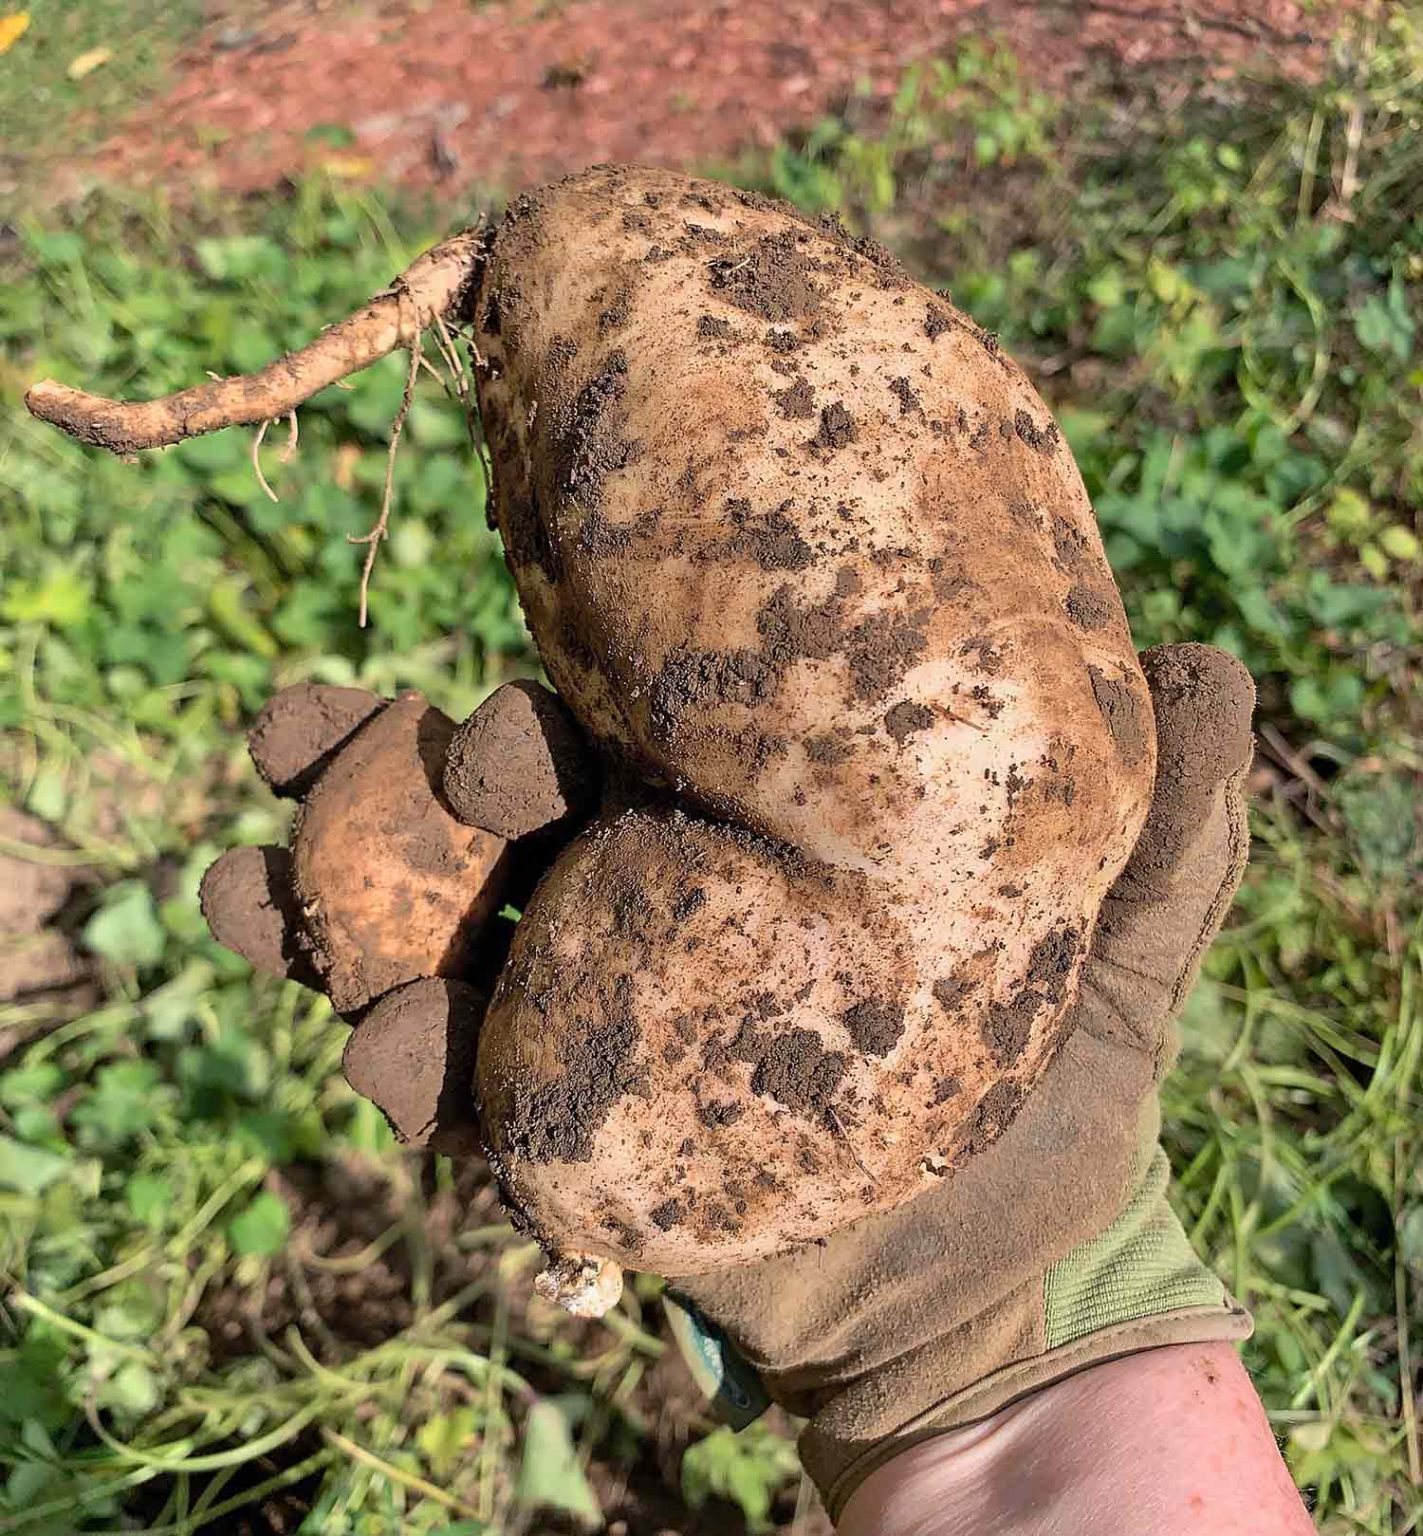
Also read: How to Grow Sweet Potatoes at Home for Beginners
What You Will Need Before We Start
Gathering your supplies first saves you a frustrating mid-project trip to the store. Grab an empty feed bag, a grow bag, or even a sturdy fabric pot.
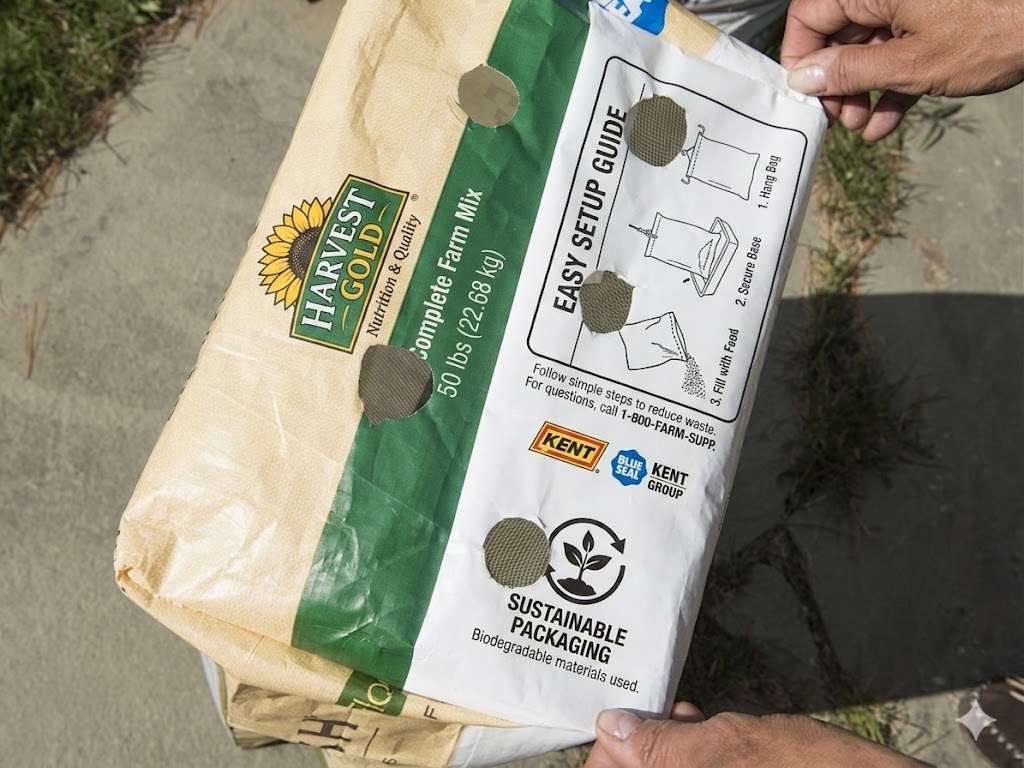
I love reusing old chicken feed bags since it keeps waste out of the landfill.
You’ll also need potting soil, straw, and a small piece of window screen. I always place the screen at the bottom to keep soil from washing out the drainage holes.
Sweet potato slips finish your list, and you can buy them or start your own right on the windowsill like I do.
Soil quality matters more than you’d think. Potting soil mixed with straw keeps everything light and well-aerated for me every time. Your roots need that airflow to expand and form proper potatoes underground.
A Quick Checklist:
- Empty feed bag (I Use 100 Gallon)
- Small piece of window screen
- Potting soil
- Straw
- Sweet potato slips (you can buy them, or see the guideline below how to grow your own)
Read more: How to Grow Tomatoes in Containers
How to Build Your Grow Bag, Step by Step
I always start by flattening the bottom of my bag so it sits level. A wobbly bag annoys me, and yours will tip over if you skip this step. Trust me, five seconds of flattening saves you a mess later.
Next, I roll the top down until the bag stands about a foot tall. This gives you room to add more soil as your plants grow taller. You’ll roll it back up gradually, so don’t worry about getting it perfect now.
Grab scissors or a knife, because drainage holes come next. I cut several holes about an inch wide into the bottom of my bag. Sweet potatoes hate soggy roots, so don’t skip this part.
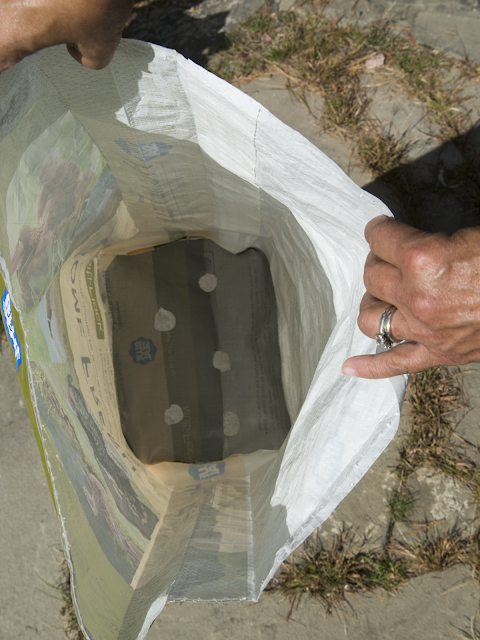
Your window screen goes in right after the holes. I cut mine to fit snugly across the bottom before adding soil. This little screen keeps your soil from spilling out every time you water.
Fill the bag with about four inches of your soil and straw mix. I always pat it down gently so it settles evenly. Your bag is officially ready for planting once this layer is in place.
When and How to Plant Your Slips
Timing makes or breaks this whole process for me. Wait until your last frost has passed and soil temps hit 60°F before planting. Rushing this step risks killing your slips before they even get started.
Once conditions are right, I tuck three or four slips into the soil. Space them out a bit so each plant has room to spread. You want healthy competition, not overcrowding, inside that bag.
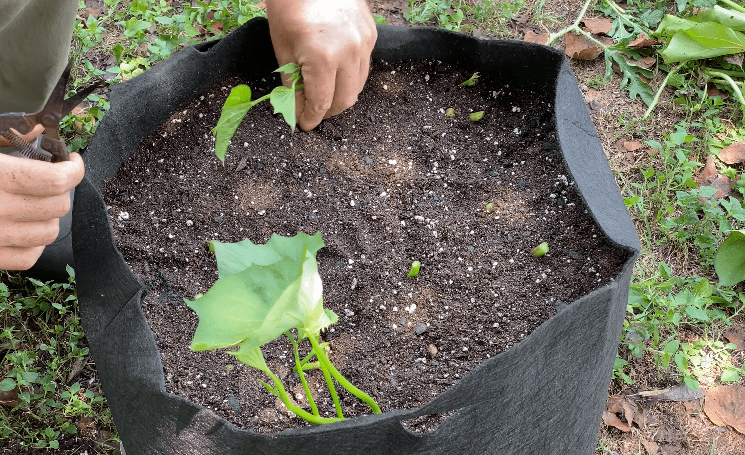
Cover your slips with another four inches of the soil and straw blend.
I water mine well right after planting to help roots settle in. Don’t drown them, though, since soggy soil causes more harm than good.
Here’s something I learned the hard way: skip the fertilizer completely. Fertilizing pushes your plants to grow leaves instead of potatoes. You want all that energy going underground, not into fancy foliage.
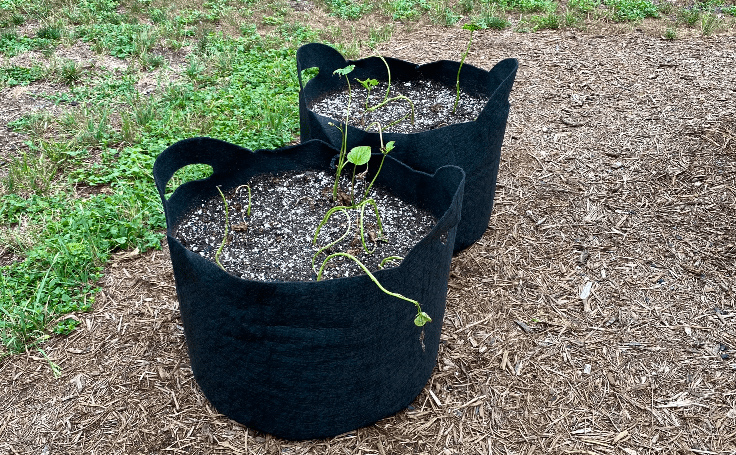
Set your bag somewhere it gets plenty of sun. Sweet potatoes are total sun lovers, and mine thrive on six or more hours daily. Pick your sunniest spot, even if that means moving furniture around on your patio.
Caring for Your Plants as They Grow
Watching your vines stretch out is honestly one of my favorite parts. As your plants grow, roll the bag’s top up little by little. This gives the vines room without overwhelming your space all at once.
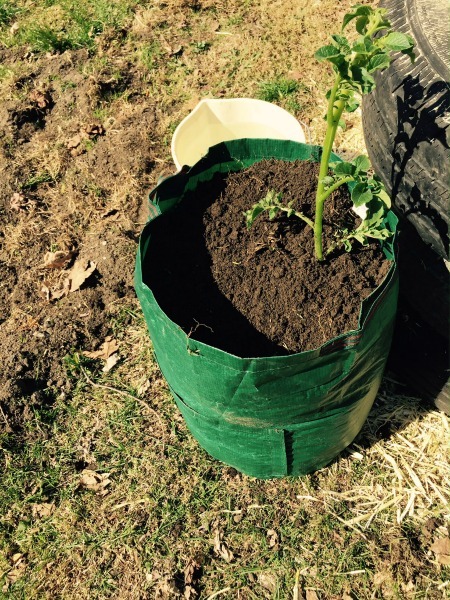
Mound extra soil and straw around the base as you go. I keep the leaves exposed while burying the stems underneath. Your potatoes form along those buried stems, so this step really counts.
Moisture matters, but balance matters more. I check my soil every couple days and water only when it feels dry. Overwatering invites rot, and that’s a heartbreak you don’t want after months of effort.
Temperature swings can sneak up fast, especially where I live. Sweet potatoes thrive around 75°F but tolerate dips down to 60°F. Below that, I cover the bag or drag it inside until things warm back up.
Cold nights used to stress me out until I started treating my bags like pets. I just bring them in when frost threatens. Honestly, that flexibility is the whole reason grow bags changed my gardening life.
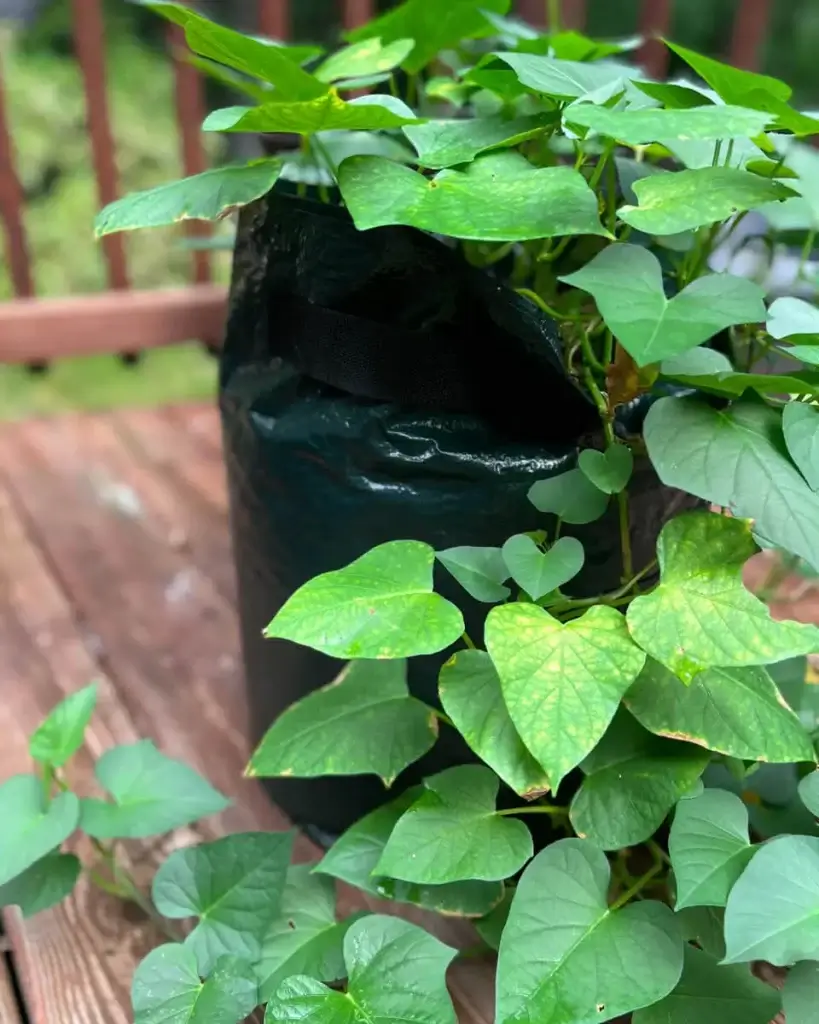
Harvesting and Storing Your Sweet Potatoes
Patience pays off here, and yours will too. Harvest time arrives four to five months after planting, depending on your variety. Shorter-season varieties work best if you garden in a colder zone like mine.
Watch your leaves for the real signal. Once they turn yellow and start dying back, your potatoes are ready. That color change never fails to excite me every single season.
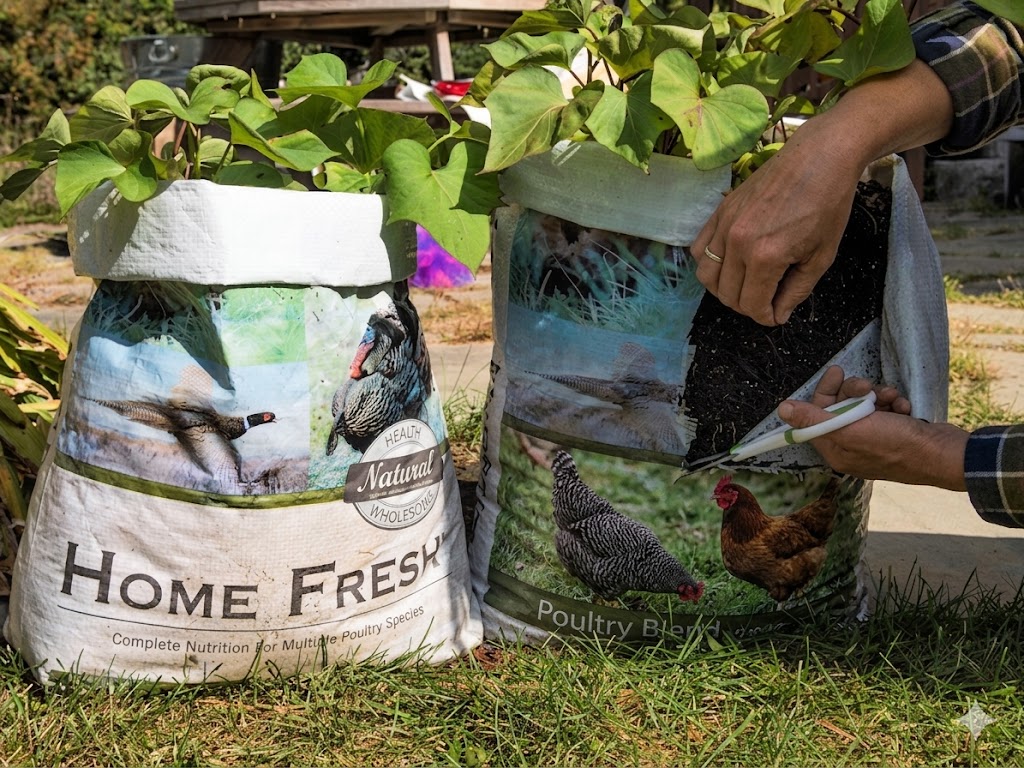
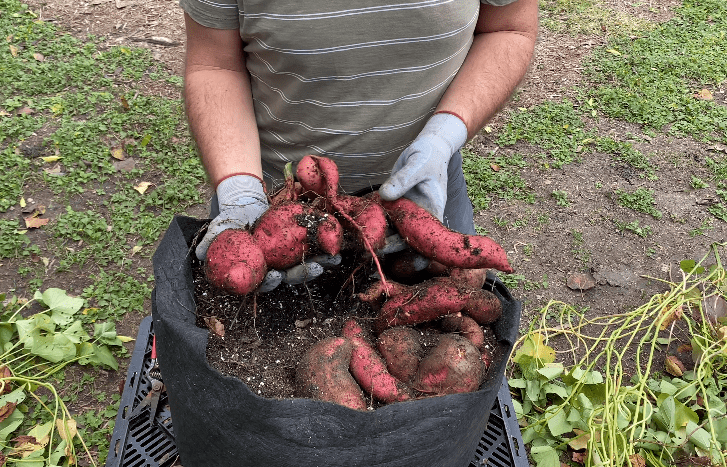
Grab scissors or a sharp knife for this part. I cut down the side of my bag and gently pull the potatoes free. No digging, no backbreaking labor, just an easy reveal.
Brush off the dirt before you do anything else. I let mine air dry indoors for a week or two in a well-ventilated spot. This curing step actually improves their flavor over time.
Storage keeps your harvest going for months. I store whole potatoes somewhere cool, dark, and dry, ideally around 55 to 60°F. You can also chop and freeze extras if you want a backup stash.
Don’t forget to save a few potatoes for next year’s slips. I always start new ones in a jar of water on my windowsill. It’s a satisfying little tradition that keeps my garden going year after year.
How to Sprout Your Own Sweet Potato Slips ( Bonus Part)
Starting your own sweet potato slips is one of those little garden tricks that feels like magic the first time you try it. All you need is a potato and some patience, and soon you’ll have a windowsill full of leafy green sprouts ready for planting.
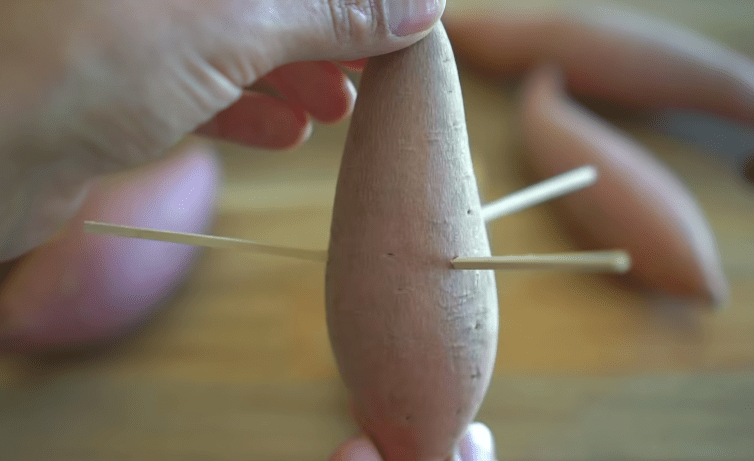
- Grab a sweet potato from your kitchen and slice it cleanly in half. Stick 3 or 4 toothpicks around the middle so it balances on a jar
- Suspend the cut side down in a glass of water, keeping the top exposed
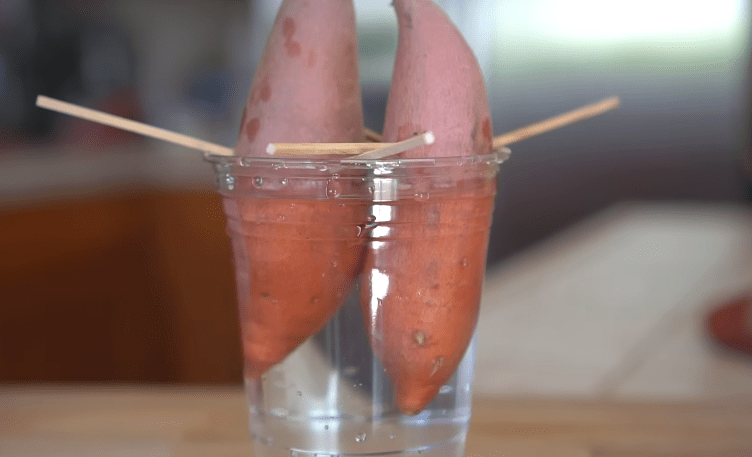
- Set your jar somewhere sunny, since light helps sprouts form faster. Change the water every few days to keep it fresh and odor free
- Watch closely for roots and tiny sprouts to appear within a couple weeks
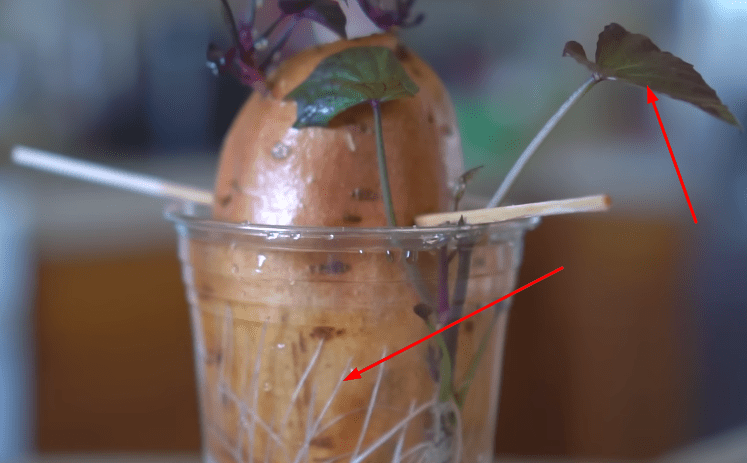
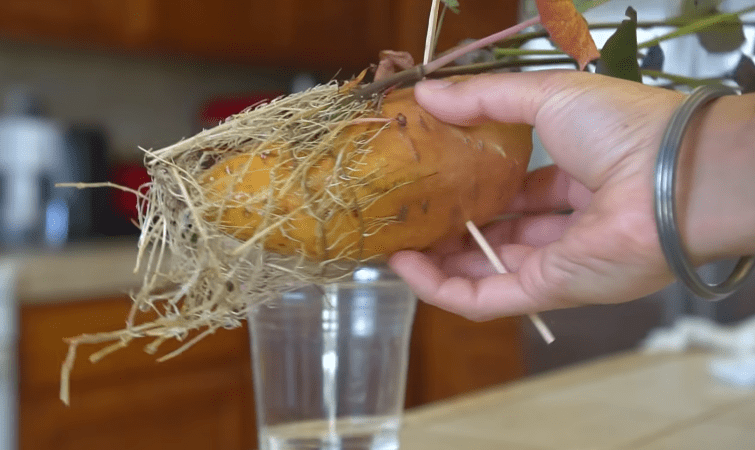
- Let those vines grow until they reach about six inches in length
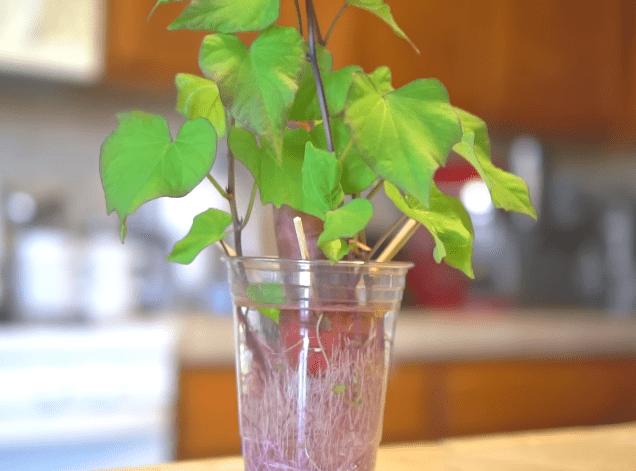
- Snap off individual sprouts once they feel sturdy and well developed
- Root each snapped sprout in its own small glass of water
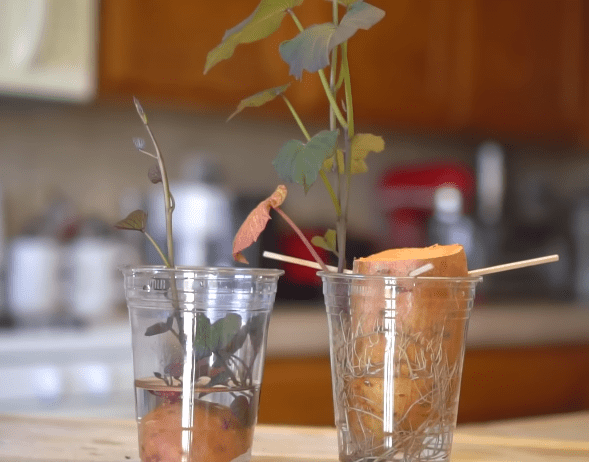
- Plant your slips outdoors once roots stretch an inch or two long
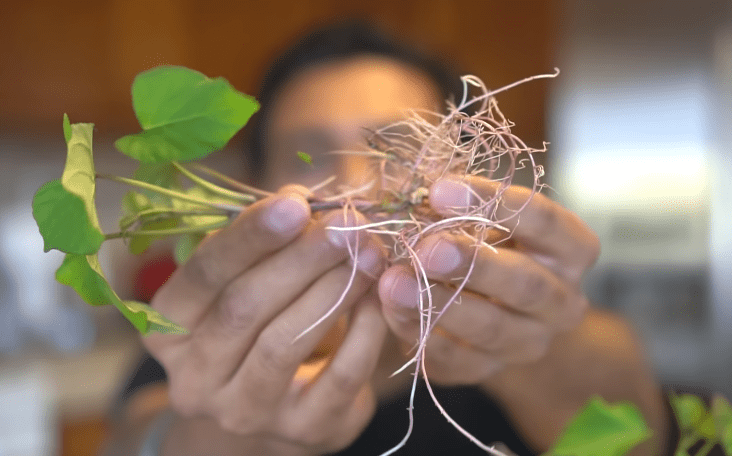
Before you know it, you’ll have a whole batch of slips ready for your grow bags!
N.B. You can also watch the following video for a step by step process.
Final Thoughts
Grow bags turned sweet potatoes from a maybe into a yes for me. You get mobility, warmth, and total control over a finicky crop. Even cold climates like mine can’t stop a determined gardener with the right setup.
Why not grab an old feed bag and give this a shot yourself? I promise the first time you pull a potato out of that bag, you’ll be hooked. Happy planting, friend.