How to Grow Sweet Potatoes at Home for Beginners (Without Losing Your Sanity)

Let me guess—you saw a sweet potato sprouting in your kitchen and thought, “Can I actually grow this thing?”
Short answer: yes. Slightly longer answer: yes… but only if you stop treating it like a regular vegetable and start playing by its rules.
I learned this the hard way. My first attempt? Gorgeous vines, zero potatoes. Basically, I grew decorative leaves. Impressive? Sure. Useful? Not even a little.
Here’s the truth nobody tells you upfront: sweet potatoes don’t care about your enthusiasm. They care about heat, timing, and whether you’ve set things up properly.
Get those right, and they reward you like crazy. Mess them up, and you’ll spend months growing nothing but regret.
In this beginners guide, I’ll walk you through how to grow sweet potatoes at home in a way that actually works—no fluff, no guesswork.
Table of Contents
Understanding How Sweet Potatoes Actually Grow
Not Seeds—Meet the “Slip” System
First things first: you don’t grow sweet potatoes from seeds. You grow them from something called slips—basically sprouts that grow out of a mature sweet potato.
Think of it like cloning. One potato turns into multiple plants. Sounds efficient, right? It is.
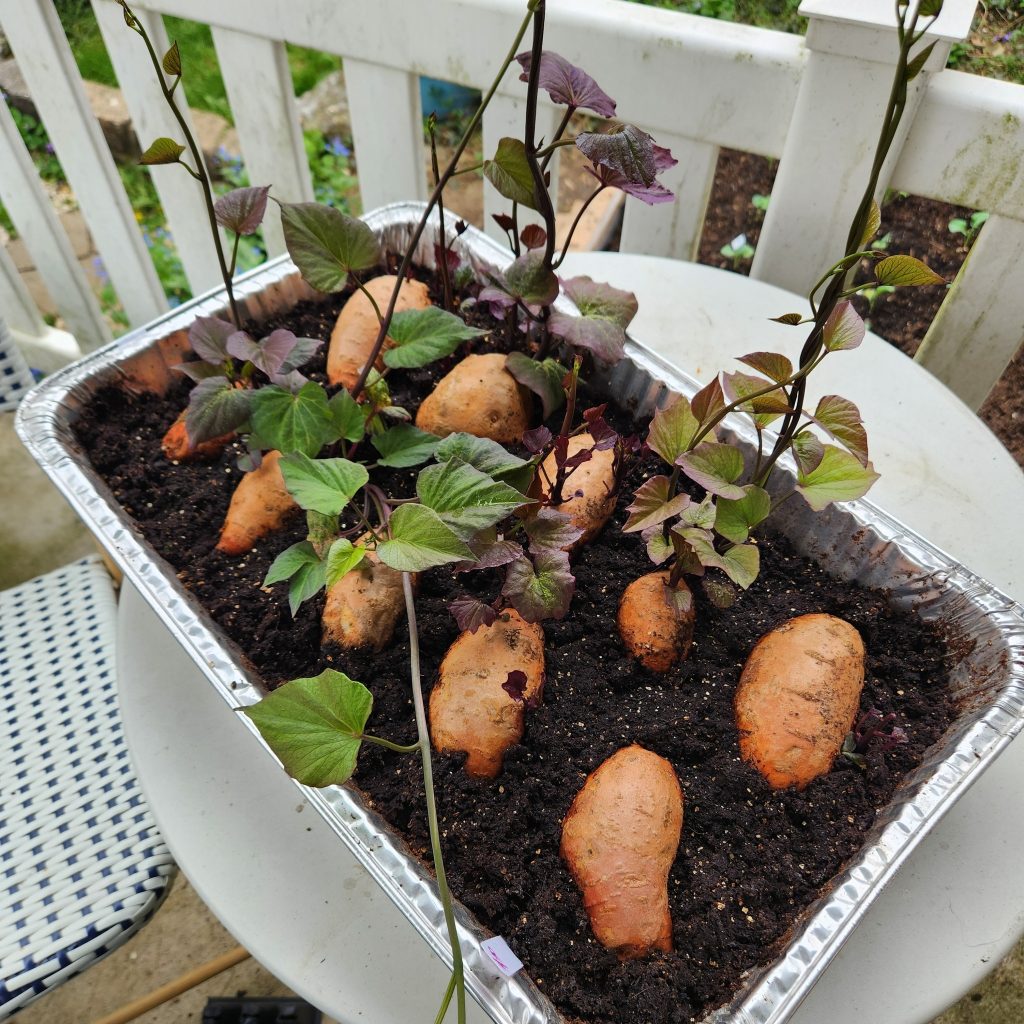
You can make slips at home by placing a sweet potato in water and waiting for sprouts. Or you can buy them if patience isn’t your thing (no judgment).
But here’s the catch—healthy slips = strong harvest. Weak, leggy slips? Yeah, those won’t magically become superstars.
Ever tried building something on a bad foundation? Same energy here.
Why Timing Is Everything (Seriously)
Here’s where most beginners mess up: they plant too early.
Sweet potatoes are obsessed with warmth. I mean obsessed. Cold soil shuts them down instantly, and they don’t bounce back gracefully.
You want soil that feels properly warm—not “kinda nice,” but consistently warm. If you rush it, your plants just sit there, judging you.
So ask yourself: Would I wear a T-shirt in this weather? If the answer is no, your sweet potatoes agree.
Choosing the Perfect Spot (Because Location = Yield)
Sunlight: The Non-Negotiable Factor
If you take only one thing from this guide, take this:
Sweet potatoes need full sun. No compromises.
We’re talking 6–8 hours of direct sunlight every day. Not filtered light. Not “bright shade.” Actual, honest sunlight.
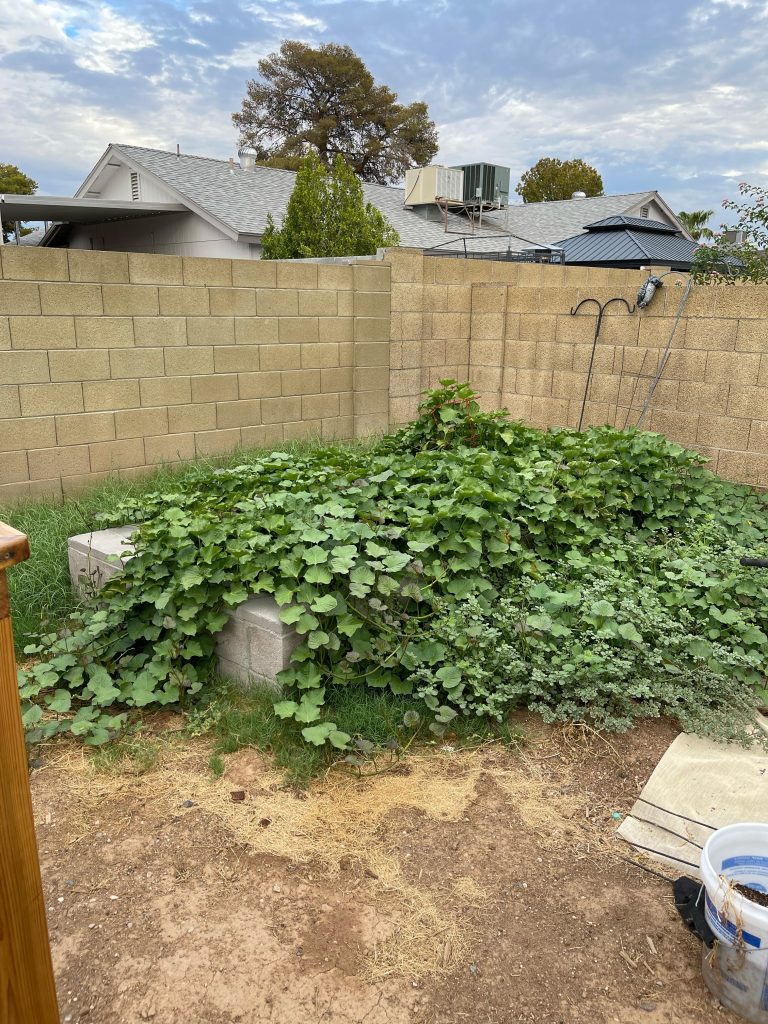
I once tried growing them in a partially shaded spot. The vines looked happy… but underground? Nothing. It’s like they clocked in but refused to work.
Ever notice how the best gardens always sit in the sunniest corner? Yeah, that’s not a coincidence.
Ground vs Containers: What Works Better?
Now here’s the fun part—you’ve got options.
You can grow sweet potatoes:
- In the ground
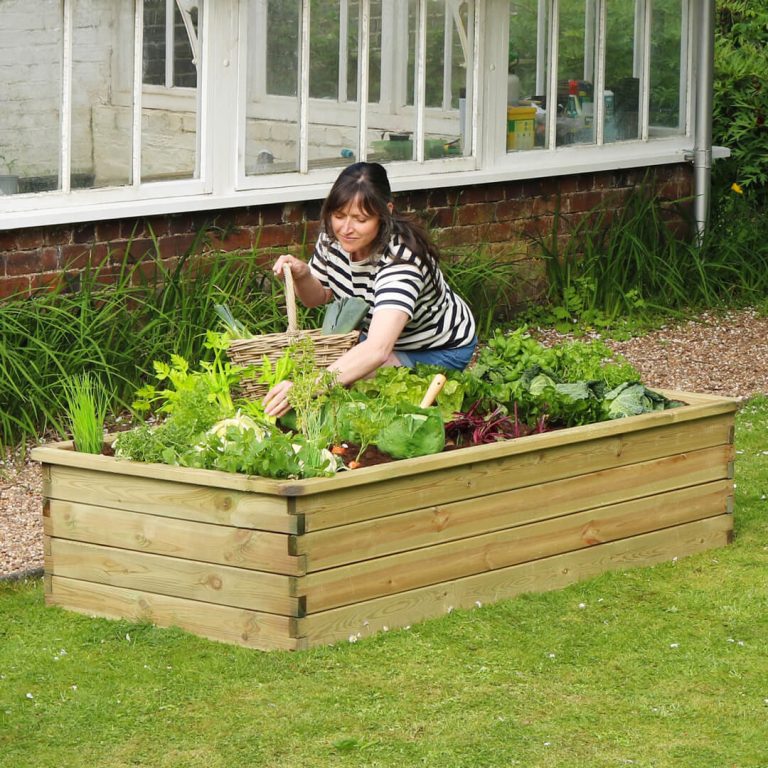
- In raised beds
- In containers or grow bags
Containers give you more control, especially if your soil isn’t great. You control drainage, warmth, and spacing. Honestly, IMO, containers feel like a cheat code for beginners.
But if you’ve got good soil already? The ground works just fine.
So ask yourself: Do I want control or convenience? Pick your battlefield wisely.
Space: Give Them Room to Take Over
Sweet potato vines don’t grow politely. They spread like they own the place.
Each plant needs space to stretch out, soak up sunlight, and build those underground tubers. If you crowd them, they compete—and nobody wins.
Think of it like this: More space above ground = more potatoes below ground.
Simple equation, big difference.
Soil Prep: Where Winners (and Losers) Are Decided
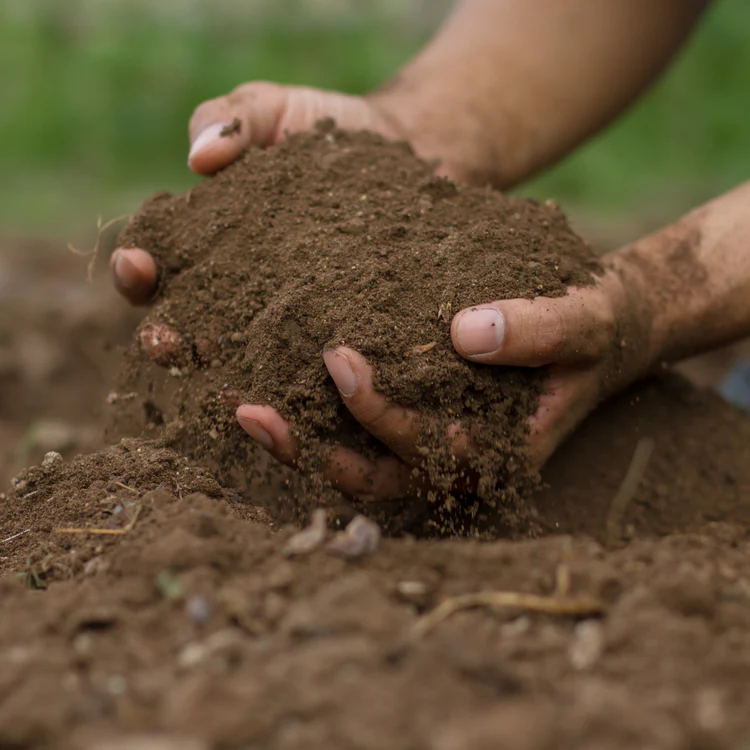
Loose Soil = Big, Beautiful Potatoes
Let’s get brutally honest—your soil determines your harvest more than anything else.
Sweet potatoes grow underground, which means they need space to expand. If your soil feels hard, compact, or clay-heavy, your potatoes will come out small, twisted, or just plain disappointing.
You want loose, well-drained soil packed with organic matter. Think compost-rich, slightly sandy, and easy to dig with your hands.
I once skipped proper soil prep because I felt “lazy but optimistic.” The result? Tiny, awkward potatoes that looked like they lost a fight. Lesson learned.
The Perfect Soil Formula (Without Overthinking It)
You don’t need a lab test. Keep it simple:
- Well-draining soil (no waterlogging, ever)
- Compost mixed in generously
- Slightly acidic pH (around 5.5–6.5)
If your soil holds water like a sponge, fix it. Add sand, compost, or just switch to raised beds.
Ask yourself: Would I want to grow inside this soil? If the answer feels like “nope,” your sweet potatoes agree.
Raised Beds & Ridges: The Smart Upgrade
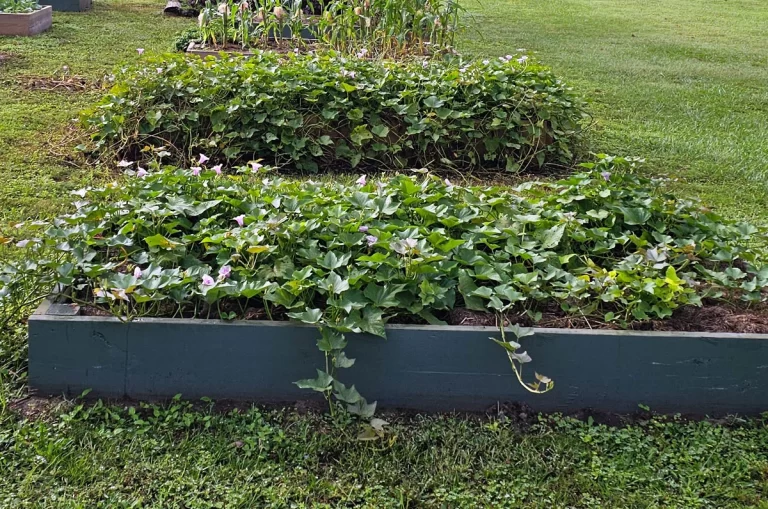
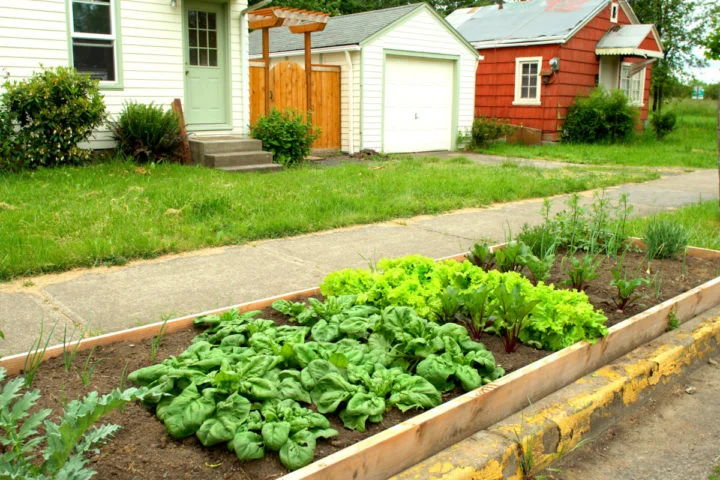
Want to level up instantly? Use raised beds or soil ridges.
They:
- Improve drainage
- Warm up faster
- Give roots more room
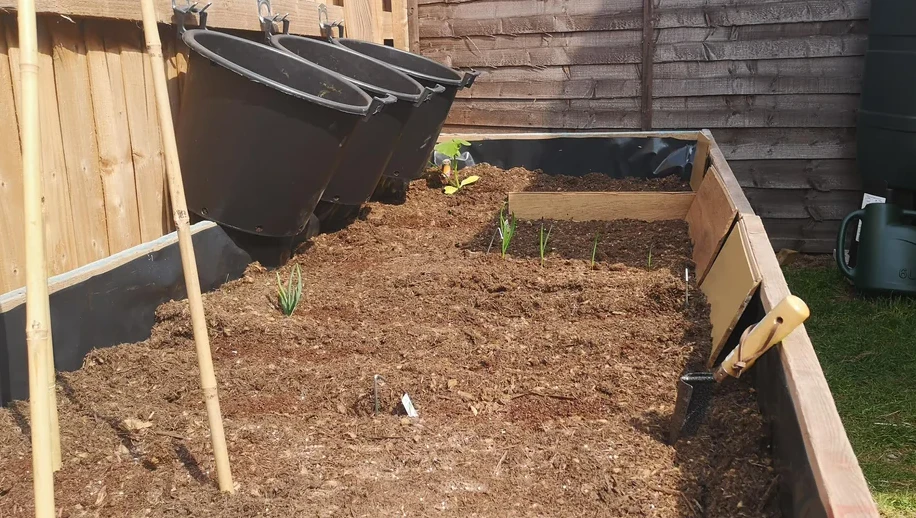
And here’s the kicker—warmer soil = faster growth. It’s like turning up the speed on your entire harvest.
FYI, this one tweak alone can make you look like a pro gardener.
Planting Sweet Potato Slips (Do It Right Once)
When to Plant (Timing, Again… Yes, It Matters)
You waited this long—don’t rush now.
Plant only when:
- Soil feels warm
- Nights stay consistently mild
If you plant too early, your slips just sit there doing absolutely nothing. It’s like putting someone on a treadmill that isn’t plugged in.
So ask yourself: Am I planting because it’s time—or because I’m impatient?
How to Plant Slips Properly
Here’s the move:
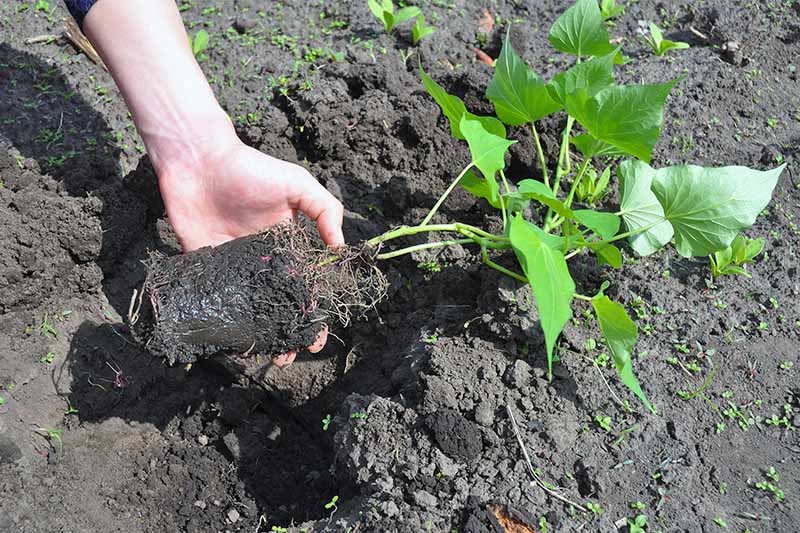
Plant each slip 4–6 inches deep, with the leaves sticking above the soil. Space them 12–18 inches apart, and keep rows about 3 feet apart.
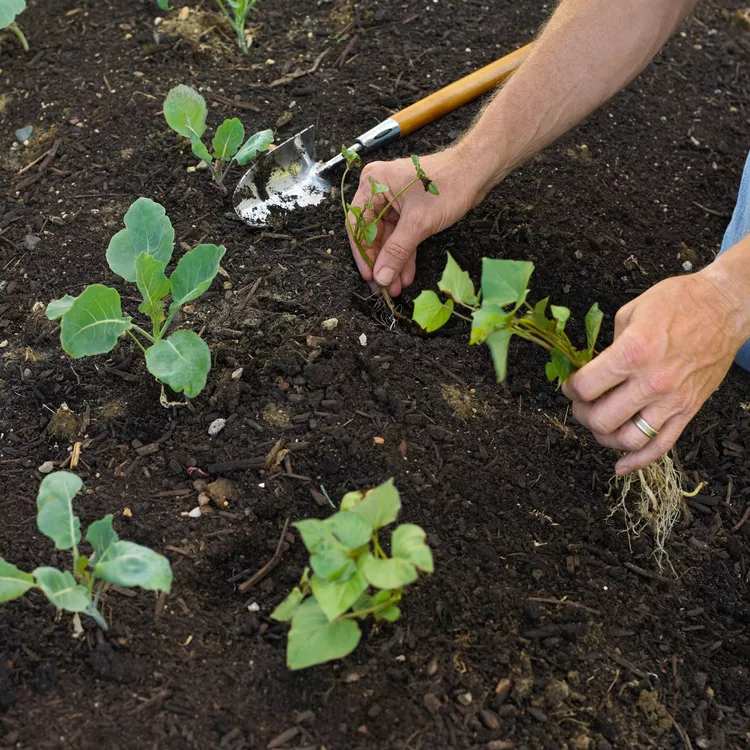
That spacing might feel excessive at first. It’s not.
Remember: these plants spread like they’re trying to claim territory.
And here’s a subtle trick—bury part of the stem horizontally. More buried nodes = more roots = more potatoes. Simple, but powerful.
First Watering: Don’t Mess This Up
Right after planting, give them a deep, thorough watering.
This helps:
- Settle the soil
- Remove air pockets
- Kickstart root development
But don’t turn your garden into a swamp. Sweet potatoes hate soggy conditions more than anything.
Think moist—not soaked.
The First Two Weeks: Where Everything Gets Decided
Daily Care (Yes, It’s That Important)
The first 10–14 days? This is your “prove yourself” phase.
During this time:
- Water regularly
- Keep soil consistently moist
- Watch for wilting
If you neglect them now, they never fully recover. Harsh? Maybe. True? Absolutely.
Ever tried fixing a bad start halfway through a project? Same frustration here.
Signs You’re Doing It Right (or Very Wrong)
Your plants will tell you everything—you just have to pay attention.
Good signs:
- Upright, green leaves
- New growth appearing
Bad signs:
- Drooping leaves → not enough water
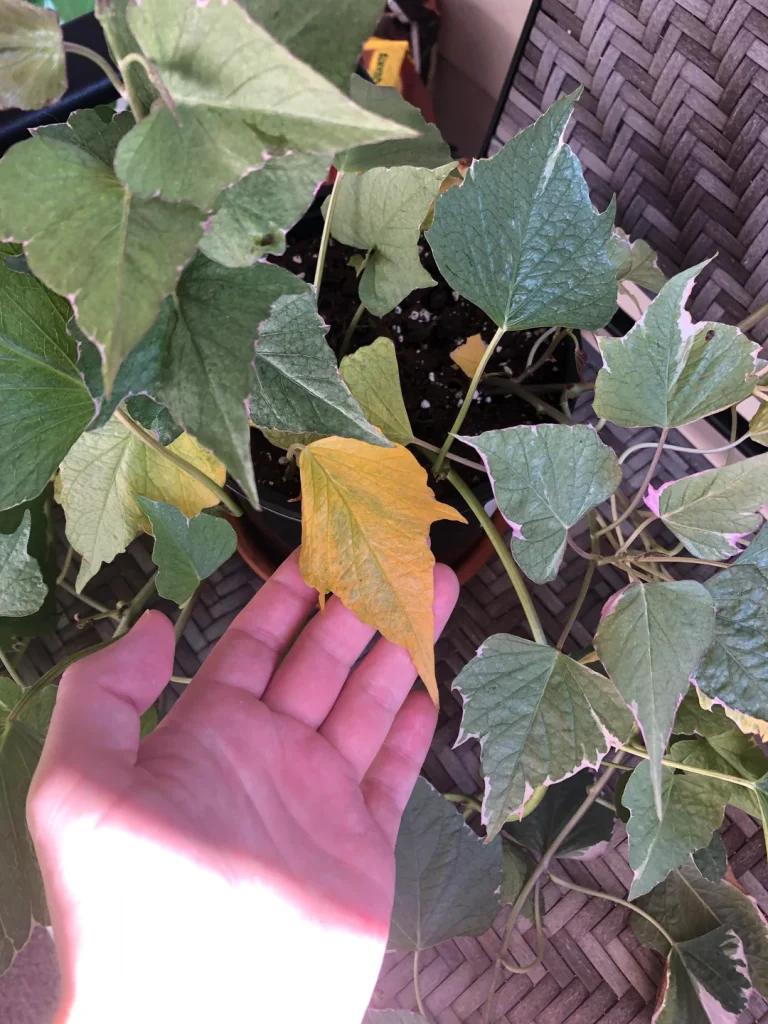
- Yellowing early → too much water
Plants don’t lie. They just quietly suffer if you ignore them.
Mulching: The Lazy Genius Move
Want to work less and get better results? Use mulch.
It helps:
- Retain moisture
- Regulate soil temperature
- Reduce weeds
And honestly, anything that saves effort and improves yield deserves respect.
So ask yourself: Why make this harder than it needs to be?
Fertilizing Without Ruining Everything
The Biggest Mistake: Too Much Nitrogen
This one hurts beginners the most.
If you overfeed with nitrogen, your plants go wild—huge leafy vines, zero potatoes.
Looks impressive above ground. Completely useless below.
What you actually want:
- Low nitrogen
- More phosphorus and potassium
In simple terms: feed the roots, not the leaves.
How Often Should You Feed?
If you’re growing in the ground, keep it light—compost often does the job.
If you’re using containers, feed every 2–4 weeks with a balanced, low-nitrogen fertilizer.
Containers lose nutrients faster, so they need a bit more attention.
But again—don’t overdo it. Sweet potatoes don’t need pampering. They need restraint.
Watering Strategy: Stop Guessing, Start Controlling
Consistency Beats Everything
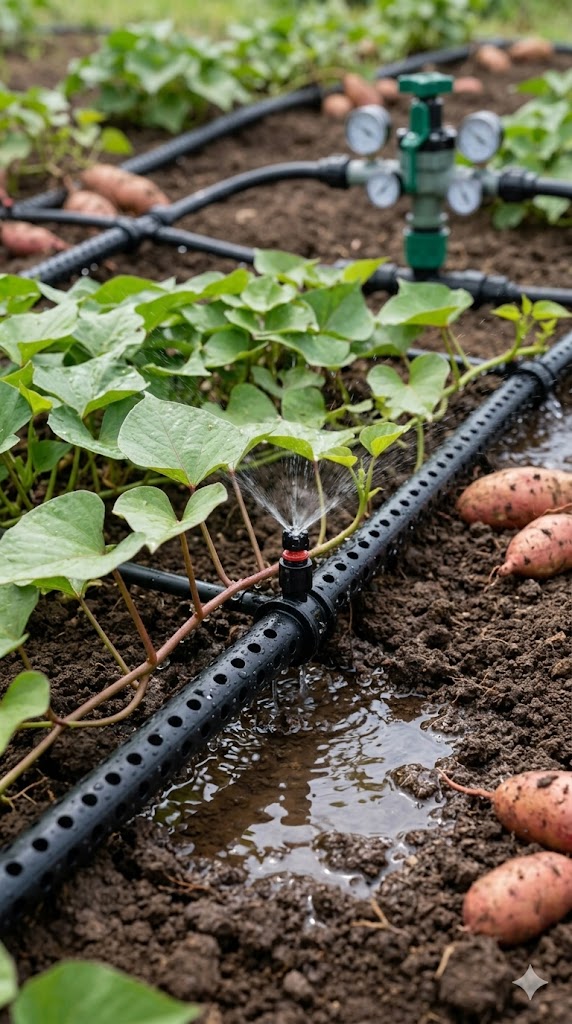
Let’s clear something up—sweet potatoes don’t need more water, they need consistent water.
In the early stage, keep the soil evenly moist. Not soaked. Not dry. Somewhere in that annoyingly precise middle.
Once the plants establish themselves, you can ease off slightly. But if you swing between drought and flooding, your plants panic—and your harvest suffers.
Keep your sweet potatoes hydrated with these watering tips:
Initial Care: Water new slips frequently until they take root. Once established, aim for roughly 1 inch of water per week.
Harvest Prep: Taper off watering 2 to 3 weeks before you plan to harvest. This helps prevent the skins from cracking, ensuring they stay in good condition during storage.
What Happens When You Get It Wrong?
Your plants will react fast—and not subtly.
Too much water:
- Yellowing leaves
- Rotting roots
- Weak tubers
Too little water:
- Wilting vines
- Stunted growth
- Smaller harvest
And here’s the kicker—inconsistent watering leads to cracked or misshapen potatoes. They still grow, but they won’t look pretty.
So ask yourself: Do I water on a schedule, or just when I remember? Be honest.
When to Reduce Watering
As harvest approaches, start cutting back slightly.
Why? Because too much water late in the season can reduce sweetness and cause splitting.
You’re basically telling the plant, “Wrap it up, we’re done here.”
Timing matters—even at the finish line.
Feeding Strategy: Keep It Under Control
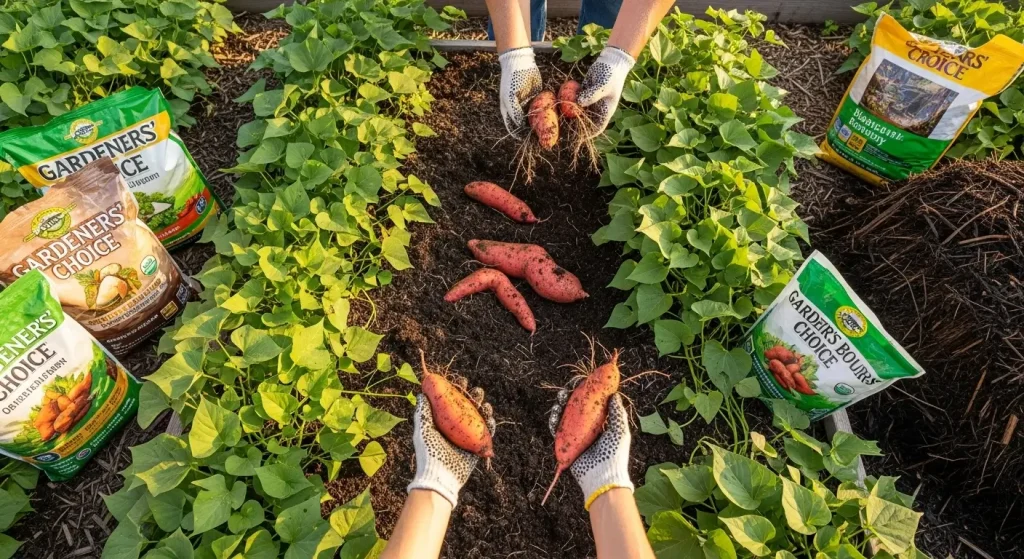
Why “More Fertilizer” Backfires
You already know nitrogen causes leafy overgrowth. But here’s the deeper truth:
Sweet potatoes thrive in slightly lean conditions.
If you overfeed, the plant focuses on vines instead of tubers. It looks amazing above ground and disappoints you underground.
It’s like putting all your effort into packaging and forgetting the product.
So yeah—resist the urge to overdo it.
A Simple Feeding Routine That Works
Stick to this mindset:
- Start with compost-rich soil
- Add light feeding if needed
- Avoid constant fertilizing
If your plants look healthy, don’t “fix” anything. Seriously.
Ever noticed how over-adjusting usually makes things worse? Same logic applies here.
Pest & Disease Control (Without Paranoia)
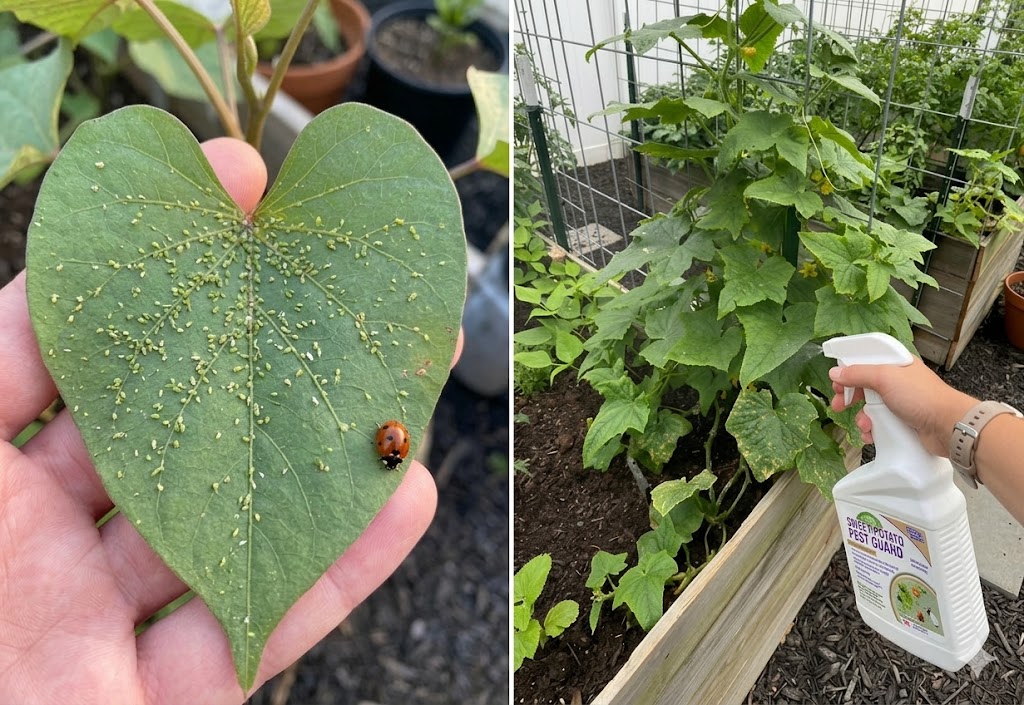
The Hidden Enemies Underground
Here’s the annoying part—most damage happens where you can’t see it.
Common pests include:
- Wireworms
- Sweet potato weevils
- Beetles
They attack the tubers directly, which means you only discover the problem at harvest. Fun surprise, right?
Prevention > Reaction
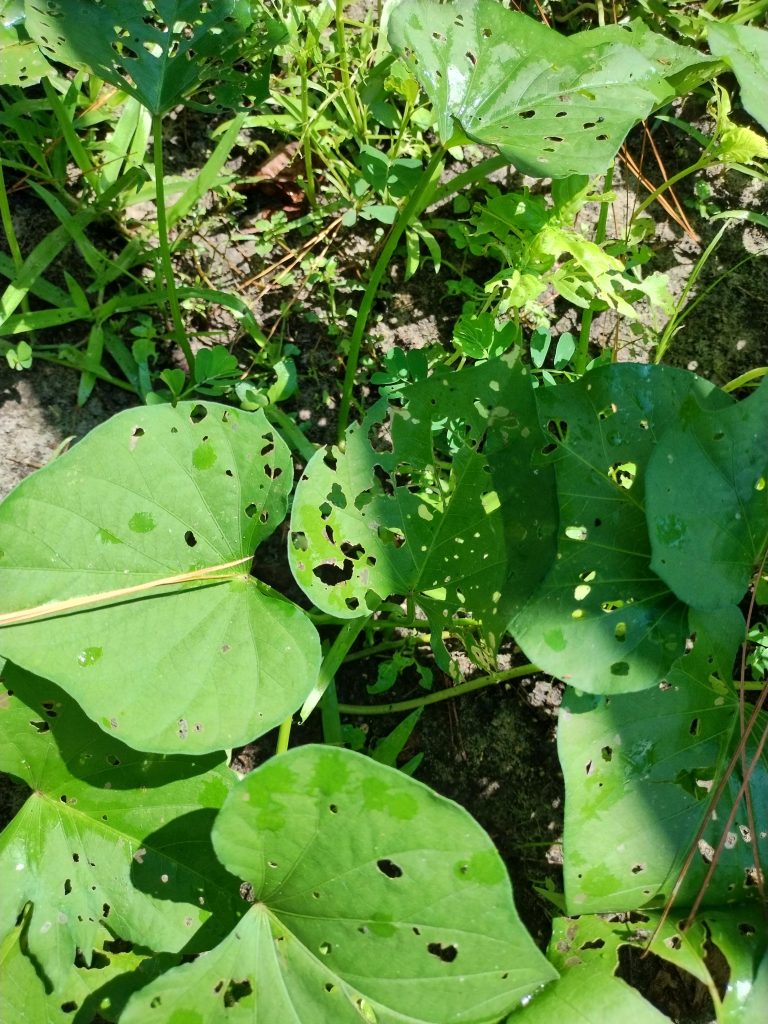
You don’t need to go full pesticide mode. Just stay smart:
- Rotate crops every season
- Keep your garden clean
- Avoid planting in the same spot repeatedly
This alone prevents most issues.
Ask yourself: Am I giving pests a free invitation by repeating the same setup?
Natural Defense Methods That Actually Work
If you want extra protection:
- Use neem-based sprays
- Encourage beneficial insects
- Keep soil healthy
Healthy plants resist problems better. Weak plants attract them.
Simple rule: strong plants don’t get bullied easily.
Managing Vines (Yes, They Need Boundaries)
Let Them Sprawl… But Not Everywhere
Sweet potato vines grow aggressively. They spread, crawl, and basically ignore personal space.
You can let them roam, but here’s a trick:
👉 Avoid constantly moving the vines
When vines root at nodes along the ground, they can divert energy away from the main tubers.
Some gardeners gently lift vines occasionally to prevent this. It’s a small move with a noticeable impact.
Should You Prune Them?
Short answer: not really.
Long answer: only if they become unmanageable.
Cutting too much reduces energy production, which means fewer potatoes. And that defeats the whole purpose.
So unless your garden looks like a jungle documentary, leave them alone.
The Silent Mistakes That Ruin Everything
Planting in Cold Soil
This one deserves repeating:
Cold soil = delayed or failed growth
No matter how perfect everything else is, cold soil kills momentum.
Overwatering (The #1 Killer)
Most beginners don’t underwater—they overwater.
Sweet potatoes prefer slightly dry conditions over soggy ones. Always.
If your soil stays wet for long periods, you’re asking for rot.
Ignoring the First Few Weeks
Those first two weeks? They set the entire tone.
Neglect them early, and you spend months trying to recover something that never fully develops.
Harvesting Too Early
Impatience strikes again.
If you dig too soon, you get small, underdeveloped potatoes. They don’t magically grow after harvest.
So yeah—wait it out.
When to Harvest Sweet Potatoes (Don’t Rush This)
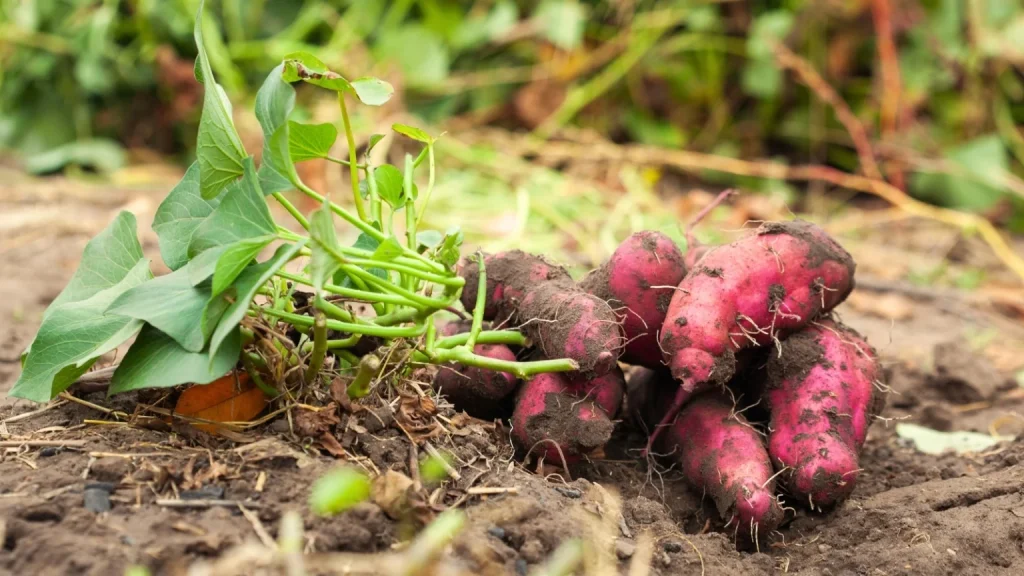
The Signs Your Crop Is Ready
You made it this far—don’t sabotage everything by harvesting too early.
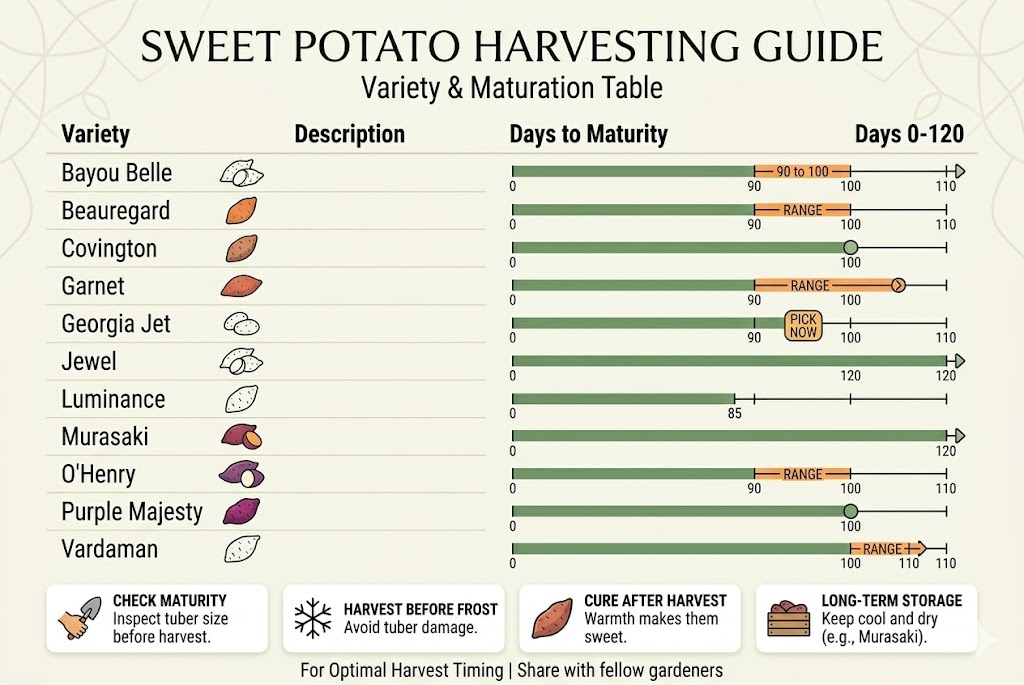
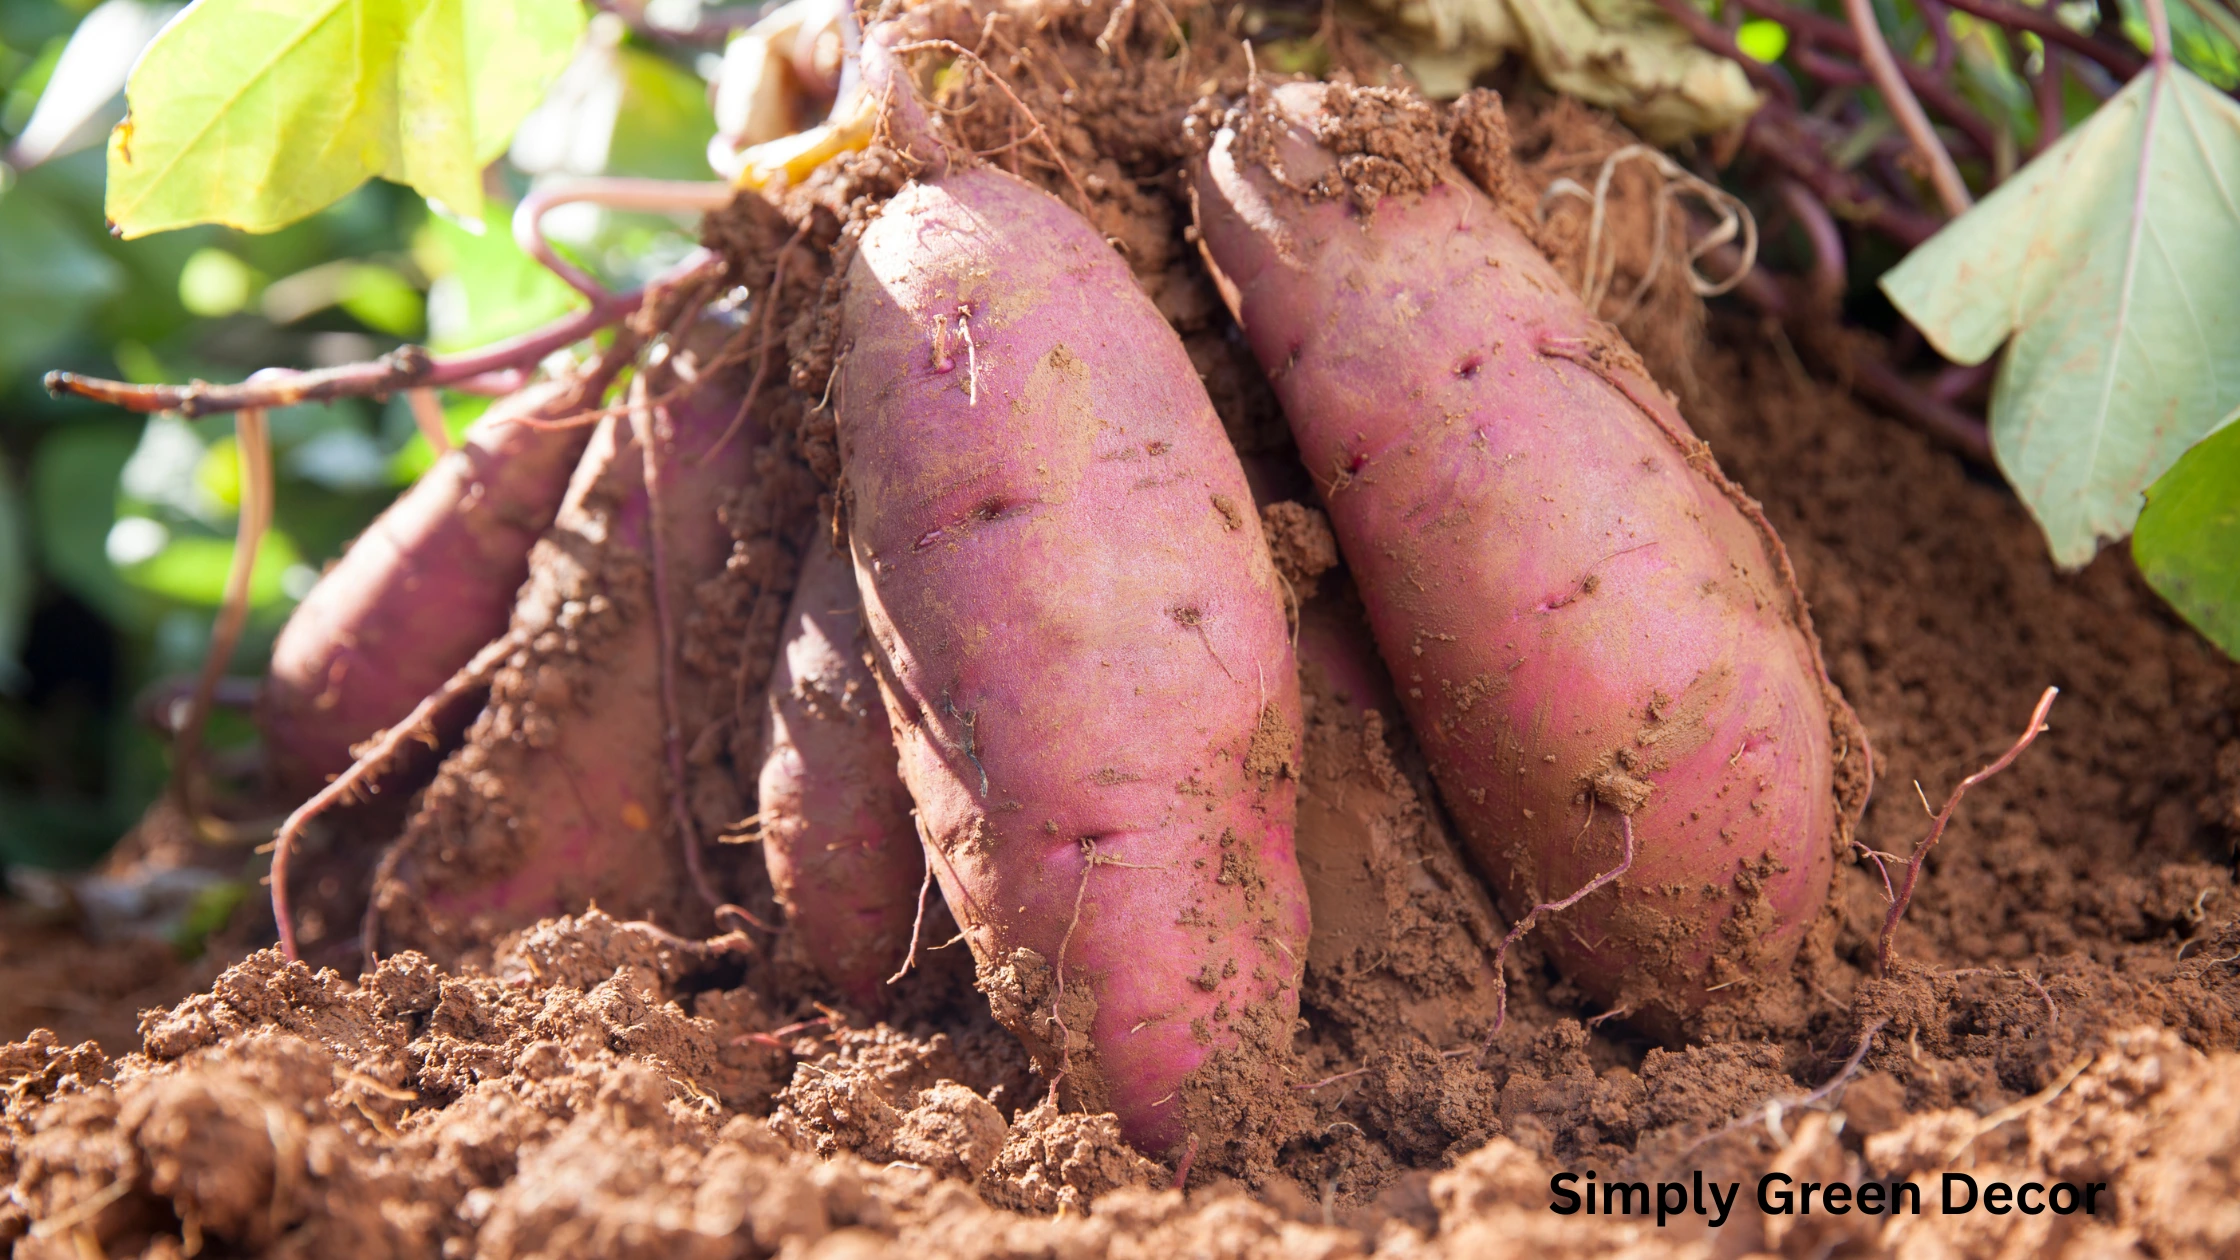
Sweet potatoes typically need 90–120 days to mature, depending on the variety and growing conditions. But instead of counting days like it’s a countdown, watch the plant.
Clear signs it’s time:
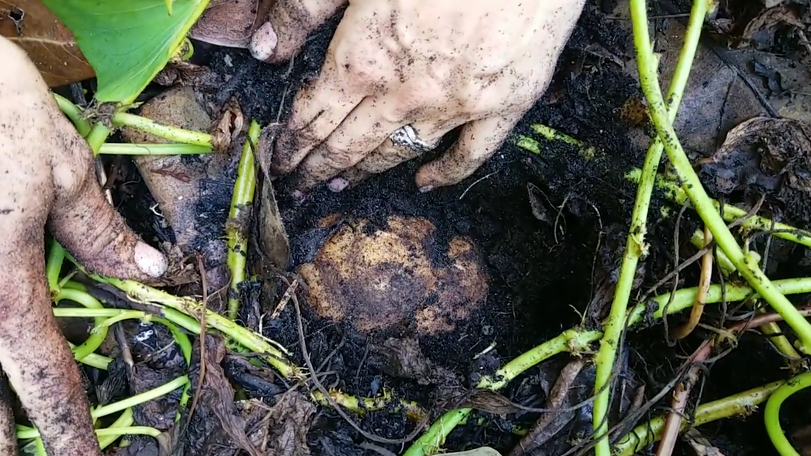
- Leaves start turning yellow
- Vines slow down or begin to die back
- Growth above ground looks… tired
Ever felt that end-of-season energy where everything just winds down? Your plants feel it too.
How to Harvest Without Ruining Everything
Here’s the deal—sweet potatoes bruise easily.
Use a garden fork or your hands to gently loosen the soil. Then lift them carefully. Don’t stab blindly unless you enjoy harvesting damaged potatoes.
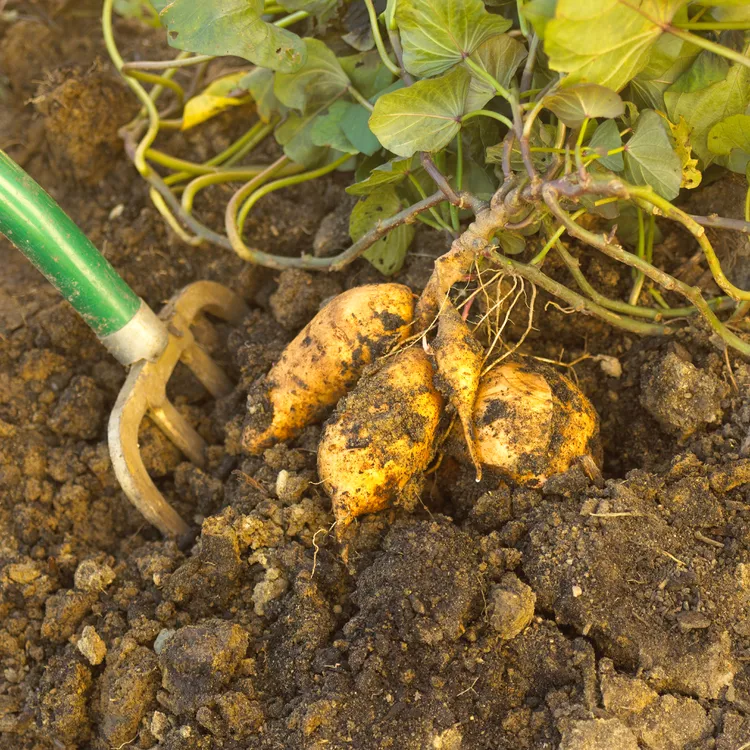
I learned this the painful way. One careless dig, and suddenly half my harvest looked like it survived a knife fight.
Take your time. This part deserves it.
Curing: The Step Most People Skip (And Regret)
Why Curing Changes Everything
Freshly harvested sweet potatoes don’t taste that sweet. I know—rude, right?
They need curing to:
- Heal small cuts
- Convert starch into sugar
- Improve flavor and storage life
Skip curing, and you get bland results. Do it right, and the flavor levels up dramatically.
So yeah—this step isn’t optional.
How to Cure Sweet Potatoes Properly
Keep it simple:
- Warm temperature: around 30°C (85–90°F)
- High humidity: around 80–90%
- Duration: 7–10 days
You can use a warm room, a covered area, or even a makeshift setup.
Ask yourself: Do I want average potatoes or actually good ones? Easy choice.
Final Thoughts (From Me to You)
Growing sweet potatoes at home isn’t complicated—but it does demand patience.
You plant something small. You wait longer than you want. You question whether anything is happening.
And then one day, you dig into the soil—and pull out actual food you grew yourself.
That moment? Worth it.