How to Grow Pumpkins in Containers (Yes, Even on a Balcony)

Pumpkins have a reputation problem.
Ask most gardeners if you can grow one in a pot, and they’ll laugh. Vines that stretch twenty feet. Leaves the size of dinner plates. It sounds like a plant built for acreage, not a balcony.
But that reputation only fits the giants. The 200-pound county fair winners. Step outside that world, and pumpkins are actually pretty reasonable houseguests.
Pick a compact variety. Give it a container with real room. You can pull a genuine harvest off a patio, a deck, or a sunny slab of concrete.
Quick note: this isn’t the guide for growing a giant pumpkin. Those need open ground and a whole summer of dedication. But for real, cookable pumpkins without digging up your yard? Containers can absolutely get you there.
Why Grow Pumpkins in Pots?
Maybe your yard is tiny. Maybe you don’t have one at all.
Maybe three giant oak trees hog all the sun, and pumpkins need six hours of it, minimum. Or your soil is thick clay that turns into a swamp every time it rains.
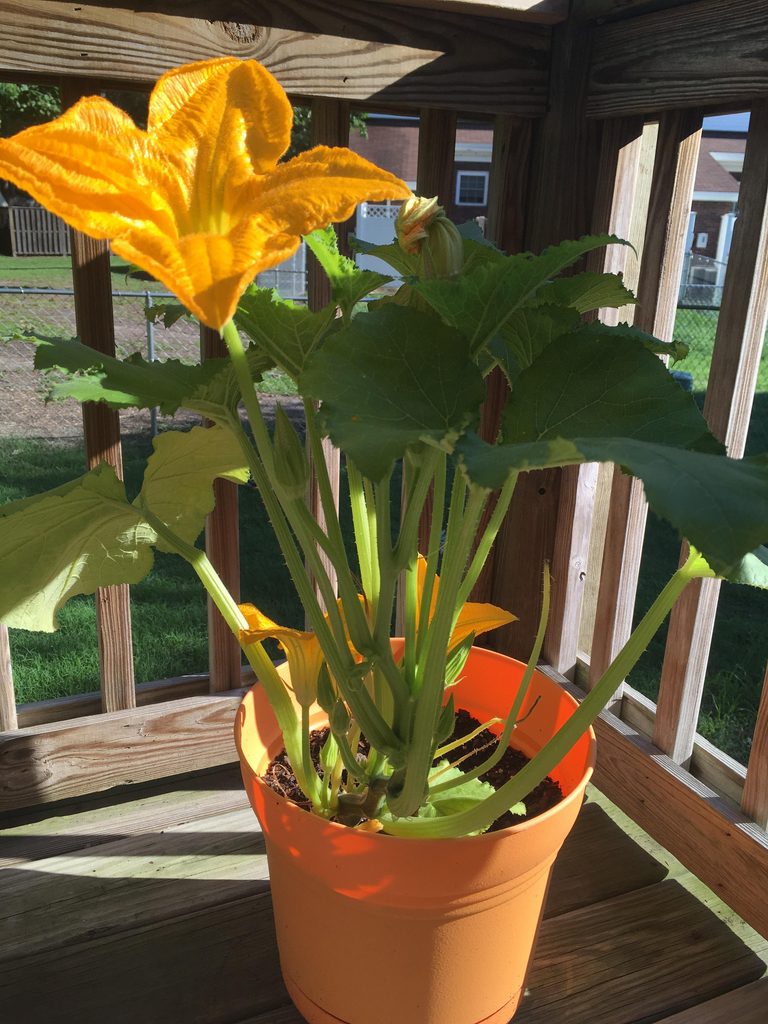
Containers solve all of that at once. You control the soil. You control the drainage. You can even chase the sun around your yard by moving the pot, something no in-ground gardener can do.
And here’s the good news: pumpkins don’t need a football field. Not if you pick the right variety and give the roots enough room to spread out.
What Size Container Do You Need?
This is where most container pumpkins fail before they even get going.
Someone grabs whatever pot is sitting in the garage. Plants a seed. Wonders three weeks later why the vine looks sad and stunted.
Size matters more than almost anything else here. For smaller varieties, go with at least 15 gallons.
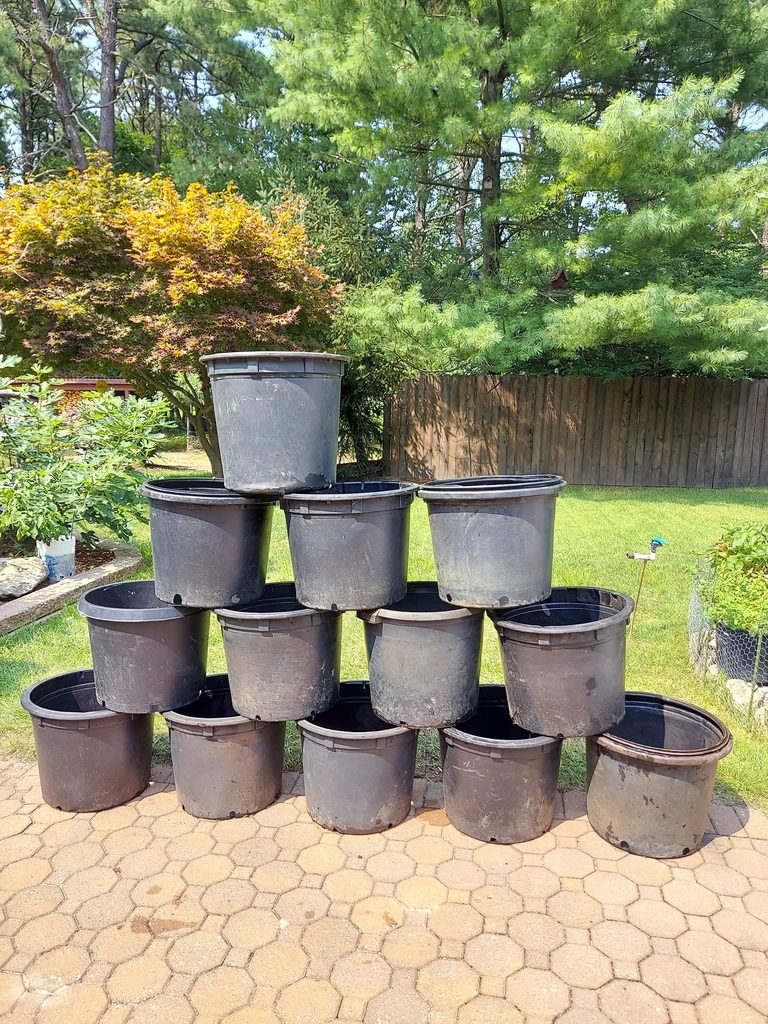
That’s roughly an 18-inch-wide pot, according to Illinois Extension’s container sizing charts. Bigger is better if you can manage it. Aim for 20 to 25 gallons when possible.
Pumpkin roots spread wide and deep. They’ll use every inch of soil you give them.
Don’t let a 5-gallon bucket fool you. It might get a seedling started, but by midsummer, that vine will have outgrown its home. You’ll spend the rest of the season fighting stunted growth and yellowing leaves.
Drainage holes are non-negotiable, no matter what size you choose. Pumpkins hate wet feet. No holes in your pot? Drill some yourself. Or slide a fabric grow bag inside it instead.
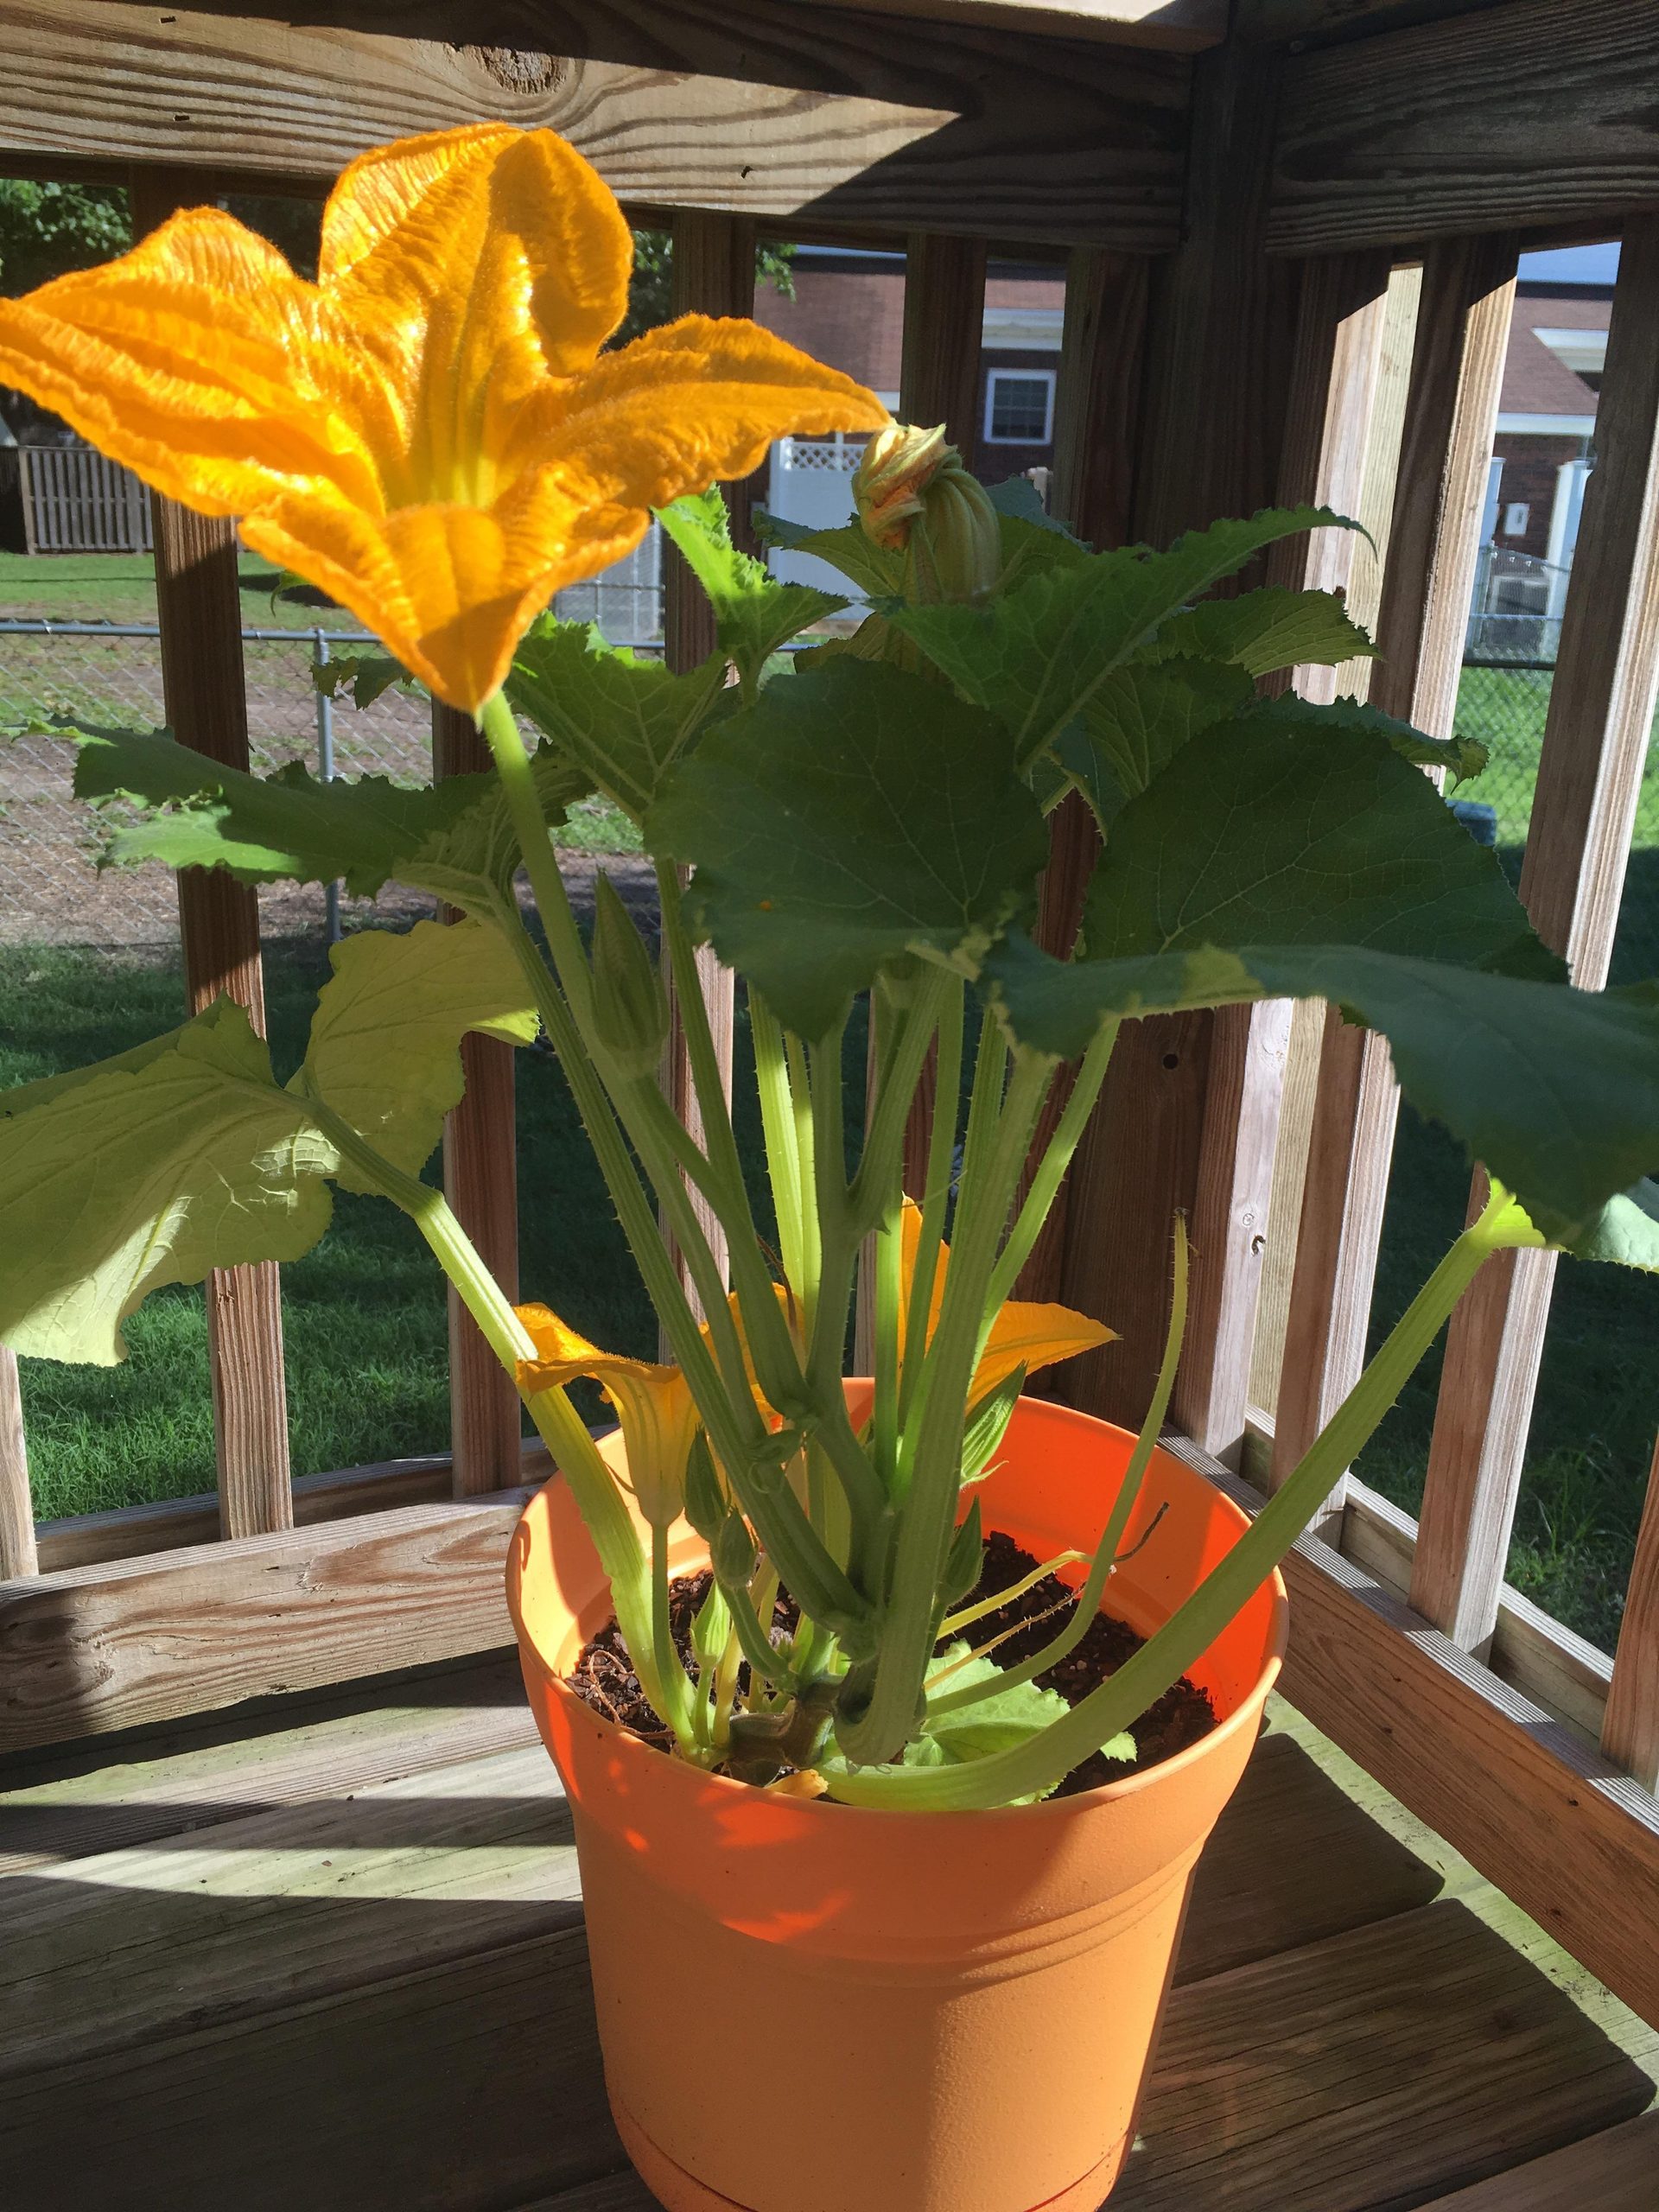
Speaking of grow bags: they’re a smart pick for pumpkins. They drain well. Roots breathe instead of circling the container walls. And they fold flat for storage once the season wraps up.
Building the Right Soil Mix
Whatever you do, don’t scoop soil from your yard into the pot.
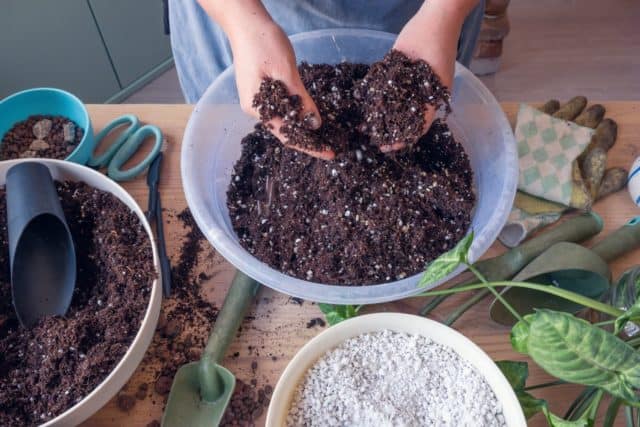
Garden soil compacts hard in containers. It drains poorly. It can carry diseases you don’t want anywhere near a hungry plant like a pumpkin.
Start with a quality potting mix instead. Then build on it. Pumpkins want richness, so blend in compost and something airy, like perlite or coarse vermiculite.
Roughly equal parts of each gives you a mix that holds moisture without turning soggy.
Work in a slow-release granular fertilizer before you plant. Pumpkins are hungry plants, and container soil runs out of nutrients fast. A nutrient boost at planting time gives the roots something to work with right away.
Best Pumpkin Varieties for Containers
Not every pumpkin belongs in a pot. Some flat out refuse to behave.
Full-size vining varieties like Connecticut Field or Big Max? They’ll sprawl right off your patio and into your neighbor’s yard. Save those for the ground.
What you want are bush types and compact vining varieties. Plants bred to stay tidy instead of taking over.
Jack Be Little. A true miniature, just two to three inches across. Bush habit, minimal sprawl, and it fits in a smaller pot than most pumpkins would ever tolerate.
Baby Boo. Same idea as Jack Be Little, but white instead of orange. Great for fall décor, and just as manageable in a container.
Small Sugar (Sugar Pie). A little bigger, six to eight inches across, and this is the one you want if pie is the end goal. Still compact enough for a large container, especially with a trellis to send the vines upward instead of outward.
Wee-B-Little. Another true miniature. Compact, prolific, and forgiving if your container space is tight.
Honeynut. Technically a squash, not a pumpkin, but it belongs on this list anyway. Hand-sized fruit, manageable vines, and a flavor that punches way above its size. A single 20-gallon pot with a small trellis can support one healthy plant.
One theme runs through all of these: compact growth habit beats fruit size every time. A “mini” variety that still vines aggressively will overwhelm your pot just as fast as a full-size one. Look for words like “bush” or “semi-bush” on the seed packet. That’s your green light.
Starting Pumpkins from Seed Indoors
You’ve got two paths here: start indoors, or sow directly into the container once it’s warm enough. Starting indoors gives you a head start, and it’s not complicated.
Begin 3 to 4 weeks before your last frost date. Use 4-inch pots, nothing smaller. Pumpkin seedlings grow fast, and they’ll outgrow anything tinier within a couple weeks.
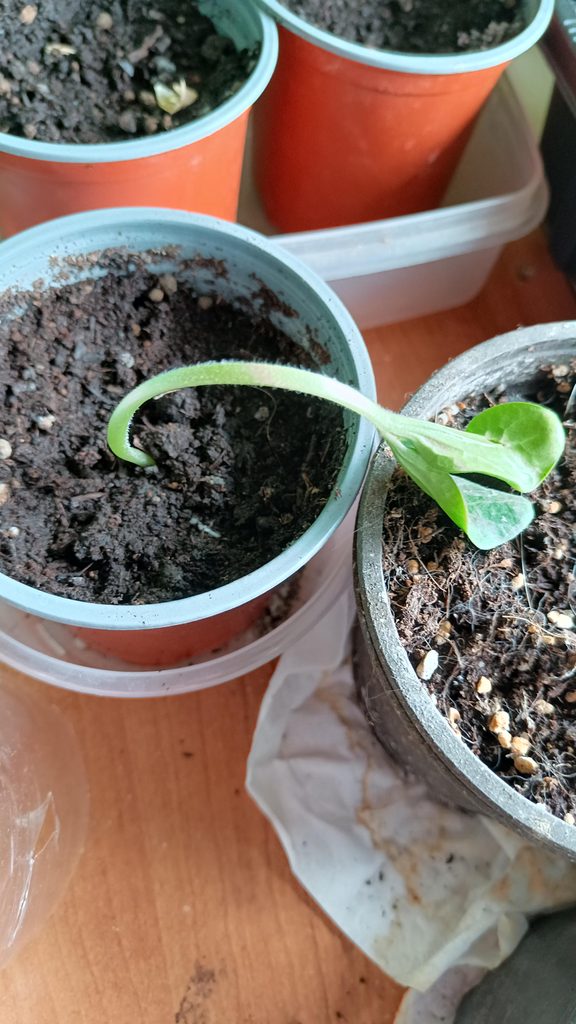
Plant the seed about an inch deep. Keep the soil moist, not soaked. Too much water at this stage invites rot before the seed even has a chance to sprout.
Give your seedlings warmth. Pumpkins want soil temperatures around 70°F to germinate well, so a sunny windowsill or a seedling heat mat helps a lot here.
Light matters just as much as warmth. If you’re growing under lights, aim for at least ten hours a day.
A south-facing window works too, as long as it’s bright enough that the seedlings don’t stretch and get leggy reaching for light.
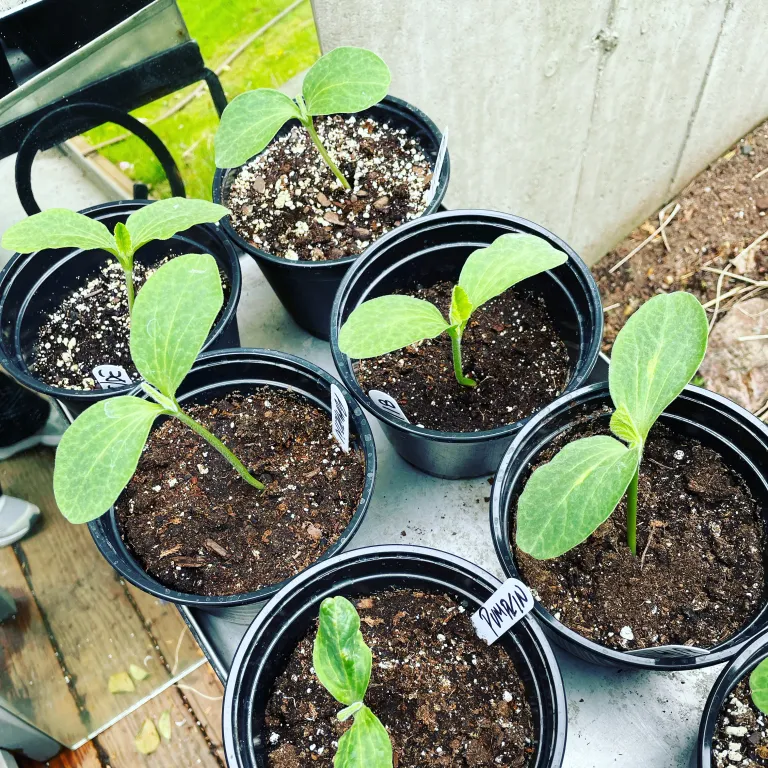
Once the seedlings have a few true leaves, start a light feeding schedule. An organic fertilizer every couple weeks keeps them fed without overwhelming young roots.
Wait until night temperatures reliably stay above 50°F before moving anything outside. Pumpkins are not frost-tolerant in the slightest, and a late cold snap can wipe out weeks of work in a single night.
Planting in the Container
If you’re direct-sowing instead of transplanting, plant 3 or 4 seeds in a small hill near the center of your pot. Once they sprout, thin down to the strongest single seedling. It feels wasteful, but one healthy plant will always outperform three that are competing for the same soil.
If you’re transplanting a seedling, set it at the same depth it was growing in its starter pot. Don’t bury the stem any deeper than it already sits.
One plant per container, full stop. Pumpkins are heavy feeders with big root systems, and cramming two into the same pot just means both of them lose.
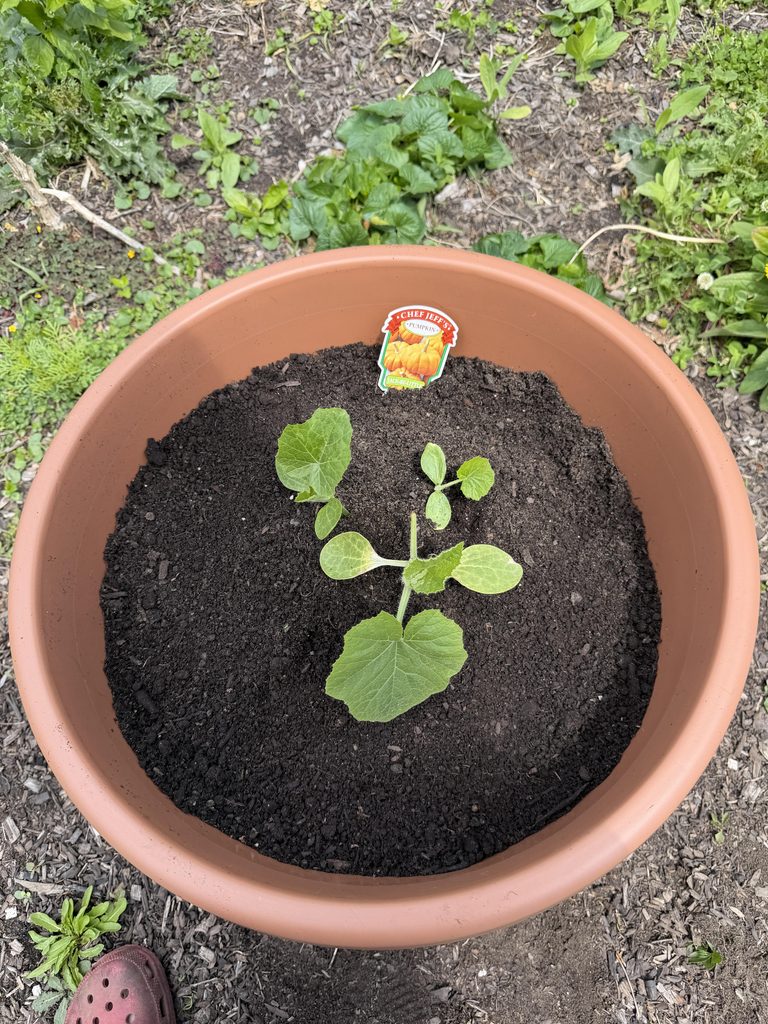
Water thoroughly right after planting. You want the soil settled in around the roots, not sitting in loose air pockets.
Watering: The Part That Trips Up Most Container Gardeners
Here’s the truth nobody likes to hear: containers dry out fast. Much faster than garden beds ever do.
A pumpkin plant in the ground can send roots deep to chase moisture. A pumpkin in a pot doesn’t have that option. It’s entirely dependent on you.
Check the soil daily once temperatures climb. Stick a finger in an inch deep. Dry? Water it, deeply, until you see water running out the drainage holes.
During peak summer heat, especially once the vines get big, you might be watering once or even twice a day. That’s normal, not a sign you’re doing something wrong.
Mulch helps more than people expect. A layer of straw or shredded leaves on top of the soil slows evaporation and keeps roots cooler through the hottest part of the day.
Consistency matters as much as quantity. Pumpkins that dry out and then get flooded, over and over, tend to produce smaller, less flavorful fruit than ones watered on a steady rhythm.
Feeding Your Container Pumpkin
Pumpkins are famously hungry. In a container, that hunger only gets more urgent, because there’s a finite amount of soil holding a finite amount of nutrients.
Start feeding once the first true leaves show up. Early on, lean toward nitrogen. It builds strong vines and healthy foliage, which the plant needs before it can support fruit.
Once flowers start showing up, shift gears. Ease off the nitrogen and move toward something higher in phosphorus and potassium. This tells the plant to put its energy into fruit instead of endless vine growth.
Feed every two to three weeks through the growing season. Skip a feeding, and you’ll likely see it show up as pale leaves or stalled fruit within days, since container soil has so little reserve to draw from.
Trellising (Or Letting Vines Sprawl)
You’ve got two options once the vines take off: train them up, or let them spill over the edge.
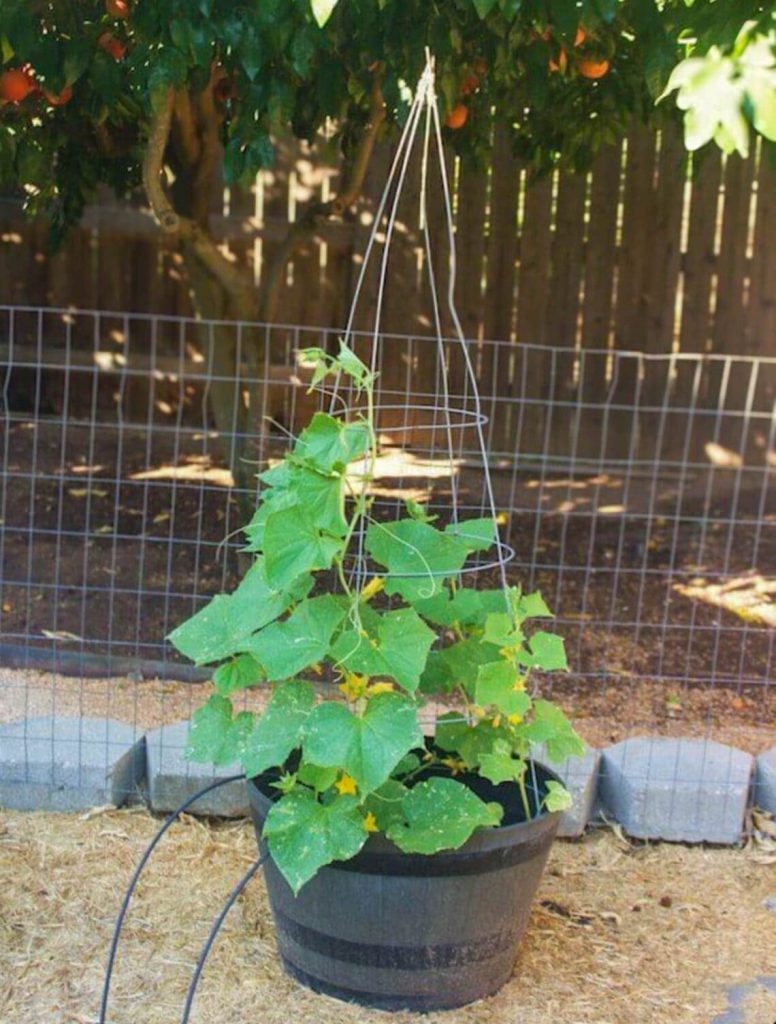
Trellising saves space, and it’s the better call if your container is sitting on a small patio or balcony where a sprawling vine would eat up every inch of walkway.
A simple A-frame trellis works well. So does a tomato cage reinforced with a few zip ties for extra strength.
Here’s the catch: as fruit forms on a trellised vine, it needs support. A pumpkin hanging in midair, tugging on its own stem, is a pumpkin that can snap right off the vine before it’s ready.
Once fruit gets bigger than a couple pounds, sling it. Old pantyhose work great here, or a piece of soft mesh tied off to the trellis. It sounds silly until you see a pumpkin swinging happily in its little hammock.
If trellising isn’t your thing, that’s fine too. Let the vine spill over the pot’s edge and ramble across the ground. Just consider laying down a bit of straw or cardboard underneath first.
It keeps the fruit off bare soil, which cuts down on rot and keeps pests from having a direct highway onto your pumpkins.
Harvesting Your Container Pumpkins
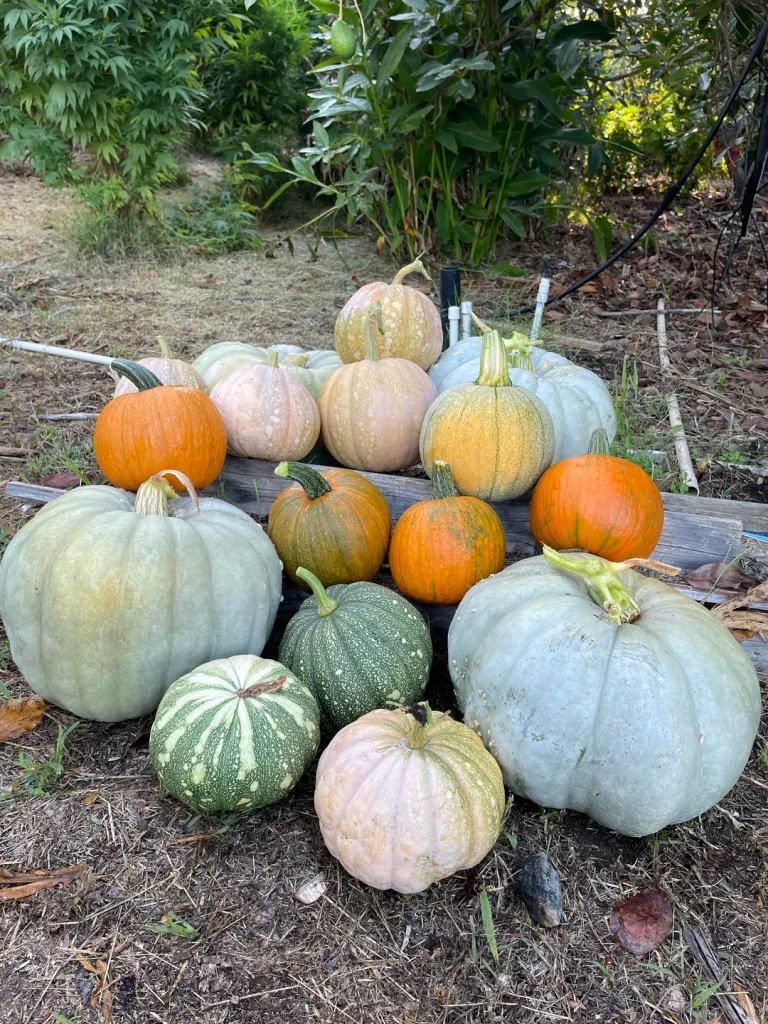
You’ll know a pumpkin is ready when the color turns deep and solid, orange for most varieties, though some go white, yellow, or even a pale blue-green depending on what you planted.
The rind tells the real story, though. Press a fingernail into it gently. If it resists and doesn’t dent, you’re good to harvest. A soft rind means it needs more time on the vine.
Cut, don’t pull. Leave three to four inches of stem attached when you snip it free. That little handle isn’t just for carrying. It helps the pumpkin store longer without rotting at the stem end.
If a frost is coming and your pumpkins aren’t quite there yet, don’t panic.
You can harvest slightly early and let them finish curing indoors, though pumpkins left on the vine until after a light frost tend to develop richer flavor and sweetness.
Curing and Storing Your Harvest
Fresh off the vine, pumpkins benefit from a curing period before long-term storage. Set them somewhere warm and dry for about ten days to two weeks. This toughens up the skin and helps any small cuts or nicks heal over, so they’re less likely to rot in storage.
After curing, move them somewhere cool, dry, and well-ventilated. Somewhere between 50 and 55°F is ideal. Much warmer, and they’ll break down faster. Much colder, and you risk chilling injury that shows up as soft spots later.
Stored properly, a cured pumpkin can hold for two to three months, sometimes longer depending on the variety.
You Really Can Do This
Growing pumpkins in containers isn’t a workaround or a consolation prize. Done right, it’s a legitimate way to get a real harvest without needing a sprawling backyard.
Pick a variety built for pots. Give it a container with real room to grow. Stay on top of watering and feeding, since that’s where container gardens live or die.
Do that, and you’ll have pumpkins worth carving, cooking, or just showing off on the porch come fall.
Now go grab some seeds. Your patio’s about to get a lot more interesting.