How to Grow Tomatoes in Containers (A Beginners Guide)

Homegrown tomatoes taste nothing like the pale, watery ones from the grocery store. I grew my first tomato on a tiny balcony with a cheap plastic tub, and honestly, it changed everything.
You don’t need a big yard or perfect soil, just a sunny spot and the right setup. Growing tomatoes in containers gives you fresh, juicy tomatoes no matter how little space you have.
This guide walks you through exactly how to do it, from picking the right pot to harvesting your first ripe tomato.
Choosing the Right Tomato Variety and Container
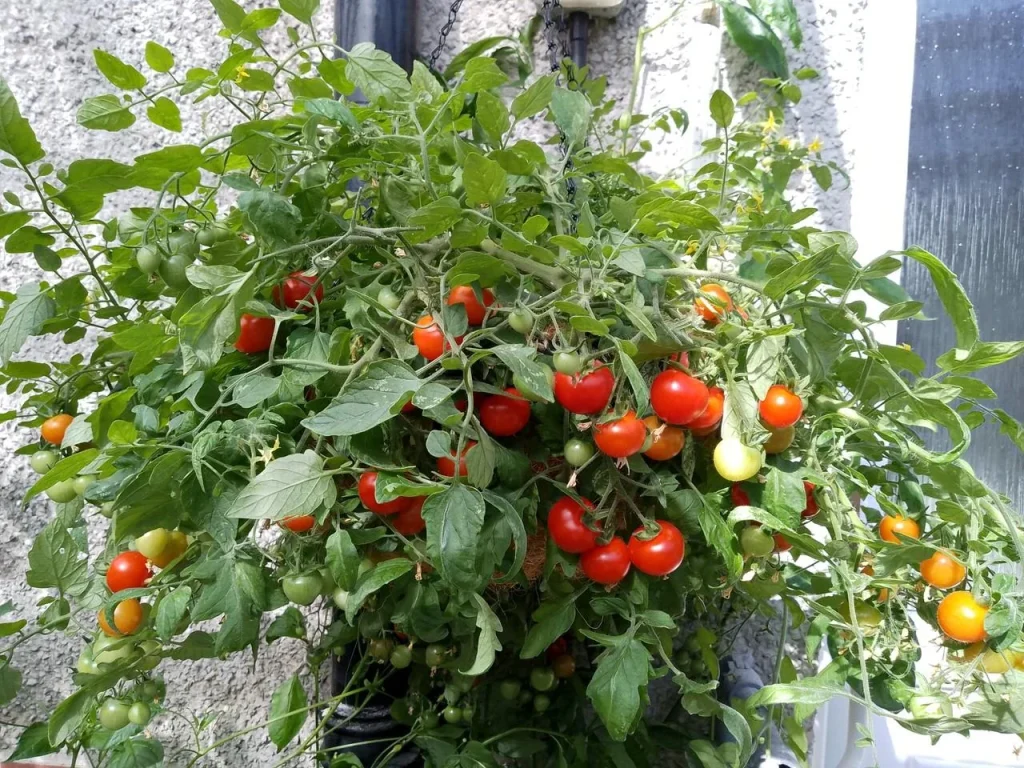
Which Tomato Should You Grow?
Not all tomatoes behave the same way in pots. Tomatoes fall into two main types: determinate and indeterminate, and that difference matters a lot when you’re growing in containers.
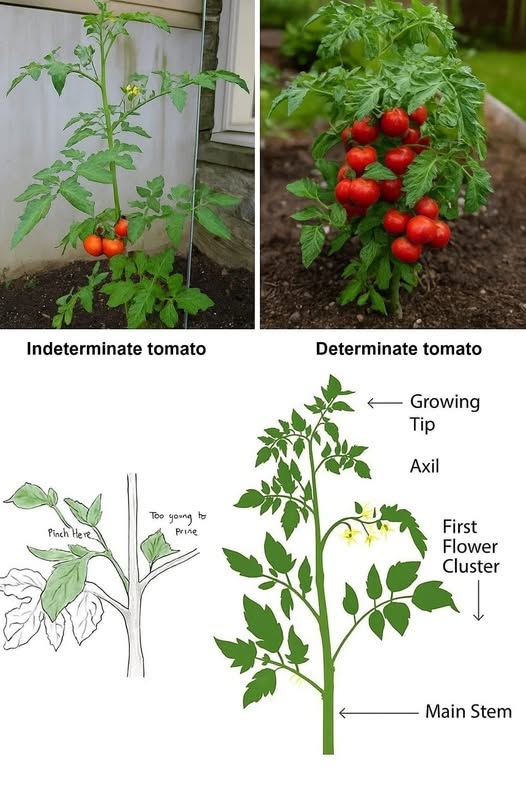
Determinate varieties (also called “bush” tomatoes) grow to about 3–4 feet tall and then stop. All their fruit ripens around the same time, usually within one to two weeks.
They stay compact and need very little staking, which makes them ideal for balconies and small patios.
Indeterminate varieties keep growing and producing fruit right up until the first frost, sometimes reaching 6–12 feet tall.
They’re totally doable in containers but they demand a bigger pot and really sturdy support.
Also read: 15 Easy Vegetables to Grow in Containers
Best Varieties for Containers
Cherry tomatoes are a fantastic starting point, especially for first-timers.
Varieties like Husky Cherry Red, Tumbling Tom (great for hanging baskets), and Sweet Million produce loads of fruit without taking over your space.
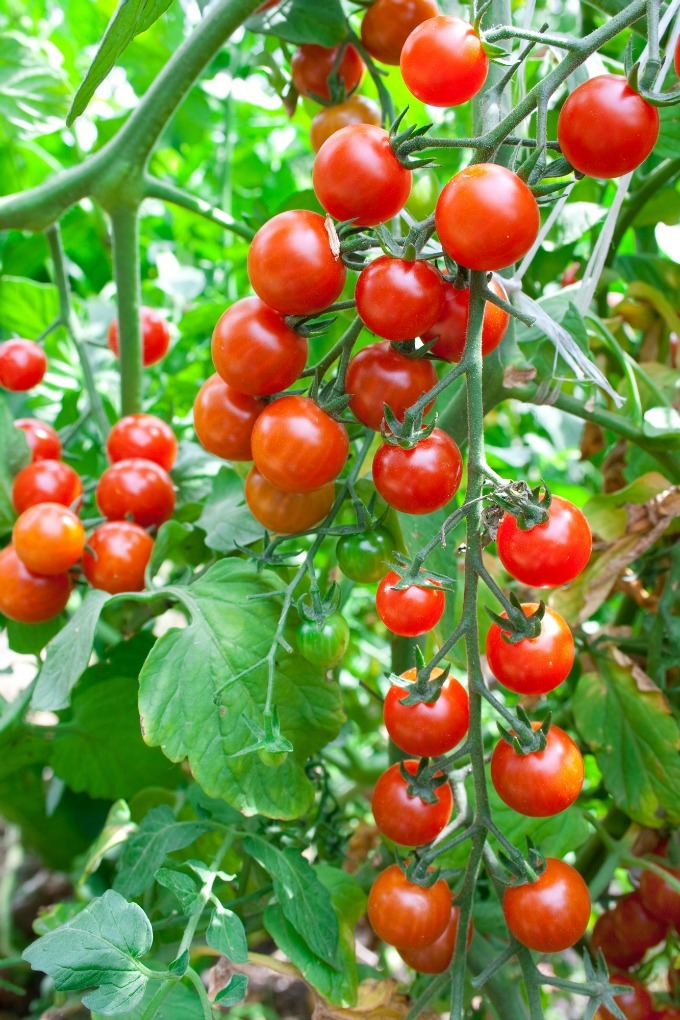
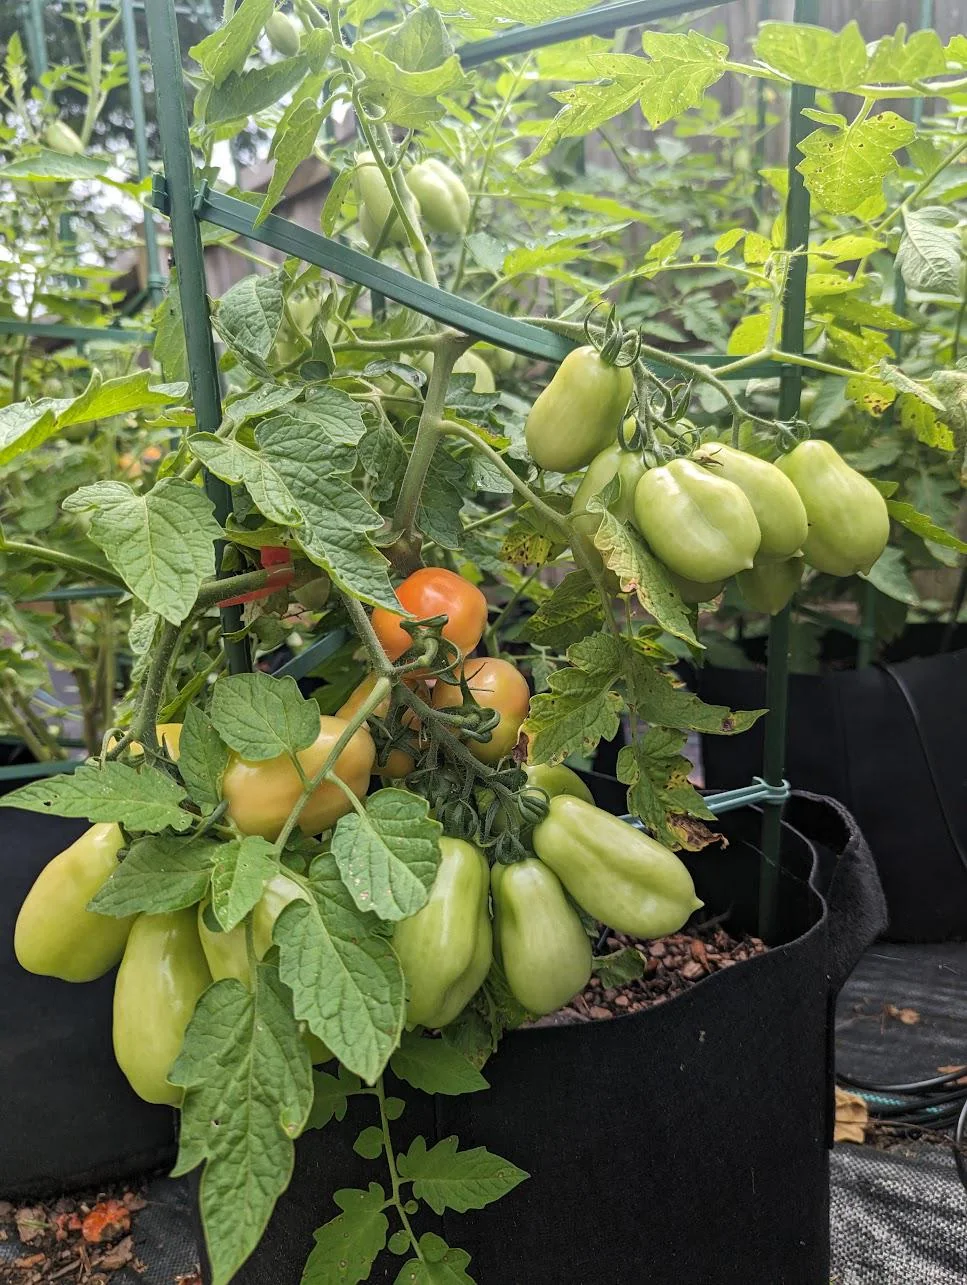
For those who prefer slicing tomatoes, Bush Early Girl, Better Bush, and Patio Tomato all perform well in pots. Roma tomatoes like Monica Roma also work beautifully if you love making sauces.
Picking the Right Container
Size matters more than most people realize. For determinate tomatoes, go with at least an 18-inch diameter pot. Indeterminate types need a 24-inch diameter or larger. Fabric pots should hold at least 20 gallons.
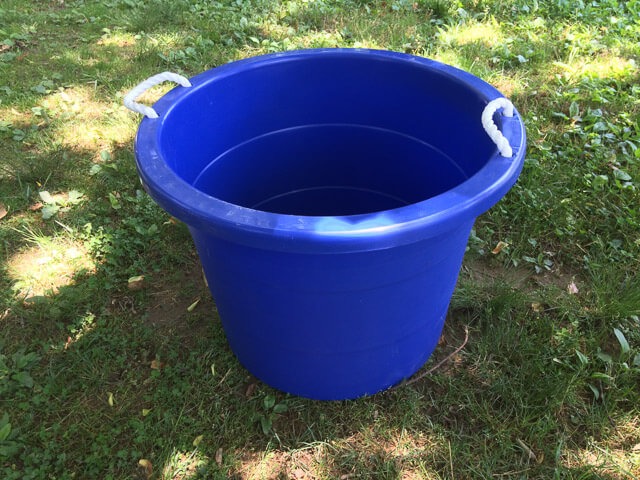
A smaller 5–10 gallon container can work for compact varieties, but expect to water and feed far more often. Always make sure your container has drainage holes because standing water will rot the roots fast.
One thing I’ve learned the hard way: avoid black plastic pots if you live somewhere hot. They soak up heat and can literally cook your roots on a scorching summer day.
Also read: How to Grow Tomatoes in Raised Bed?
Soil, Planting, and Support
The Right Soil Makes All the Difference
Never fill your container with soil dug straight from the garden. Garden soil is too heavy for pots because it compacts when wet, blocks drainage, and can carry diseases like blight or pests like nematodes right to your plant’s roots.
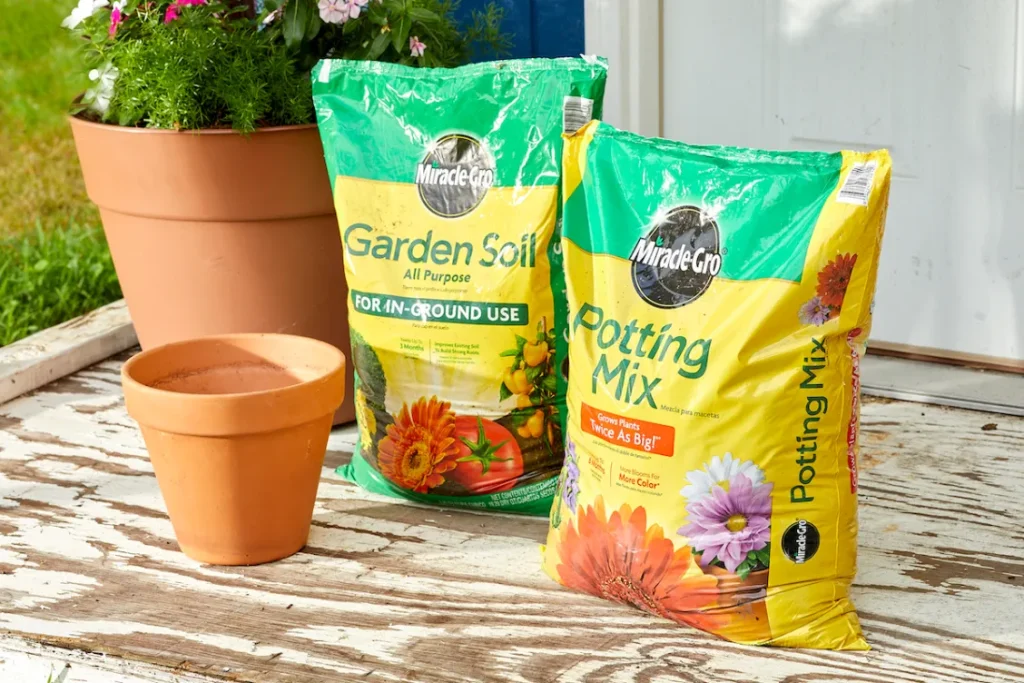
Use a premium quality potting mix instead. Look for something light and fluffy that allows air and moisture to move freely through it. Good airflow around the roots is just as important as water.
Make Your Own Potting Mix
Buying pre-made potting mix works perfectly fine, but making your own saves money and lets you control what goes in.
Mix equal parts coconut coir or peat moss (for moisture retention), perlite, coarse sand, or vermiculite (for lightness and drainage), and compost or humus (for nutrition).
All three ingredients are easy to find at any garden center or hardware store. Watch the following videos for step by step process:
Coconut coir is the more sustainable choice over peat moss, worth keeping in mind if that matters to you.
The good news is that a homemade mix like this can be refreshed with compost each season and reused for years.
How to Plant Your Tomato Seedling
Tomatoes have a superpower most vegetables don’t: they grow roots all along their buried stem.
Plant your seedling deep, right up to the first or second set of leaves, and the underground stem transforms into a dense, powerful root system.
That extra root mass means a stronger, more productive plant.
Before planting, trim off all the lower leaves that would end up underground.
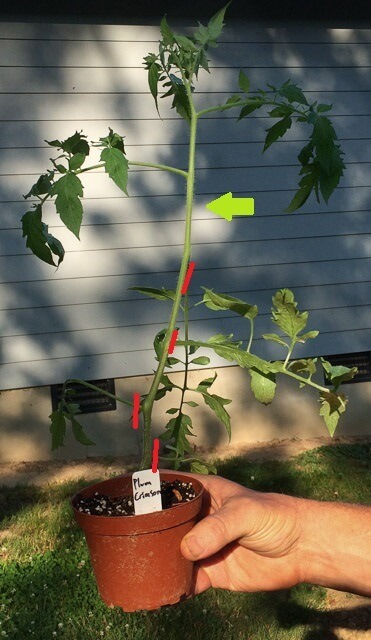
Loosen any circling roots from the bottom of the root ball so they spread outward freely. Keep two or three sets of leaves above the soil surface.
Add Support Right Away
Push your tomato cage or stake into the container at planting time, not two weeks later when the plant has filled out.
Inserting support after the plant is established can slice through roots and set your plant back significantly.
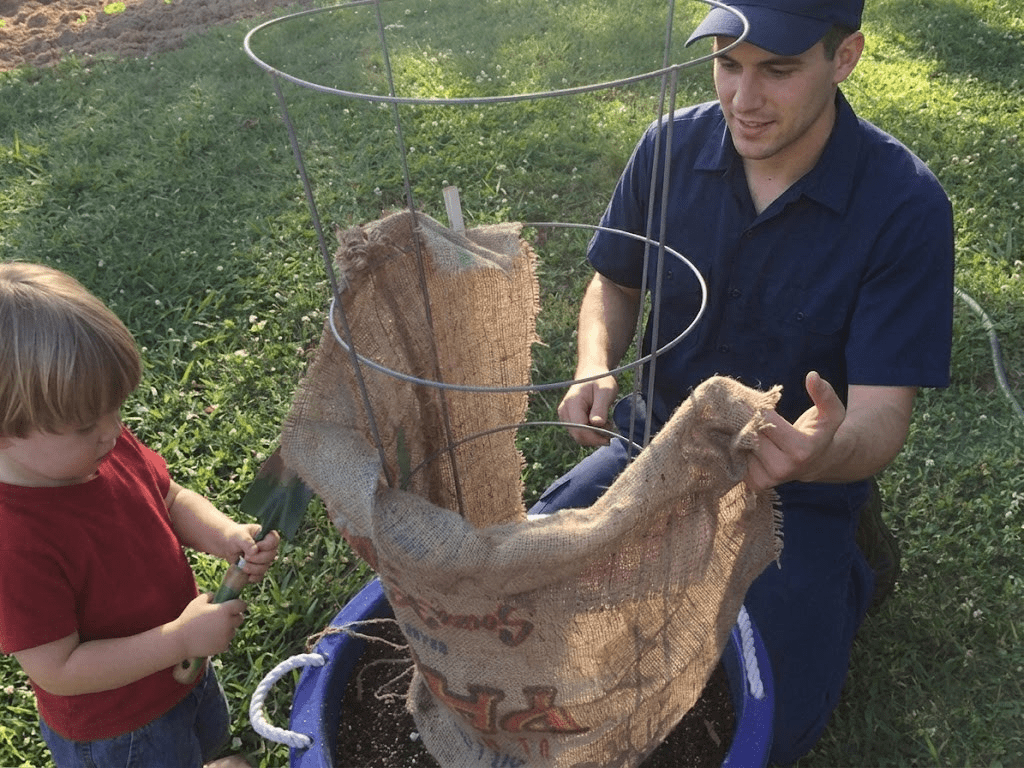
A standard cage works well for determinate types, while indeterminate varieties need something taller and sturdier, like a string trellis, a bamboo tower, or a heavy-duty cage.
Top It Off With Mulch
After planting, add 2–3 inches of mulch across the top of the soil. Shredded leaves, straw, pine needles, or even shredded newspaper all work well.
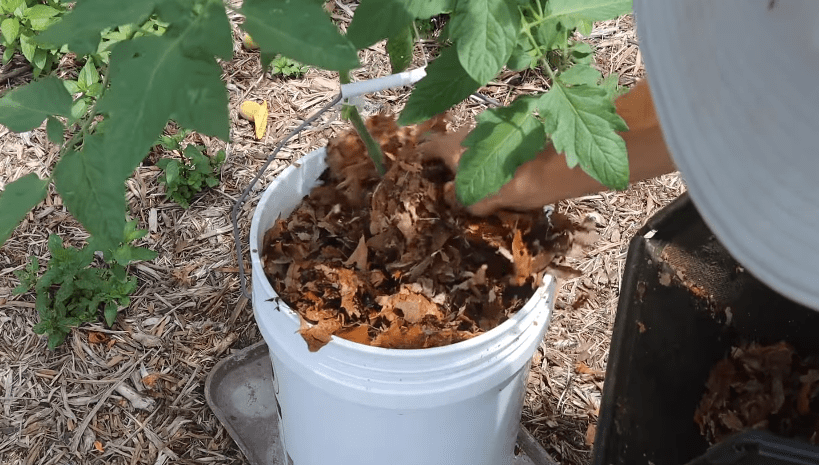
Mulch slows moisture evaporation, keeps roots cool during summer heat, and reduces how often you need to water.
Leave the soil level about an inch below the pot rim so the mulch layer has room to sit without spilling over.
Location, Watering, and Feeding
Finding the Perfect Spot
Sunlight is non-negotiable for tomatoes. Pick a spot that gets at least 6 hours of direct sun daily, with 8 hours being even better. South-facing balconies and patios are usually ideal.
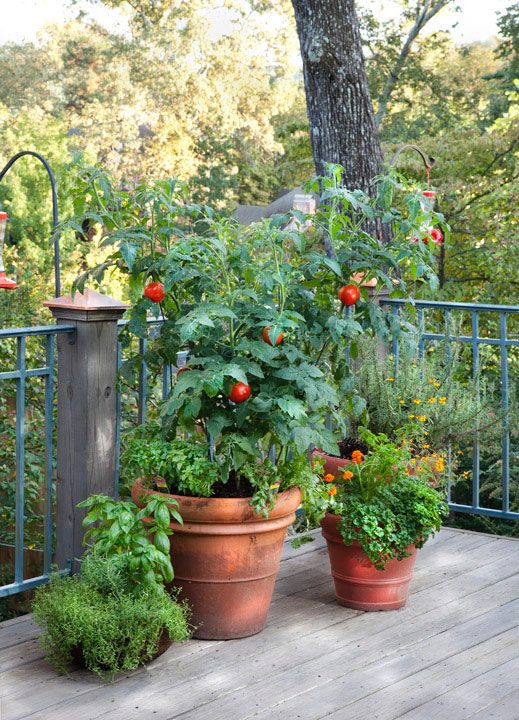
Gardeners in hot, dry climates like the Deep South or desert regions should look for a spot with some afternoon shade.
Too much intense afternoon heat can stress the plant and slow fruit production. A little midday shelter goes a long way in those conditions.
Think About Water Access
Place your containers somewhere you pass by regularly and somewhere a garden hose can reach.
Tomatoes in pots dry out much faster than those planted in the ground, so easy water access isn’t a luxury, it’s a necessity.
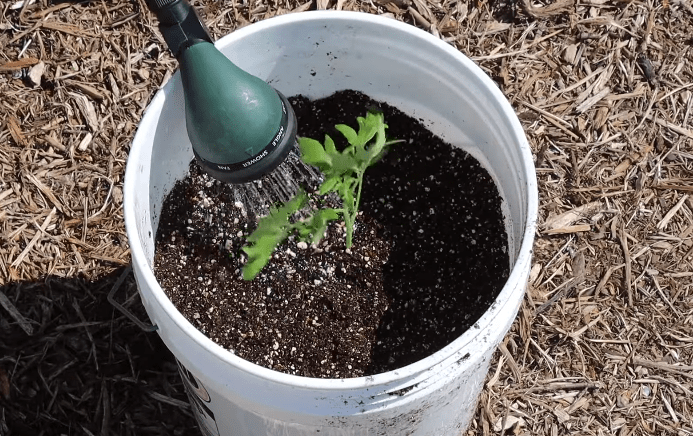
Lugging a heavy watering can across the yard every day gets old very quickly.
Grouping pots together is a smart move too. Clustered containers shade each other’s root zones, which helps keep soil temperatures down, especially important when pots sit on heat-absorbing concrete or asphalt.
Just leave enough space between plants so leaves don’t touch and spread disease.
How Often Should You Water?
Consistent watering is one of the biggest keys to healthy container tomatoes.
Irregular watering, soaking the plant one day and ignoring it for three, is a leading cause of blossom end rot, where the bottom of the fruit turns dark and sunken.
Use the finger test: push your finger an inch into the soil, and if it feels dry, water immediately. During peak summer heat, larger plants may need watering almost every single day. Place a saucer under each pot to catch water that drains through because the plant absorbs that extra moisture throughout the day, which is a real lifesaver during a heatwave.
Feeding Your Container Tomatoes
Potting mix provides a good nutritional start, but those nutrients deplete faster in containers than in garden beds. Regular feeding throughout the growing season keeps your plants producing strong and steady.
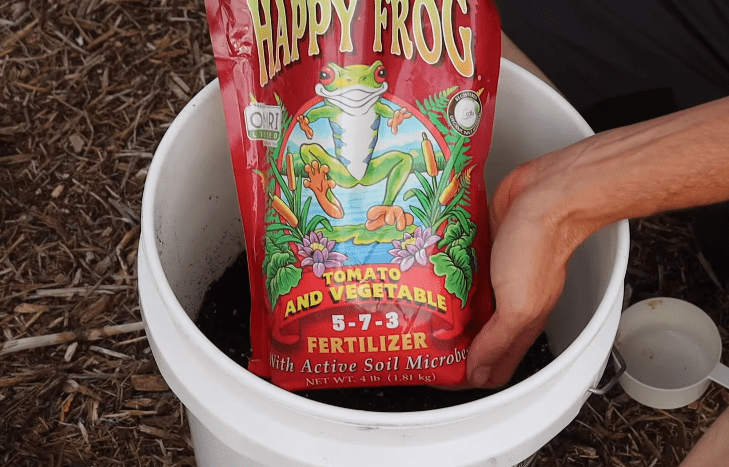
Fertilize your seedling once at planting to help it establish, then feed again when the plant starts setting fruit.
A continuous-release or slow-release fertilizer works brilliantly in containers because it feeds the plant steadily over time without the risk of overloading it with nutrients all at once.
Always follow the package instructions carefully to avoid over-fertilizing, which can burn roots and reduce fruit production.
Harvesting, End of Season Care, and Final Thoughts
Knowing When to Harvest
Patience really pays off with homegrown tomatoes. Leave fruit on the vine as long as possible because that’s when the flavor deepens and the sugars fully develop, producing that rich, sweet taste that store-bought tomatoes simply never deliver.
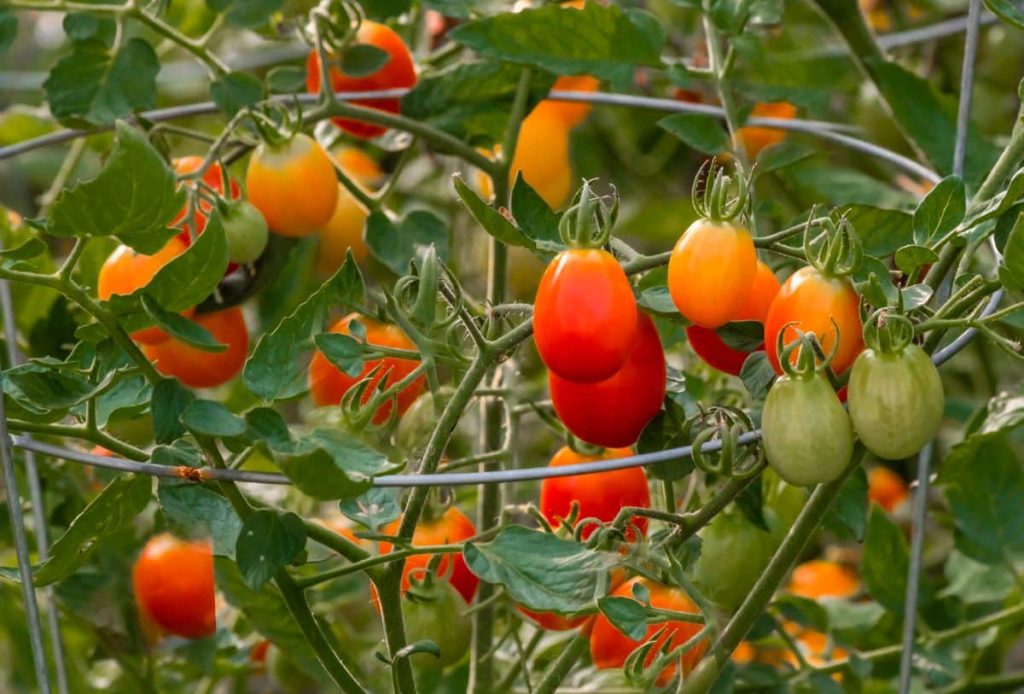
Give each tomato a gentle squeeze to test ripeness. A ripe tomato yields slightly to pressure without feeling mushy. To harvest, hold the stem firmly with one hand and pull the fruit away cleanly with the other.
What If They Won’t Ripen in Time?
Heavier tomato varieties sometimes need a little help toward the end of the season. If frost is approaching and your tomatoes are still green, harvest them and let them ripen indoors at room temperature, never in the fridge, which kills the flavor. A warm kitchen counter works perfectly fine.
Protecting Your Crop From Pests
Squirrels, birds, and chipmunks love ripe tomatoes just as much as we do. Bird netting draped over your containers keeps most critters away without harming them.
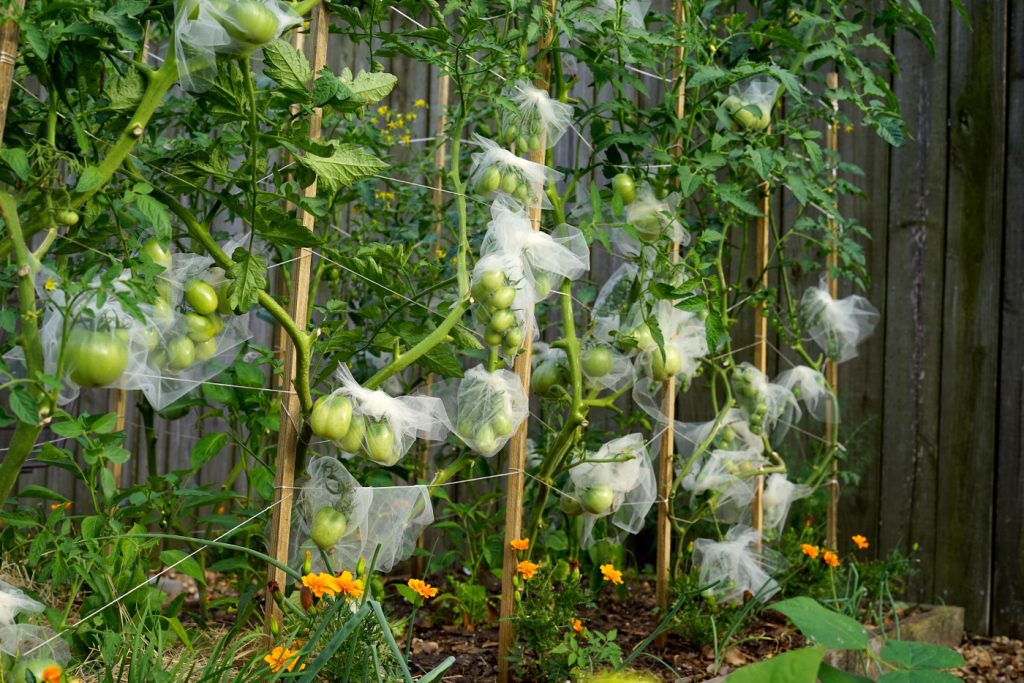
Checking plants regularly also helps you catch insect problems early before they spread across the whole pot.
End of Season Cleanup
Once your plants stop producing and the season winds down, pull the spent tomato plants out completely. Don’t leave old plant material sitting in the pot because it can harbor disease over winter and cause problems next spring.
Dump out the old soil if you plan to grow tomatoes or any other plant from the same family, peppers, eggplants, or potatoes, in the same pot next year.
Reusing soil for the same plant family allows soil-borne diseases to build up and attack your next crop.
Scrub the empty containers thoroughly with water, then sterilize them with a solution of one part bleach to ten parts water. Rinse well and let them dry completely before storing. Clean pots mean a healthy, problem-free start next spring.
Final Thoughts
Growing tomatoes in containers is one of the most rewarding things you can do with a small outdoor space. You don’t need perfect conditions, just good soil, the right pot, consistent water, and a sunny spot.
Start with a compact determinate variety if this is your first attempt, get your support in place early, and water regularly without letting the soil dry out completely between sessions.
That first homegrown tomato, warm from the sun, sliced thick, sprinkled with salt, makes every bit of effort worthwhile. Give it a go this season. Your balcony or patio is more than enough space to grow something truly delicious.