How to Get Rid of Weeds Between Pavers (And Actually Keep Them Gone)

You finally got your patio looking the way you pictured it. Clean lines, tight joints, maybe a nice chair and a cold drink waiting for a Saturday afternoon.
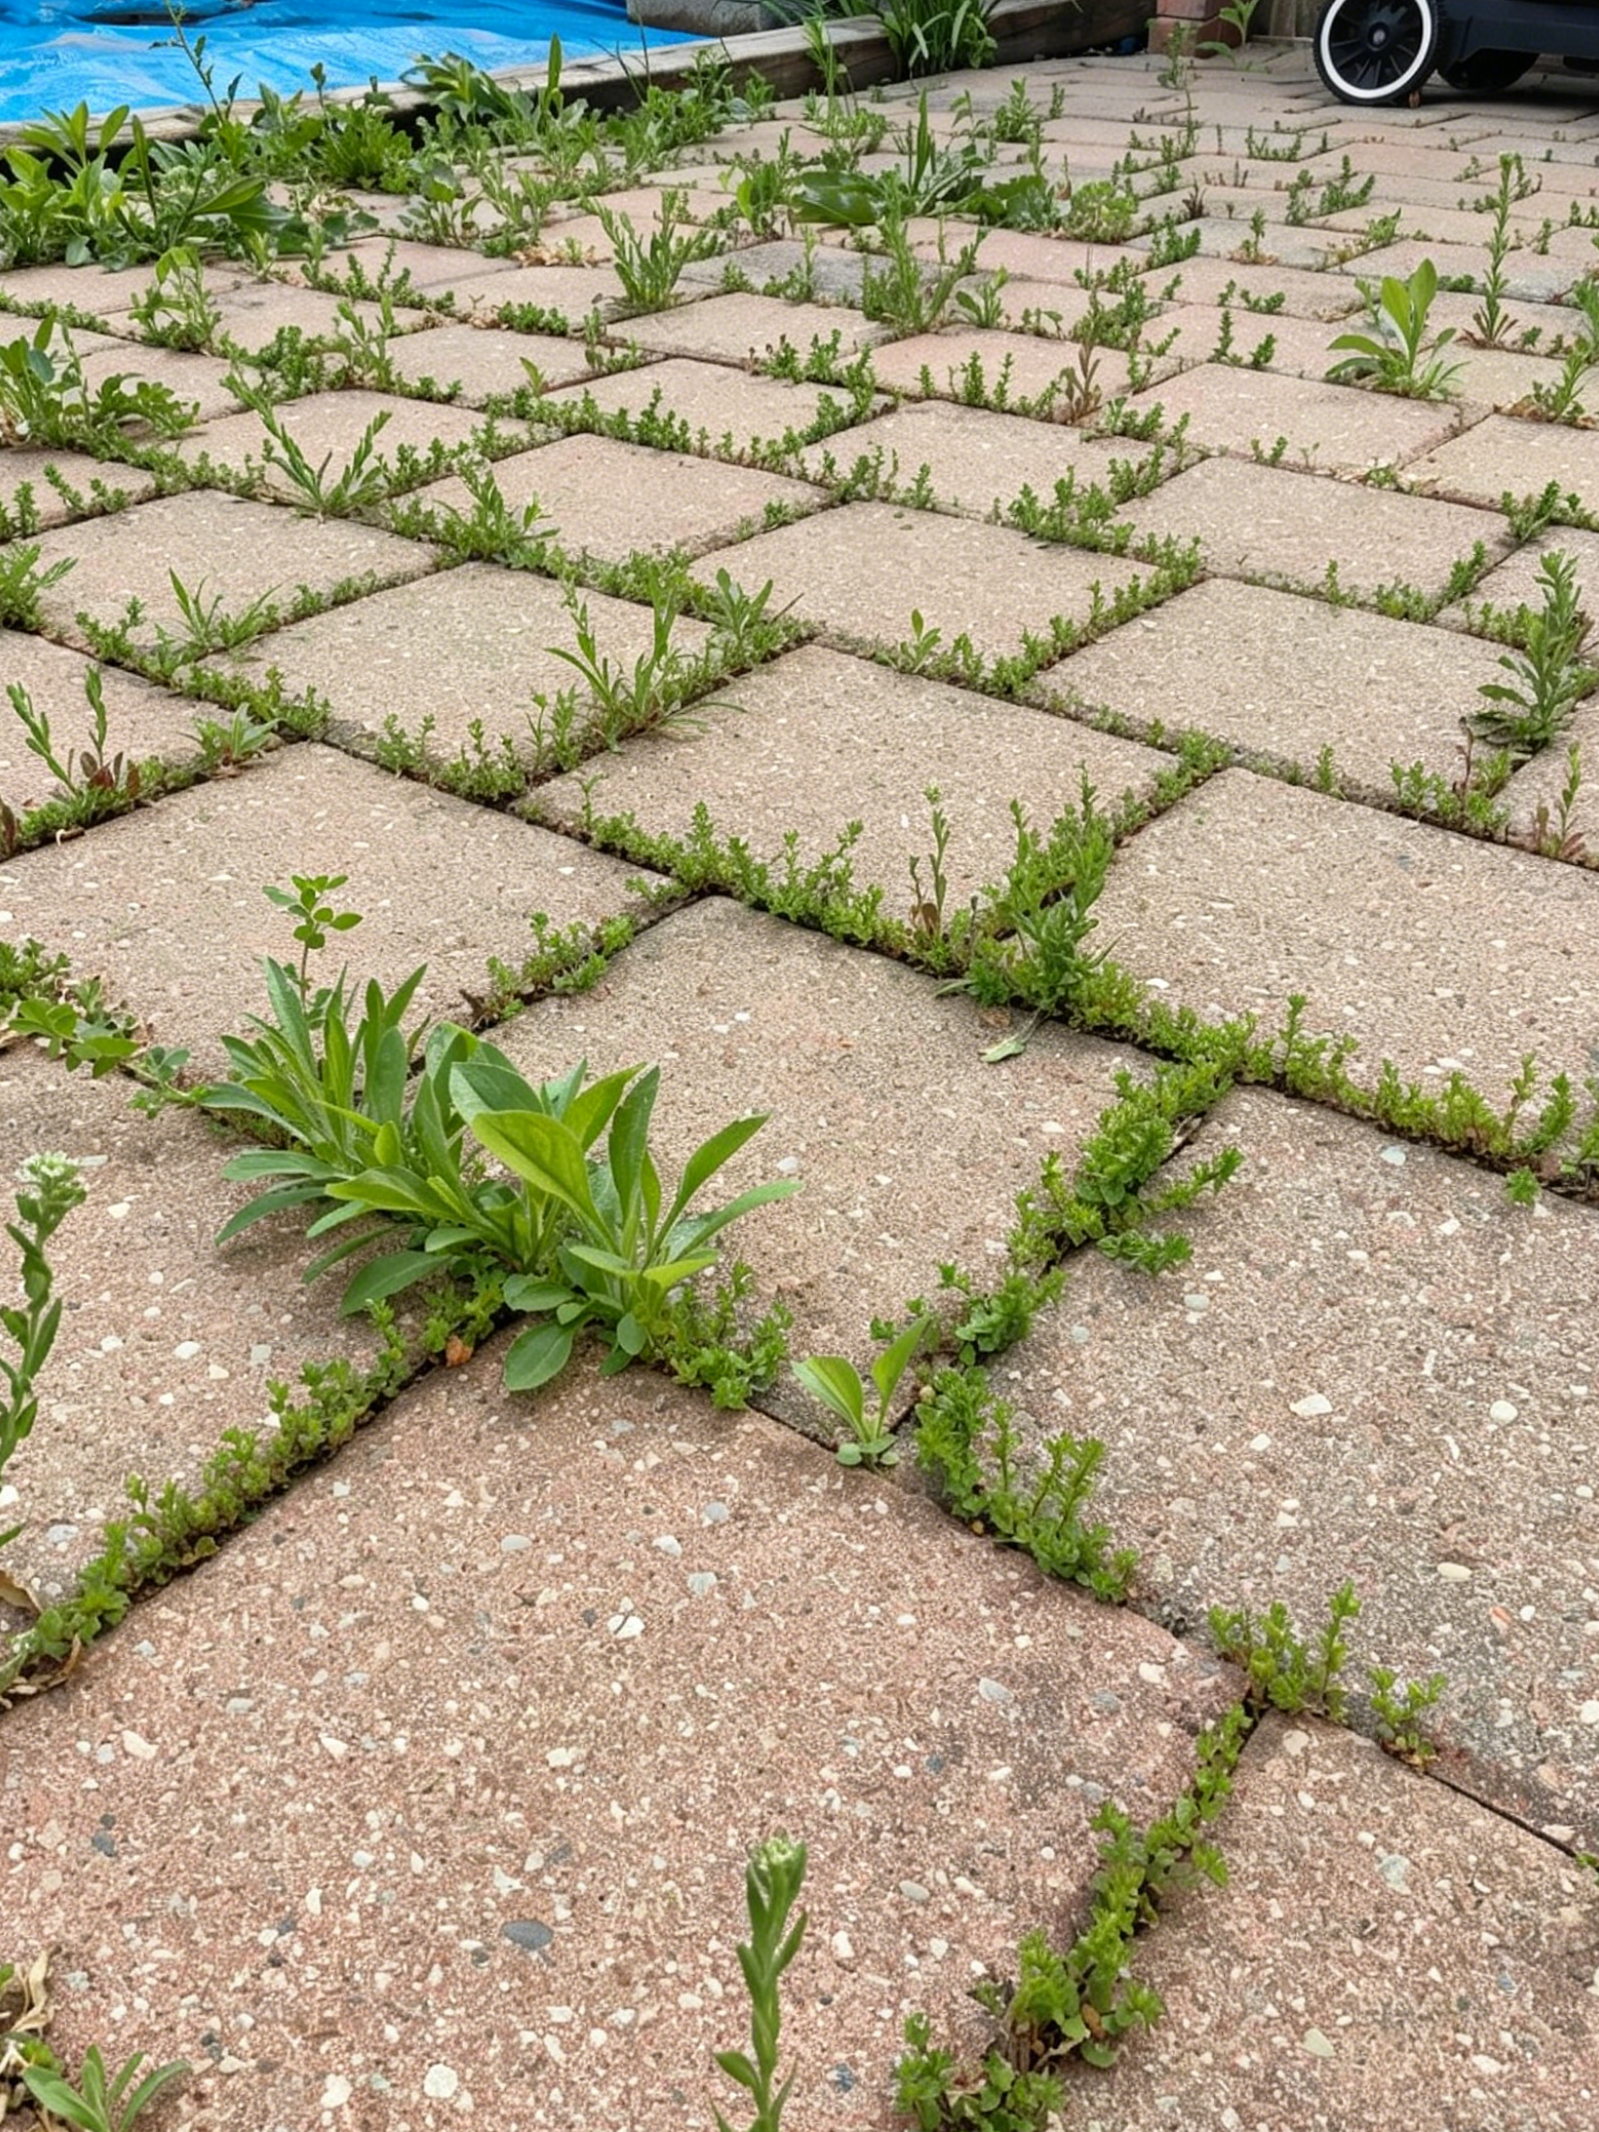
Then three weeks later, there it is. A scrappy little weed poking up right through the crack between two pavers, like it owns the place.
It’s one of the more frustrating problems in outdoor maintenance. You didn’t plant anything there. You didn’t water it. And yet somehow it’s thriving better than half the things you did plant on purpose.
Here’s the good news. Weeds between pavers aren’t unbeatable. You don’t need a chemistry degree or a full weekend to deal with them. What you need is a method that actually kills the root, not just the top growth.
You also need a plan to stop new weeds from moving in behind the first batch.
That’s exactly what this guide covers: several ways to clear out what’s already growing, plus a handful of habits that make your patio a much less welcoming place for the next round of seeds.
Why Do Weeds Even Grow Between Pavers in the First Place?
It’s tempting to assume weeds are pushing their way up from underneath your pavers. Forcing their way through solid stone or concrete. They’re not.
In almost every case, the compacted base beneath a properly installed patio is dense enough to block that entirely.
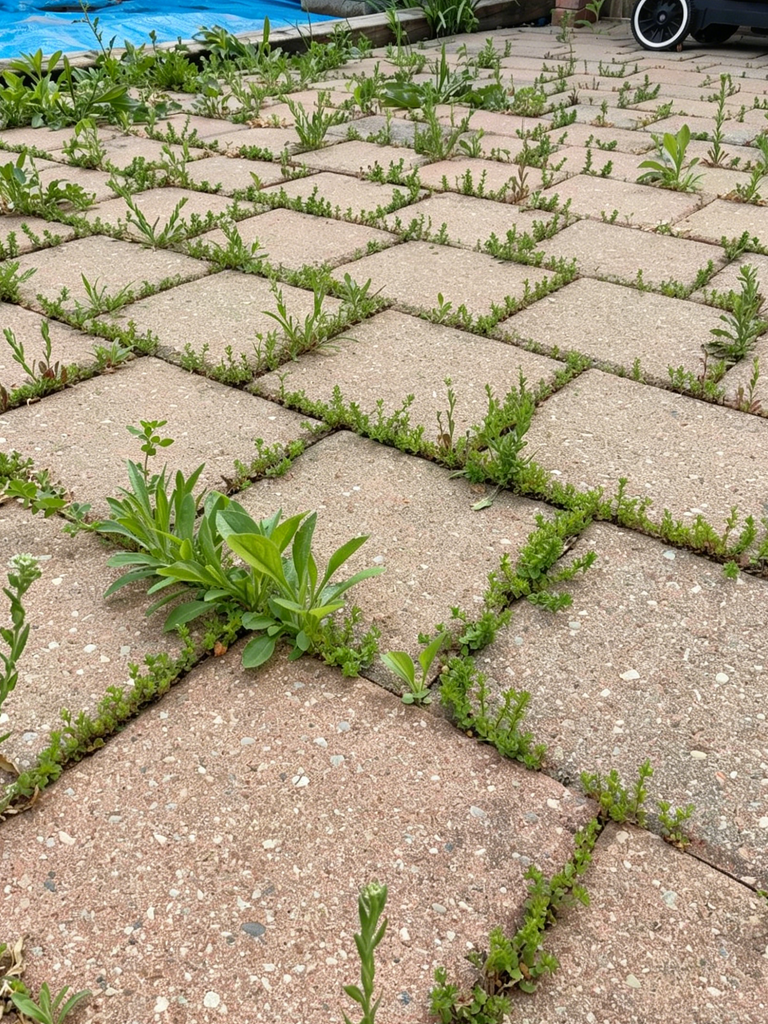
The real story starts above ground. Over time, the sand that fills the joints between your pavers washes out. Or it gets swept away little by little.
That leaves a shallow gap. Dust, grass clippings, and bits of debris settle into it. Then a seed blows in on the wind, or gets dropped by a bird passing overhead.
It lands in exactly the kind of spot weeds love. A little pocket of soil. Dark, moist, and protected from foot traffic.
Give it a bit of rain and a few days of sun, and that seed has everything it needs to germinate. It doesn’t take much, either. A gap smaller than a pencil is often enough room to get started.
That’s actually useful to know. It means the fight isn’t just about killing what’s visible today. It’s about interrupting the whole cycle: less loose sand, less debris buildup, fewer spots for seeds to land and settle in.
We’ll start with the removal methods, since that’s probably the more urgent problem sitting in front of you right now. Then we’ll cover how to make your patio a much harder target going forward.
Getting Rid of the Weeds You Already Have
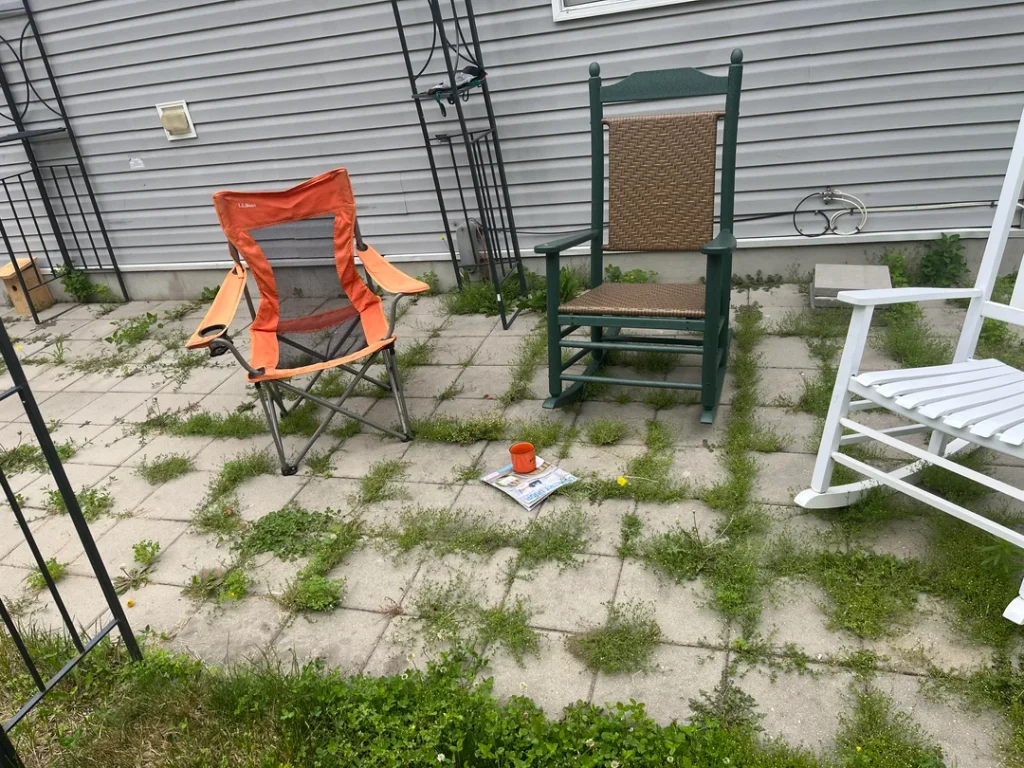
Before you can stop weeds from coming back, you have to deal with what’s already there. Here are the methods that actually work, starting with the simplest.
1. Pull Them Out by Hand
This is still the most reliable method there is. It costs nothing, and it works immediately.
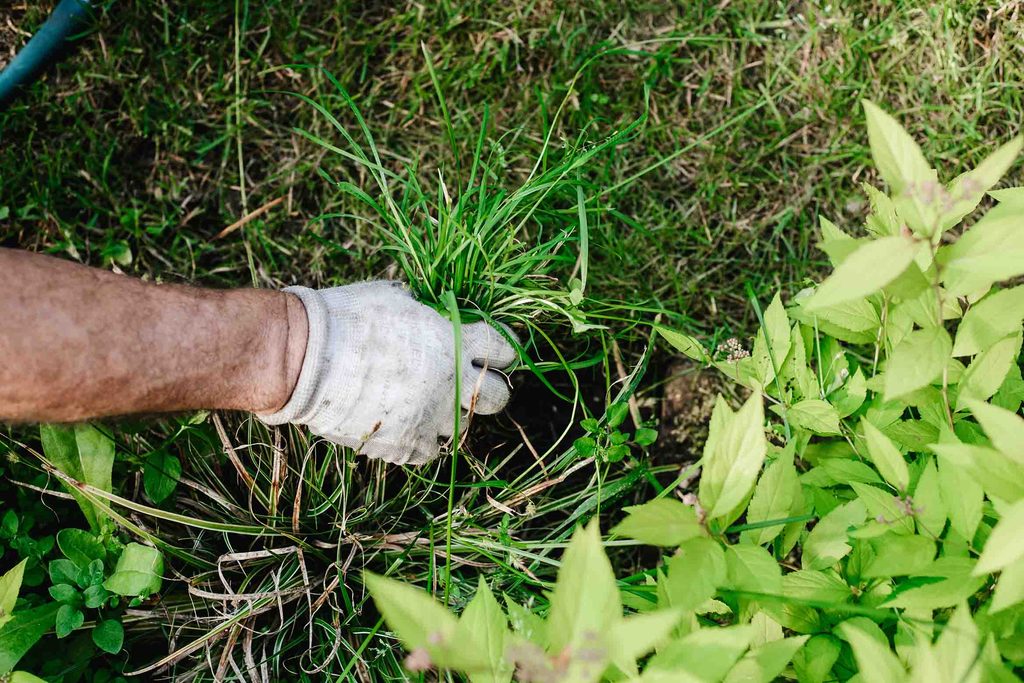
The trick is getting the whole root, not just the top of the plant. If you only grab the leafy part and yank, the root often stays behind.
And a weed with even a small piece of root left will grow right back within a week or two.
A dedicated crevice weeder makes this much easier. Slide it down alongside the weed, angle it toward the root, and pop the whole thing out in one motion.
Pro tips: Wet the area first if you can. Damp soil releases roots far more easily than dry, packed soil does.
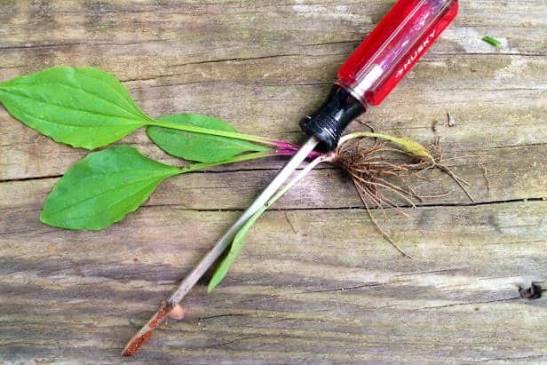
My experience: I keep an old screwdriver by the back door just for this. It sounds a little silly, but it takes maybe thirty seconds per weed, and I’ve never once had one grow back from the exact same spot.
2. Pour Boiling Water on Them
This one feels almost too simple to work, but it does. Boil a full kettle, then pour it directly over the weed until the whole thing is soaked.
The heat scalds the leaves and stems on contact. For young, shallow-rooted weeds, that’s often enough to kill the whole plant.
For older or deeper-rooted ones, you may need to repeat this a few times before the root finally gives up.
One thing to keep in mind: boiling water only kills what it touches. It won’t travel sideways to a mature root system sitting deeper in the joint. Think of it as your first move, not your only one.
3. Spray Them With Vinegar and Dish Soap
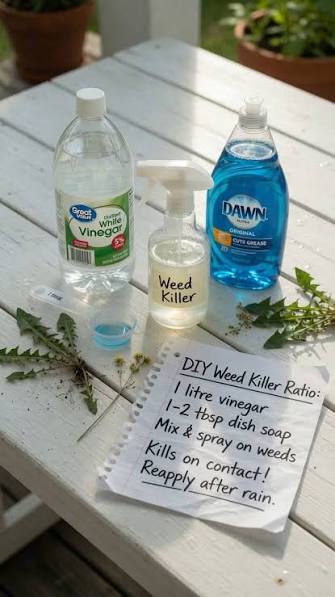
Plain vinegar from your kitchen isn’t quite strong enough on its own for tougher weeds. Mix it with a few drops of dish soap first.
The soap breaks down the waxy coating on the leaves, so the vinegar can actually soak in instead of beading up and rolling off.
Fill a spray bottle, soak the weed thoroughly, and give it a day or two. You’ll usually see the leaves shrivel and brown fast.
Reapply every couple of weeks if new growth pushes through, especially with stubborn perennial weeds.
My experience: I tried this on a patch of clover that kept sneaking back between two pavers near the grill. It browned up within a day, but it took three rounds over about a month before it actually stopped coming back for good.
4. Try a Salt Solution (Carefully)
Salt dries weeds out fast by pulling moisture straight out of their cells. Mix one part salt with three parts water, then pour or spray it directly onto the weed.
Here’s the catch. Salt doesn’t know the difference between a weed and anything else nearby, including the pavers themselves.
Used too often, it can discolor natural stone or weaken the material over time. Use it sparingly, and keep it away from any nearby plants you actually want to keep alive.
5. Sprinkle on Baking Soda
Baking soda works for the same basic reason salt does. It’s loaded with sodium, and that draws moisture out of the plant until it can’t hold on anymore.
Sprinkle it directly onto the weed and into the crack around it, then sweep it in so it makes good contact with the base of the plant.
It works best on a dry day with little wind, so it doesn’t just blow away before it has a chance to do anything.
My experience: I used this on a stretch of dandelions along my back patio last spring. Honestly, I didn’t expect much. But within about three days, the leaves had curled up and turned brown, and they never came back in that spot.
6. Burn Them With a Flame Weeder
A flame weeder, whether propane or electric, works by scorching the exposed part of the plant. For shallow-rooted broadleaf weeds, that’s usually enough to kill the whole thing outright.
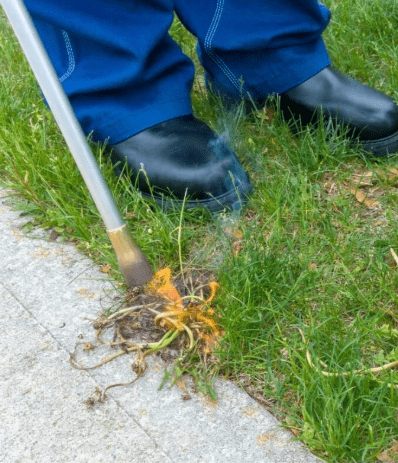
Deep-rooted or tap-rooted weeds are a different story. The flame won’t reach far enough underground to finish the job, so you may end up doing this more than once.
Safety matters here more than with the other methods. Wet the area down before you start, and keep a hose or fire extinguisher within reach the whole time. Never use this on a dry, windy day.
7. Use a Chemical Herbicide as a Last Resort
If nothing else is keeping up, a store-bought herbicide will get the job done. Glyphosate-based products handle a wide range of weeds. Selective options like 2,4-D target broadleaf weeds specifically, without harming grass nearby.
Always follow the label directions on mixing and application. And use this as your last option, not your first.
Between the pavers is a tight, exposed space, close to pets, kids, and anywhere water runs off after a storm.
Keeping Weeds From Coming Back
Killing the weeds you can see is only half the job. If you stop there, you’ll be back out with the screwdriver in a few weeks doing it all over again. These habits make your patio a much harder place for new weeds to settle in.
Fill the Joints With Polymeric Sand
Regular sand washes out over time, and that’s exactly how weeds get their opening. Polymeric sand is different. Once you sweep it into the joints and wet it down, it hardens into something closer to mortar.
That solid layer does two things at once. It blocks seeds from settling in, and it holds your pavers firmly in place. It’s one of the single best upgrades you can make to an existing patio, and it’s a weekend project at most.
Seal the Surface
A good sealer adds another layer of protection on top of the sand. It locks the joints shut and keeps moisture from pooling in the cracks, which is exactly the environment weeds need to get started.
This is worth doing once your joints are properly filled, not before. Sealing over loose, weed-prone sand just traps the problem underneath instead of solving it.
Get the Base Right, Especially on New Projects
If you’re planning a new patio or walkway, this step matters more than almost anything else on this list. A dense, compacted base beneath the pavers keeps weeds from ever finding a way up from below.
Aim for a base around three to four inches deep under a patio or walkway. Driveways need more, closer to six inches, since they carry a lot more weight.
Skimping here is one of the most common mistakes, and it’s the hardest one to fix later without pulling everything up.
Slope for Drainage
Standing water is a magnet for weeds and moss alike. Make sure your patio slopes gently away from your house, so rain runs off instead of collecting in the joints.
This one small detail in the original layout can save you a lot of weeding down the road.
Sweep Regularly
This sounds too easy to actually matter, but it does. A quick sweep once a week keeps seedlings and debris from ever settling into the joints in the first place.
Think of it as a tiny bit of maintenance that saves you a much bigger job later. Five minutes now, instead of an afternoon with a screwdriver in a few months.
Plant Something on Purpose
Here’s a trick a lot of homeowners miss. Instead of leaving the joints empty and hoping nothing moves in, plant something there yourself.
Low, tough ground covers like creeping thyme, sedum, or Corsican mint fill the gaps and crowd out weeds naturally. They compete for the same light, water, and space that weeds need, and they usually win.
This works best in paths and low-traffic areas rather than spots that get heavy foot traffic every day. It also happens to look a lot nicer than bare, empty cracks.
The Bottom Line
A weed-free patio isn’t something you achieve once and forget about. It’s a habit, and a pretty light one once you’ve got the basics in place.
Start with removing what’s already growing, using whichever method fits the size of the problem and how much time you want to spend on it. Then shift your focus to prevention: solid jointing sand, a good seal, proper drainage, and a quick sweep now and then.
Do that, and weeds between your pavers stop being a recurring headache. They become a rare, minor annoyance you handle in a couple of minutes and move on with your day.