How to Care for Hostas in Fall: A Simple Guide to Happier Plants Come Spring

Hostas have a reputation for being the plant you can just leave alone. Stick them in a shady spot and forget about them. Most of the time, that works.
But “most of the time” isn’t “always.”
I used to skip fall care entirely. My hostas survived every winter, so I assumed that meant they didn’t need help. Then I noticed one patch had gone thin and blotchy over a couple of seasons.
That’s when it clicked. Surviving and thriving are two different things. A little fall attention closes that gap.
Why Fall Care Matters
Here’s the twist. Hostas don’t need protection from cold. They need it.
Hostas require a real dormancy period. A stretch of cold weather tells the plant it’s safe to grow and bloom again next spring.
Skip that cold snap (mostly an issue for potted hostas, more on that later) and you get a weaker plant, not a hardier one.
So what’s all the fall work actually for?
It’s not about the cold itself. It’s about everything winter drags in with it. Slugs looking for a place to lay eggs. Disease spores hiding in old leaves.
Voles tunneling toward those thick, tasty roots. Freeze-thaw cycles that can heave a shallow-rooted plant right out of the ground.
Fall hosta care is really pest control and damage prevention. It just looks like tidying up.
Timing Is Everything (and Also Where Most People Get It Wrong)
I got this backwards my first couple of years. I saw the leaves looking tired in September and cut everything back right away. Felt very proactive. Was very wrong.
Here’s why. A green leaf is a working leaf. It’s still pulling in sunlight and sending energy down to the roots. Cut it off early, and you cut off the plant’s food supply before it’s done eating.
The rule that actually works: do your light cleanup before frost, and save the real cutback for after.
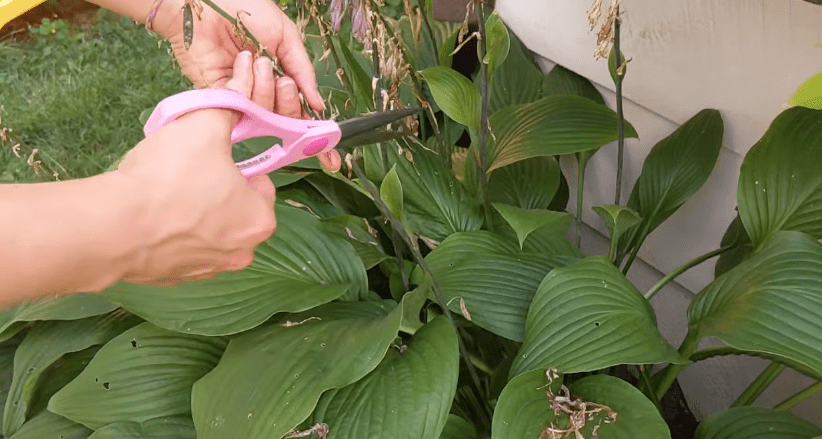
Before the first hard frost, walk through and remove anything already dead, damaged, or diseased. Leave the healthy green leaves alone.
Once a hard freeze turns the rest limp and mushy, usually around 28°F, that’s your signal. The plant is done for the season. Now you can cut back everything at once.
Dividing follows a similar rule, just on a longer timeline. Aim to divide at least 30 days before your area’s average first frost date.
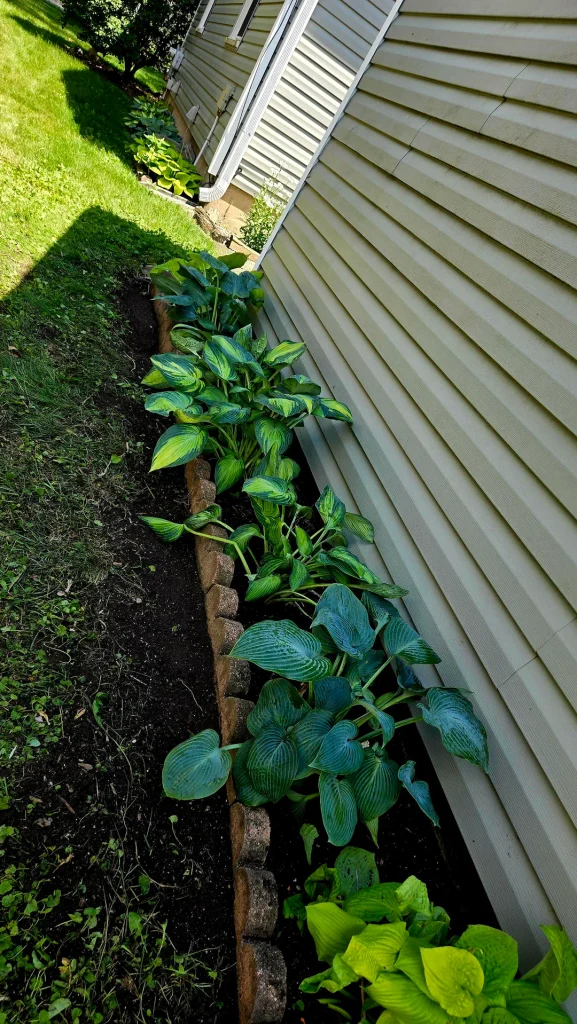
That gives the new divisions time to settle in before the ground hardens. Miss that window, and you’ve got two options: wait until spring, or pot up the division and overwinter it somewhere protected. More on that shortly.
How to Care for Hostas in the Fall
Step 1: Cut Back and Clean Up
This is the step most people already do, they just do it at the wrong time.
Before frost, only take off what’s clearly done. Yellowed leaves. Brown edges. Anything chewed up or spotted with disease.
Snip it at the base and toss it, don’t compost diseased foliage, it can spread problems right back into your garden next year.
Leave everything else. I know it’s tempting to tidy the whole bed in one pass. Resist it. Those green leaves are still feeding the roots.
Once frost hits and the plant collapses into that limp, mushy state, go back through and remove it all. Leaves, stems, any leftover flower stalks. Cut close to the crown, but don’t dig into it.
Here’s the part people skip: get the debris out of the bed completely. Don’t leave it lying around “to break down naturally.” Slugs lay eggs in leaf litter. So do a few other pests you don’t want sticking around until spring. A clean bed now means fewer problems later.
My experience: I used to leave a light layer of chopped leaves around the base, thinking I was doing the plant a favor. I wasn’t. That patch had noticeably worse slug damage the following summer than the beds I’d cleared completely. Now I clear everything and add fresh mulch separately instead.
Step 2: Divide, But Only If They Need It
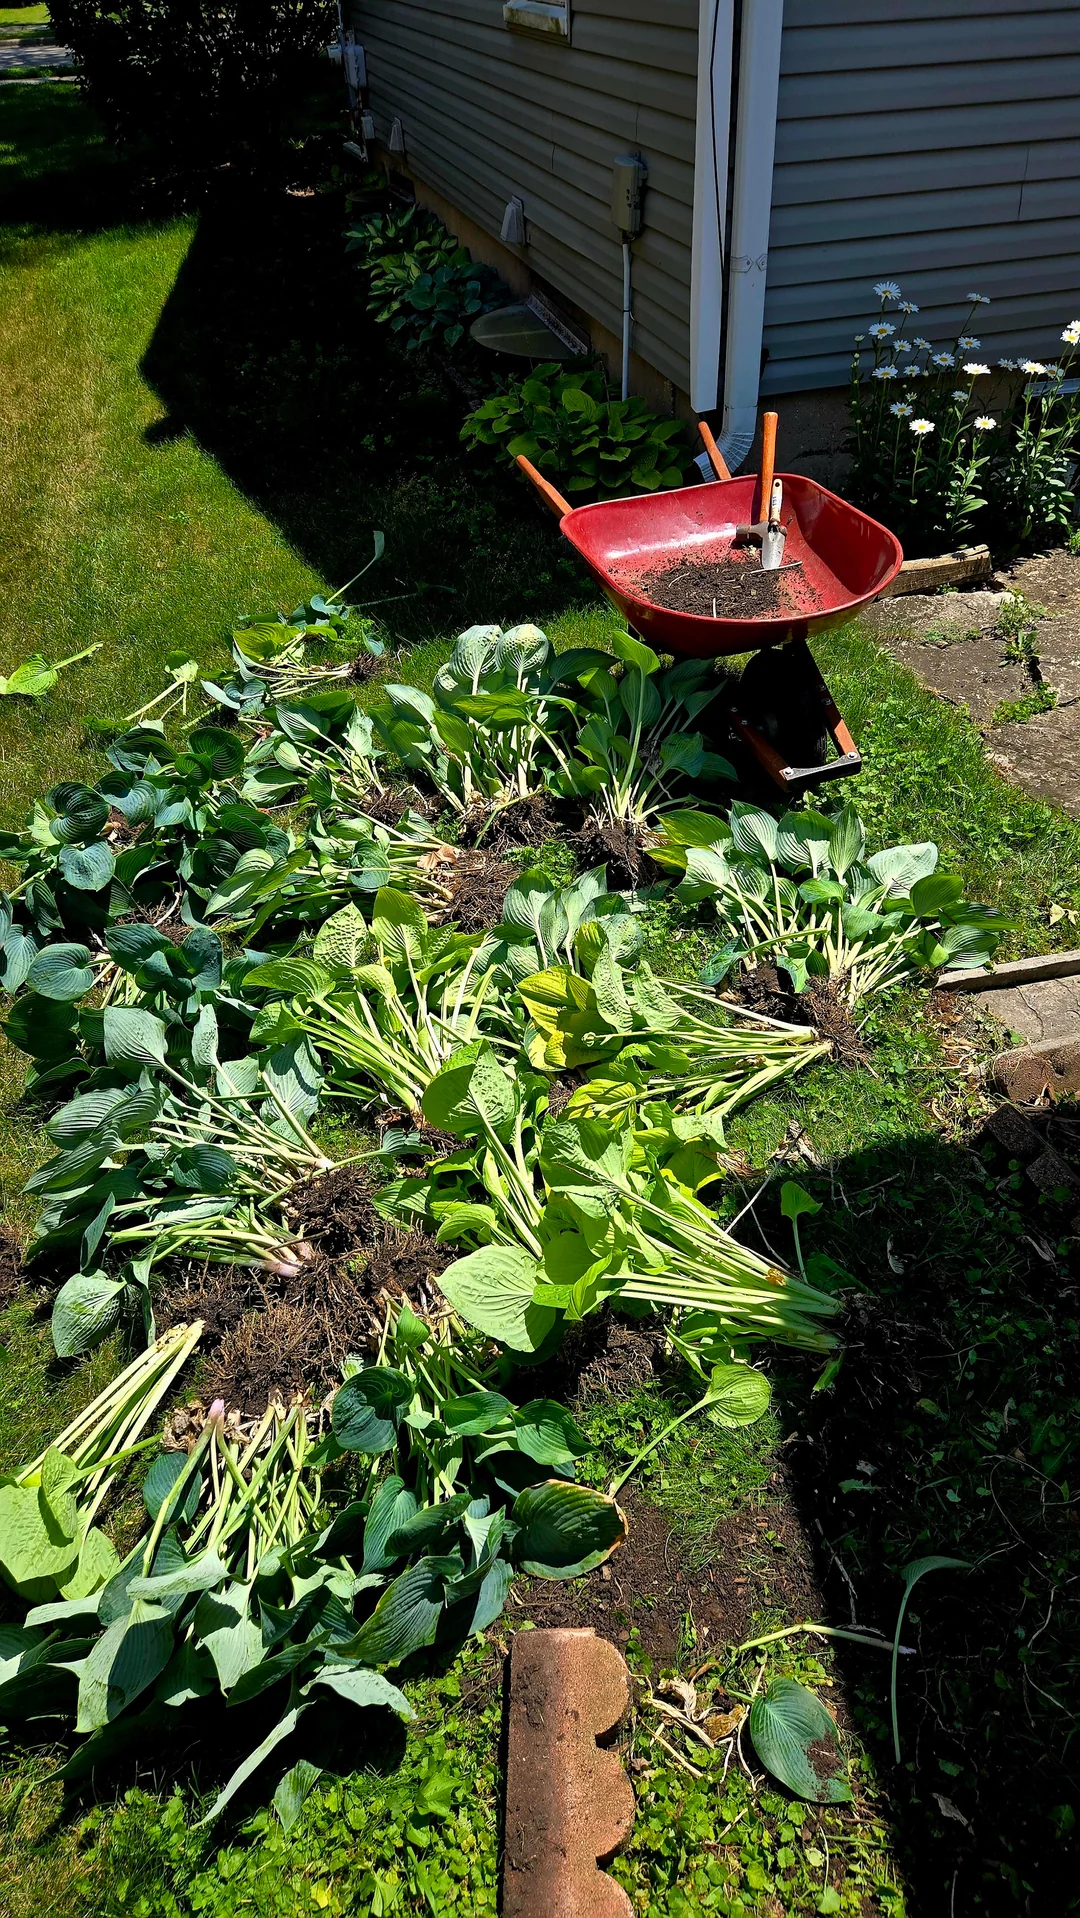
Hostas don’t need dividing every year. Some gardeners never do it at all. But if a clump has stopped blooming, is crowding its neighbors, or just looks tired and overgrown, fall is a good time to fix that.
Dig up the whole clump. Don’t try to slice off a piece while it’s still in the ground, you’ll damage more roots than you save. Once it’s out, shake off the excess soil so you can actually see what you’re working with.
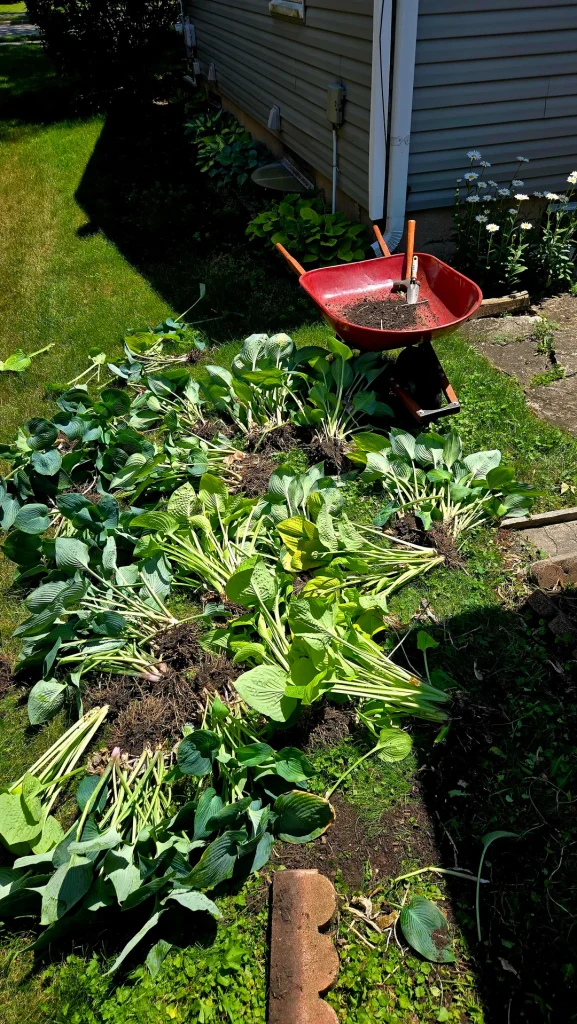
Use a sharp spade or a large knife to cut the clump into sections. Each section needs its own shoots and roots attached. Don’t panic if you slice through a few roots in the process, hostas are tougher than they look.
Replant one section where the original was. Move the rest, give them away, or pot them up if you’re out of space.
Timing matters here more than technique. Get this done at least 30 days before your first expected frost. That gives the roots time to anchor themselves before the ground freezes solid.
If you’re dividing later than that, skip planting them outside this year. Pot them instead, keep them somewhere sheltered and cool, and get them into the ground next spring.
Step 3: Stop Feeding, Keep Watering
This one trips people up because it feels backwards.
Skip the fertilizer starting in late summer. Feeding a hosta now pushes out new, tender growth right as the weather turns cold.
That new growth won’t survive the first hard freeze, and the plant wastes energy producing it instead of storing it for spring.
Watering is the opposite story. Don’t stop, even after the leaves are gone. The roots are still active underground, and they need moisture to handle the freeze-thaw cycles ahead.
Give the bed a deep soak every week or two through fall, right up until the ground actually freezes. Water in the morning, at the base, not overhead.
If your winters are mild and wet where you garden, you can probably ease off. Everywhere else, don’t let the soil dry out just because the leaves are gone. Out of sight isn’t the same as out of need.
Step 4: Mulch for Winter Protection
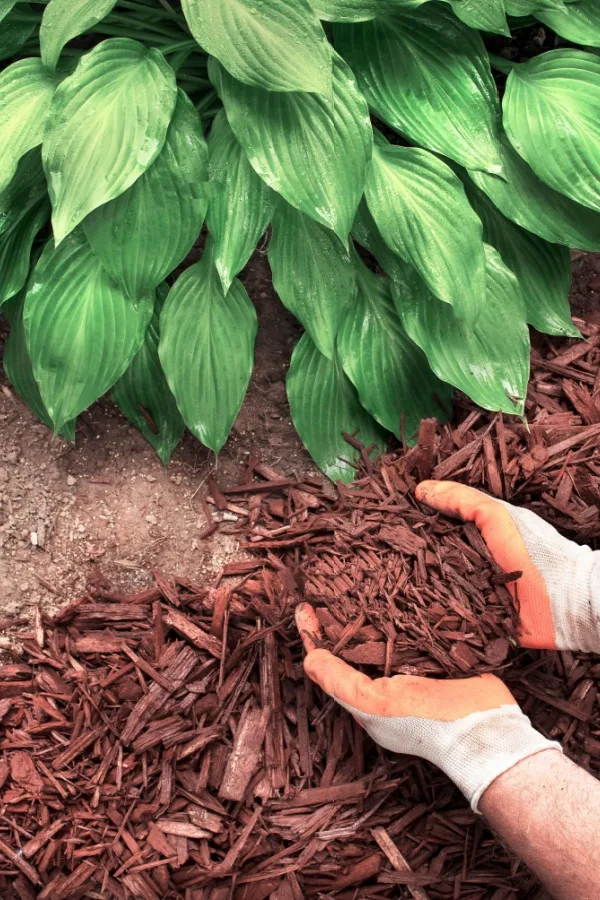
Once the plant is fully cut back, it’s time to tuck it in.
Wait until mid-to-late November, or right around when the ground starts to firm up. Mulching too early traps warmth and moisture the plant doesn’t need yet. Too late, and you’ve missed the window before the hardest freezes set in.
Use something loose and breathable. Shredded leaves, straw, or pine needles all work well. Pile on two to four inches, covering the crown completely. Think insulation, not decoration.
If you’ve got hostas you just divided or transplanted this fall, treat them a little differently. Wait until after the ground has actually frozen before mulching those.
It sounds counterintuitive, but mulching too soon on a fresh transplant can trap heat and encourage rot instead of protecting the roots.
One more thing, and it’s easy to forget by the time spring rolls around: pull that mulch back once new growth starts emerging. Leave it piled against the crown too long and you risk rot instead of protection.
I’ve made this mistake exactly once. The soggy, mushy crown I found that April was enough to make sure I never made it twice.
Step 5: Deal With Pests Before They Overwinter
This is the step that actually determines how your hostas look next summer, and it’s the one most guides gloss over.
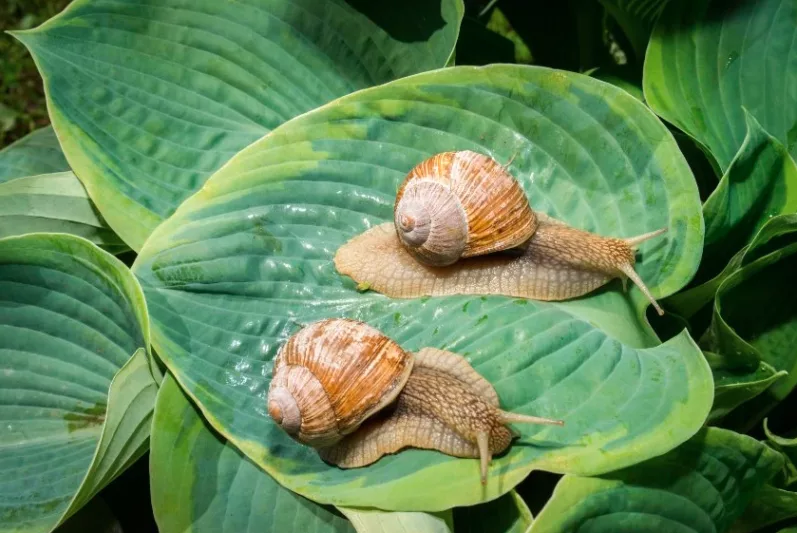
Slugs are the obvious culprit. They love damp, shady spots, and a bed full of leftover leaf litter is basically an invitation.
Clearing debris in fall, like we covered in Step 1, removes most of their winter hiding spots before they ever settle in.
Nematodes are less obvious but just as damaging. These microscopic roundworms live in the leaves themselves and show up as yellow streaking that turns brown along the veins, usually starting in early summer.
If you spot that pattern on any leaves this fall, don’t compost them. Bag them up and get them out of the garden entirely, or you’ll be dealing with the same problem again next year.
Voles are the one nobody warns you about until it’s too late. They tunnel through mulch and leaf debris looking for exactly what hostas offer, thick, fleshy roots that make an easy winter meal.
A vole problem doesn’t usually show up until spring, when you go looking for a plant that just isn’t there anymore.
A few things help:
- Keep the area around your hostas clear of fallen leaves through autumn, not just your own cleanup pile.
- Pull mulch a few inches back from the base of the crown rather than piling it right up against the stems, voles like tunneling under cover.
- If you’ve had vole damage before, repellents made from capsaicin or castor oil can help, though results vary.
- Traps are the most reliable option if the problem is serious.
A Note on Potted Hostas
Container hostas need more help than the ones in your garden beds, and it’s worth treating them as their own project.
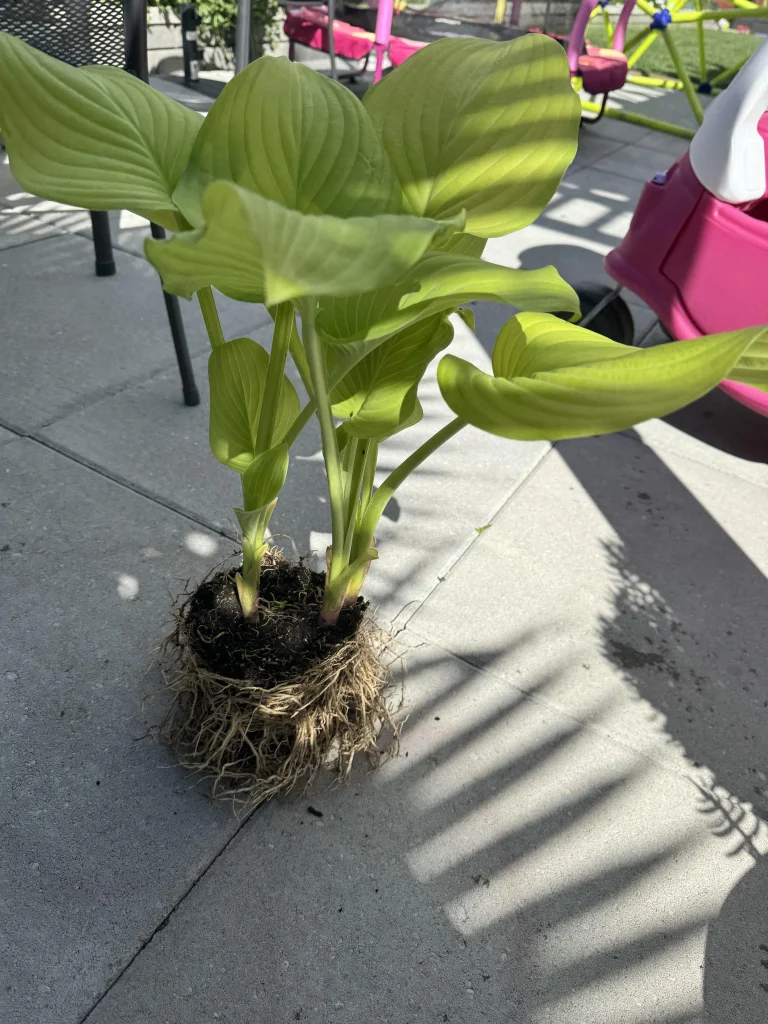
The problem is exposure. A hosta in the ground has the entire earth insulating its roots. A hosta in a pot has thin plastic or ceramic between its roots and the open air on every side. That’s a much colder, much harsher winter.
Your best option is moving the pot into an unheated garage or shed once the plant goes dormant and temperatures start dropping below 40°F.
It just needs to stay cold, not frozen, and dark is fine. Check the soil once a month. If it’s bone dry, give it a small drink.
No indoor space available? Bury the whole pot in an empty spot in your garden, right up to the rim. The surrounding soil does the insulating work for you. Mulch over the top just like you would an in-ground plant.
If your winters are on the milder side, you can get away with grouping potted hostas together against a sheltered wall, wrapping the pots in burlap, and piling mulch heavily around the base.
It’s not as reliable as the other two methods, but it’s enough in a lot of climates.
The Payoff
None of this takes long. An afternoon here, thirty minutes there, spread across a few weeks in fall.
But that small effort is exactly what separates hostas that just survive from hostas that come back next spring fuller, healthier, and ready to actually show off.
You’ll notice the difference by early summer, thicker clumps, cleaner leaves, fewer bare patches where pests or rot got the upper hand.
Put in the work now, and next year’s hostas will do the rest without you.