
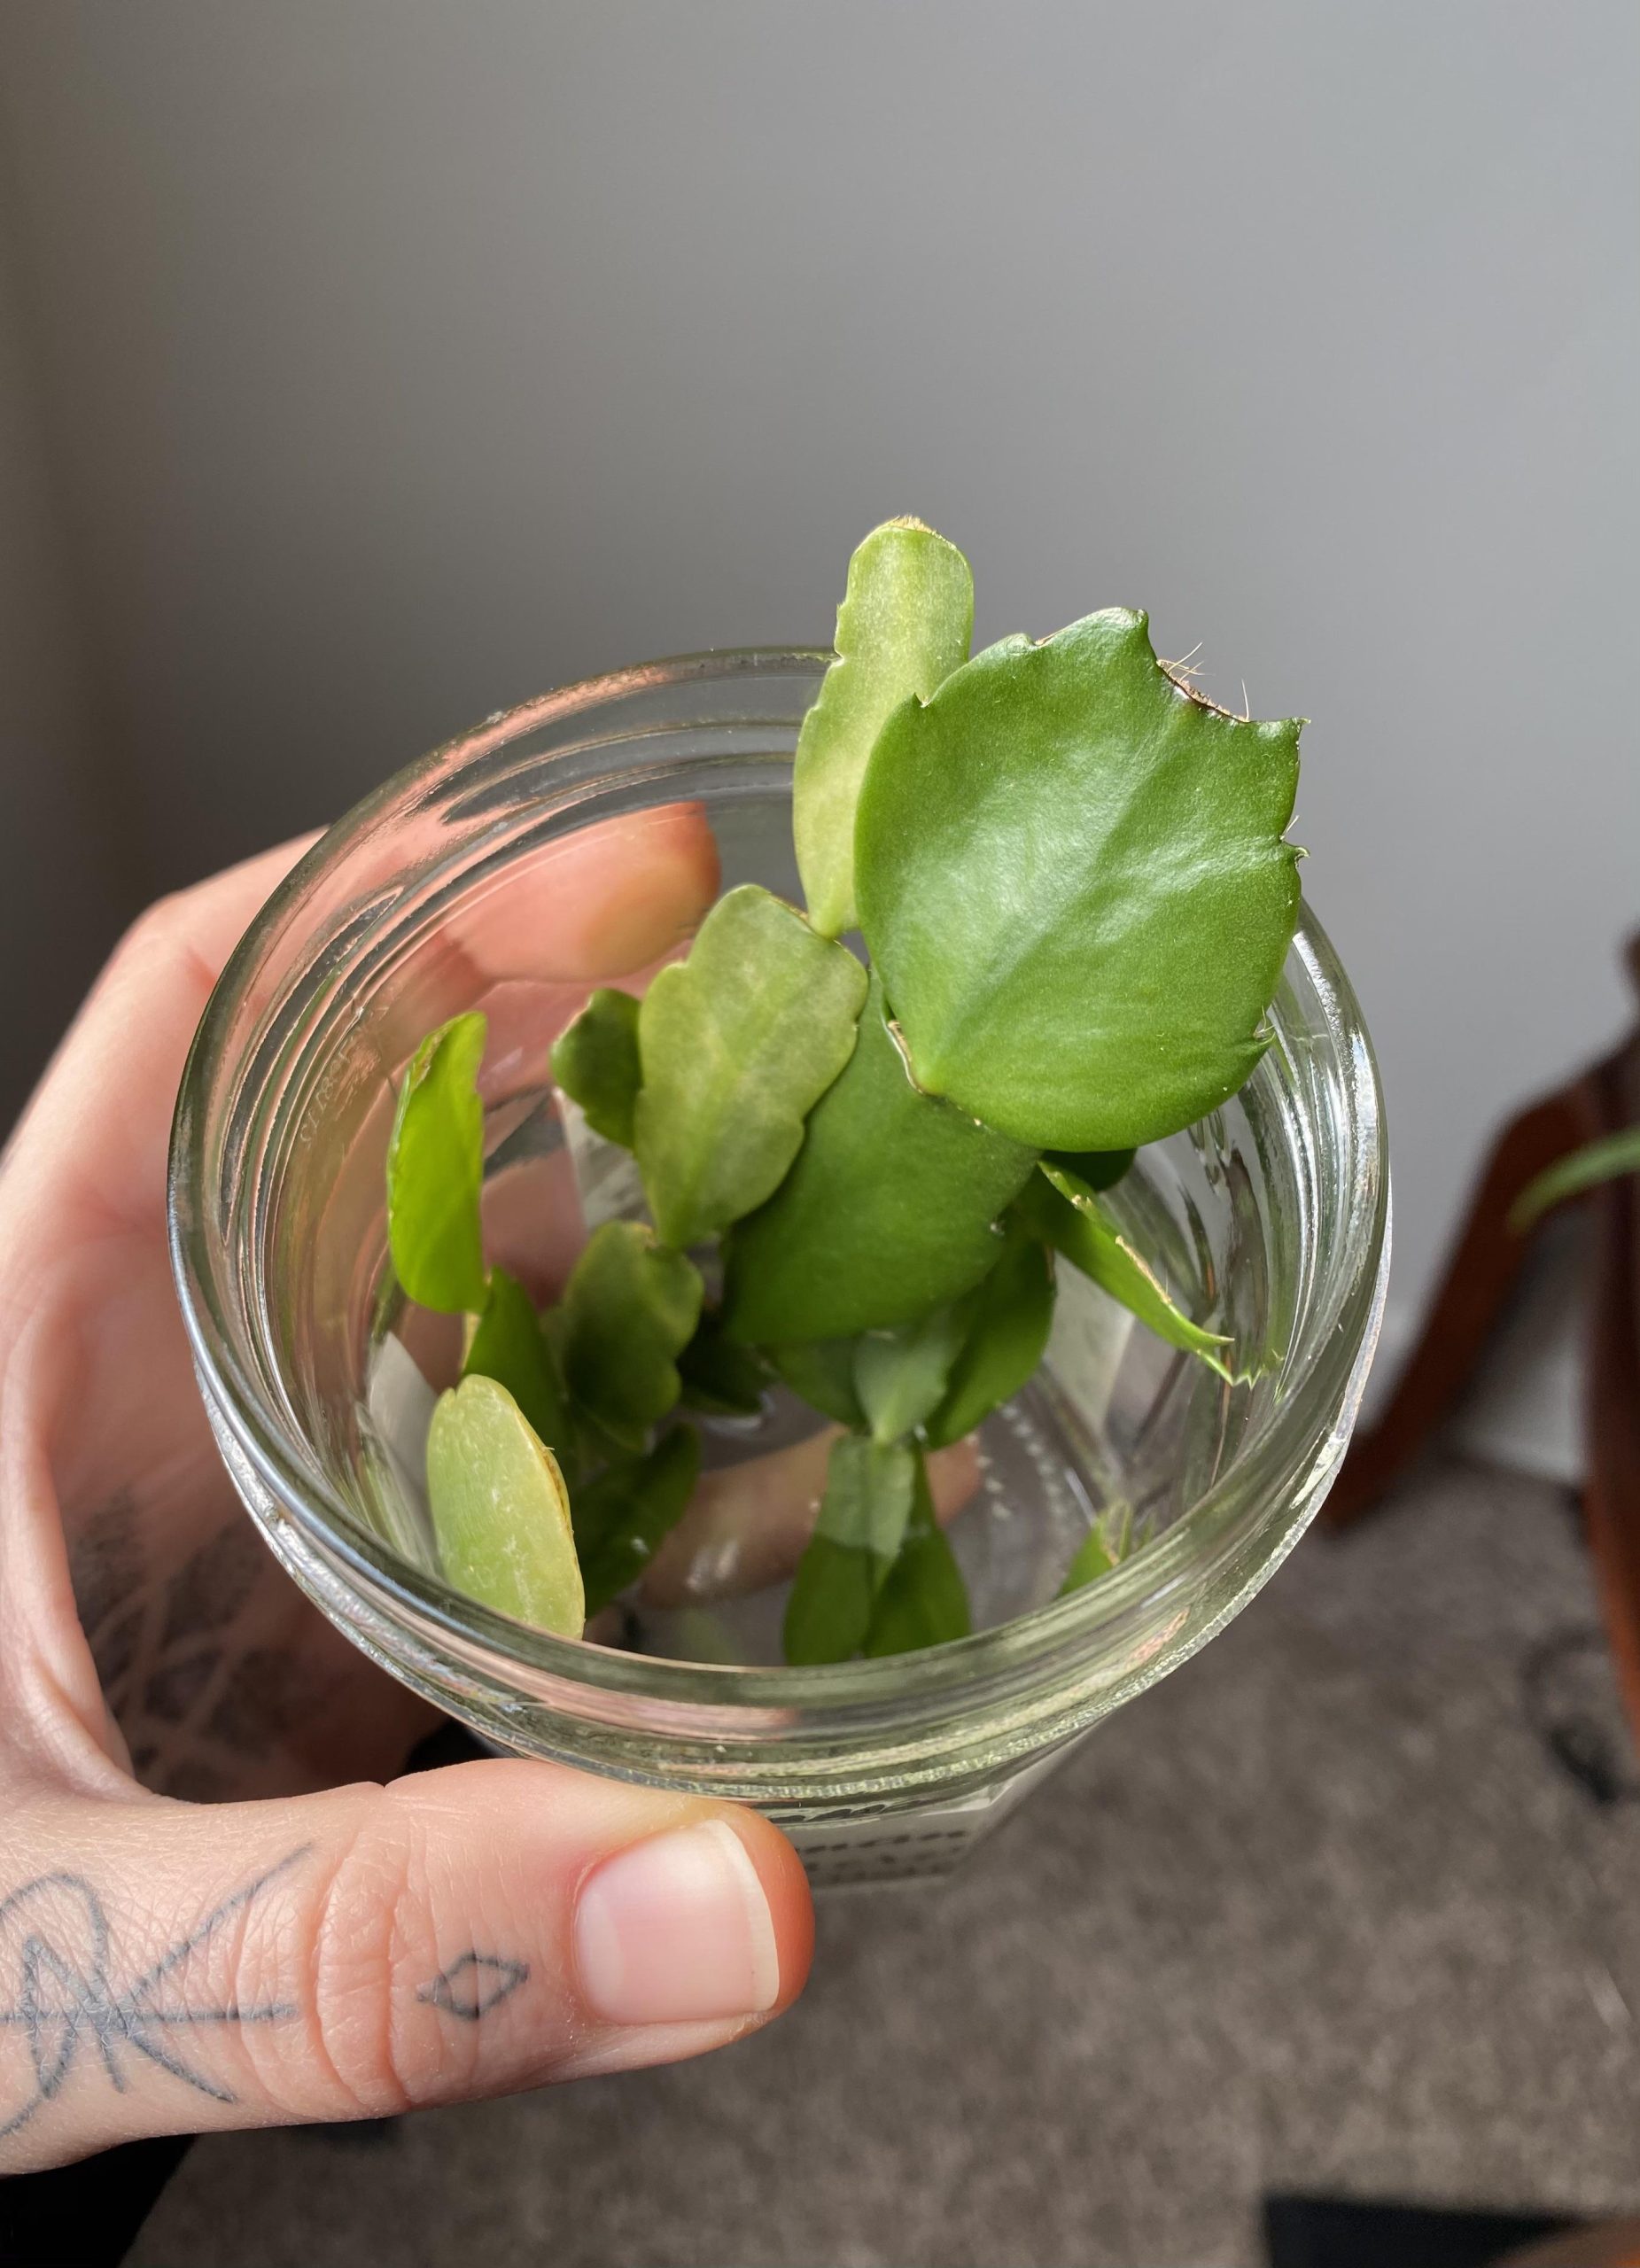
How to Propagate Christmas Cactus in Water

There’s something almost magical about watching a plant grow roots right in front of your eyes. No digging through soil to check on progress. No guessing games.
That’s the appeal of rooting a Christmas cactus cutting in water. You snip a piece from a healthy plant, drop it in a jar, and watch nature do its work.
If you’ve got a cutting sitting on your counter and no idea where to start, you’re in the right place.
This guide walks you through the entire water propagation process, step by step, so your cutting turns into a thriving new plant.
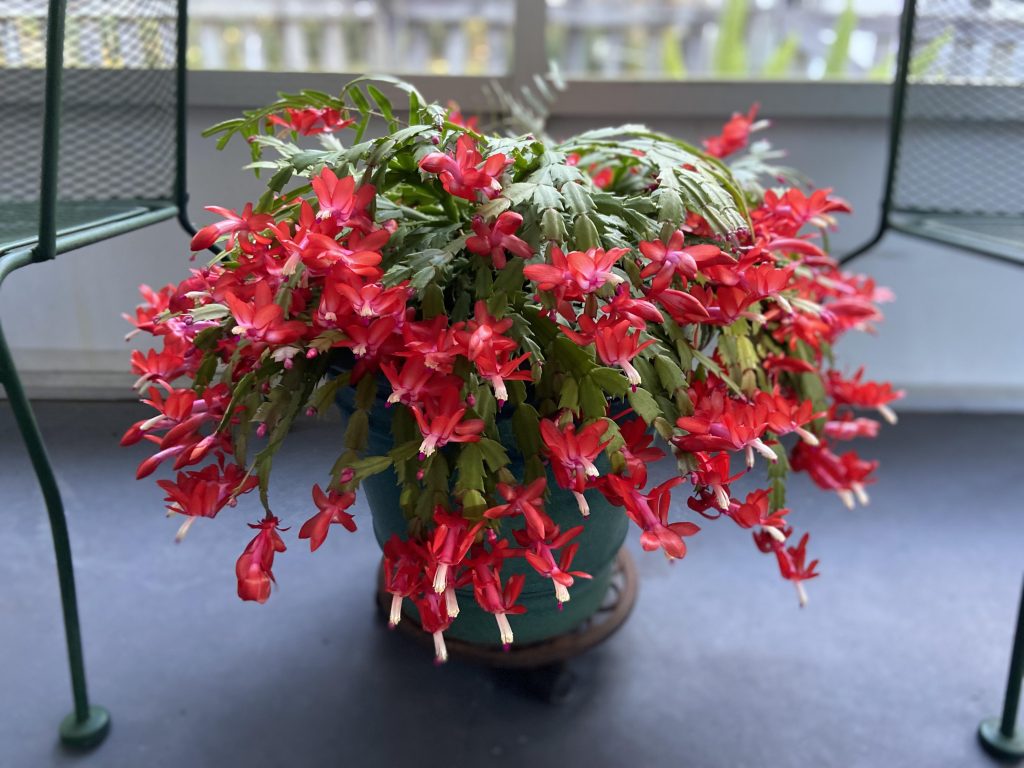
Why Water Propagation Works So Well
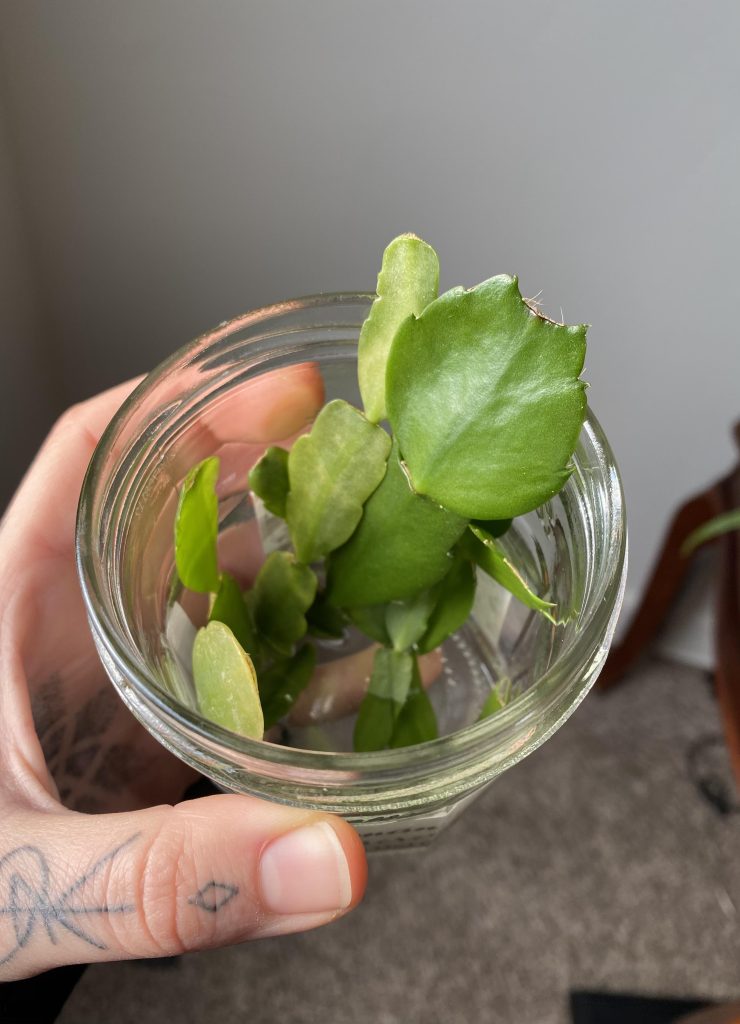
Christmas cacti are forgiving plants, but they can still rot in soggy soil. Water propagation sidesteps that risk almost entirely.
Here’s why. Roots need oxygen to grow. Water holds onto oxygen easily, and it doesn’t have much competition for it.
Soil is a different story. Bacteria and fungi in soil use up oxygen too, especially in wet, dense potting mix.
When oxygen levels drop, the wrong kind of bacteria moves in, and that’s often what leads to root rot.
Water skips that whole problem. It’s clean, it’s simple, and it gives your cutting the best shot at growing strong roots fast.
What You’ll Need
Before you get started, gather a few simple supplies:
- Sharp, clean scissors or pruning shears. A clean cut heals faster and lowers the risk of infection.
- A small, clear glass container. Clear glass lets you watch the roots form. That’s half the fun.
- Fresh water. Tap water works fine for most homes.
- Small pebbles or stones (optional). These help keep your cutting upright in the jar.
One extra tip worth following: rinse your container with a light bleach solution before use. It kills off any lingering bacteria that could cause your cutting to rot before it even gets started.
Step-by-Step: How to Root a Christmas Cactus in Water
Once you’ve got your supplies ready, the process itself is quick. Here’s exactly how to do it.
Step 1: Take the Right Cutting
Choose a healthy stem with at least two to three segments. Cut cleanly between segments, not through the middle of one.
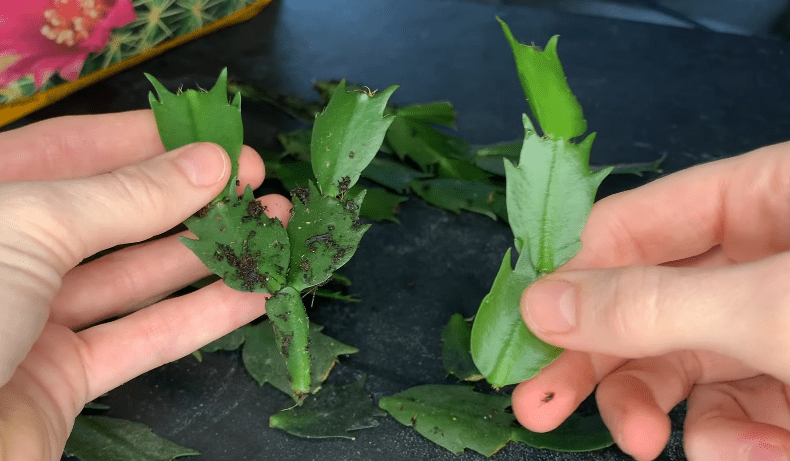
A Y-shaped cutting works especially well. It gives the cutting a little more stability once it’s sitting in the jar.
Step 2: Let the Cut End Callus
This step gets skipped a lot, but it makes a real difference. Set your cutting somewhere dry, like a countertop or windowsill, for one to two days.
During this time, the cut end forms a callus. Think of it as a scab. That callus protects the cutting from rot once it touches water.
Step 3: Set Up Your Container
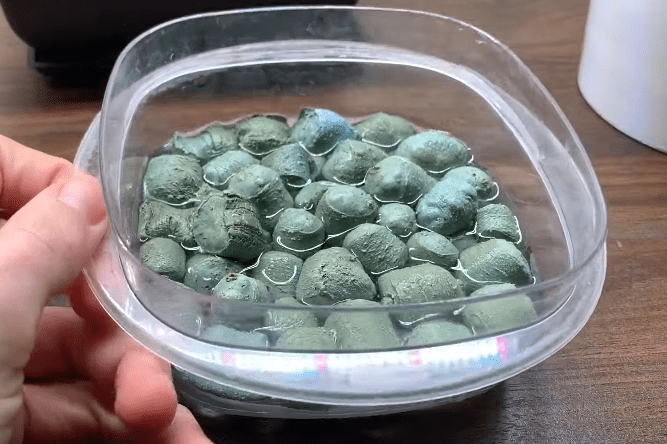
If you’re using pebbles, add a small layer to the bottom of your jar first. This gives the cutting something to rest against so it doesn’t tip over.
Fill the jar with just enough water to reach the top of the pebbles.
Step 4: Submerge Only the Very Tip
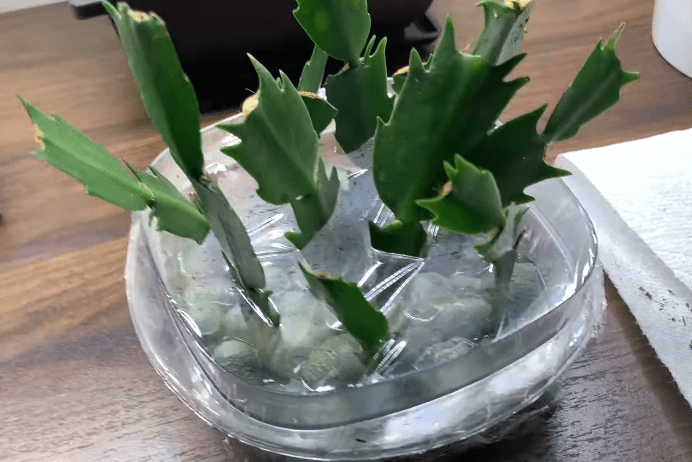
This is the step people get wrong most often. Only the bottom tip or node of the cutting should touch the water. Nothing more.
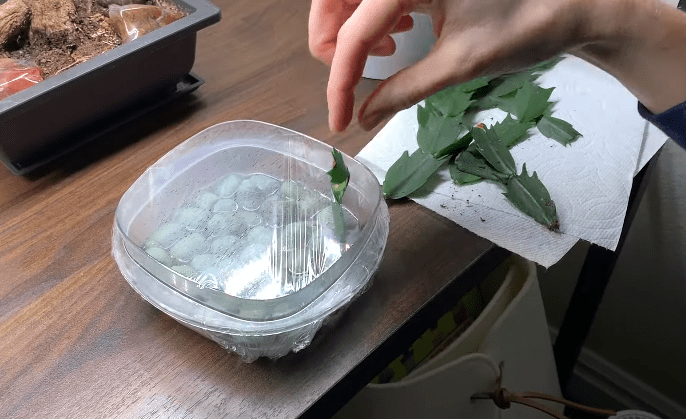
Submerging too much of the cutting invites rot instead of roots. Less is more here.
Step 5: Find the Right Spot
Place your jar somewhere with bright, indirect light. A kitchen windowsill or a spot near an east-facing window usually works well.
Avoid direct, harsh sunlight. It can scorch the cutting before it has a chance to root.
Step 6: Keep the Water Fresh
Check your jar every few days. Water evaporates faster than you’d expect, especially in a heated room, so top it up as needed.
If the water starts to look cloudy or algae begins to form, swap it out completely. A good rule of thumb is to change the water at least once a week.
How Long It Takes
Patience matters here. Rooting times vary, and that’s normal.
Most cuttings show the first signs of roots within two to three weeks. But don’t worry if yours takes longer. Some cuttings need six to eight weeks before roots are long enough for transplanting.
A lot depends on light, room temperature, and how fresh you keep the water. Warmer rooms tend to speed things along.
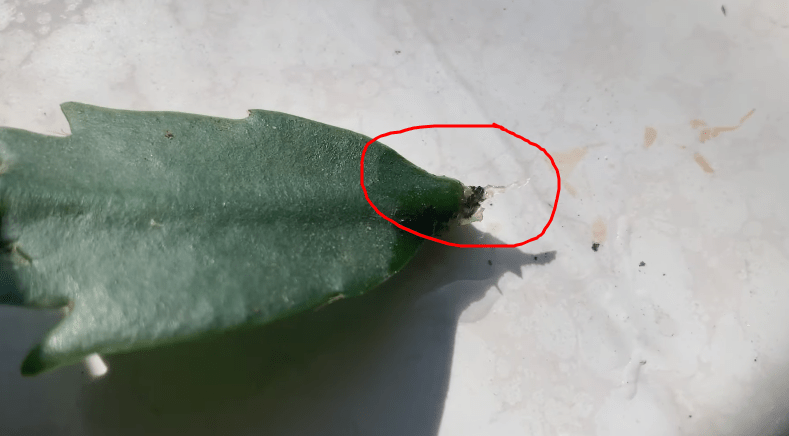
Wait until roots reach about an inch long before you think about moving your cutting to soil. Pulling it too early risks damaging those fragile new roots.
Moving Your Cutting to Soil
This step trips up more people than any other part of the process. Roots that grow in water are different from roots that grow in soil. They’re softer, and they’re used to pulling in oxygen a different way.
That’s why the transition needs to happen gently.
Fill a small pot with a well-draining cactus or succulent mix. Regular potting soil holds too much moisture and can suffocate those tender new roots.
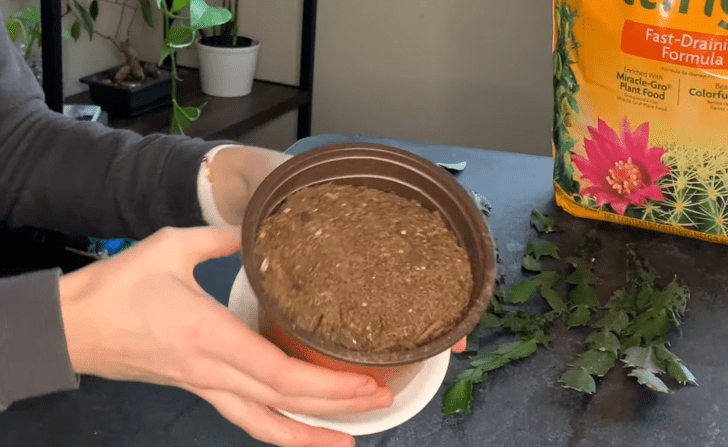
Make a small hole in the soil with your finger. Set the roots in gently, then firm the soil around the base of the cutting.
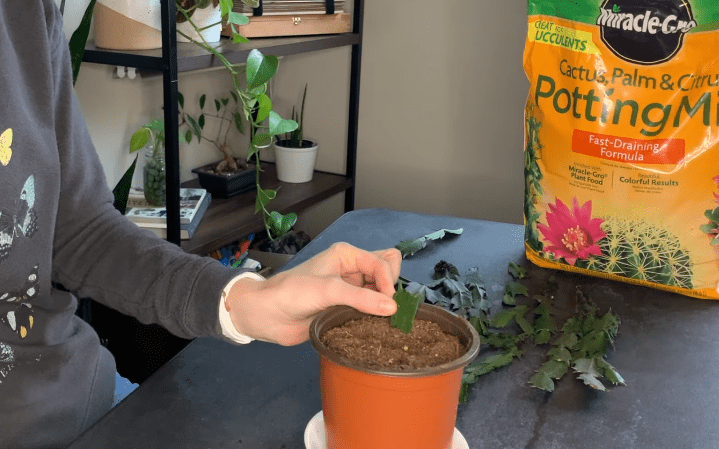
Water lightly right after planting, then let the top of the soil dry out before you water again. Give your new plant a week or two to adjust before treating it like a fully established cactus.
Common Problems (And How to Fix Them)
Even with the right steps, things can go sideways. Here’s what to watch for.
Your cutting turns mushy or black. This almost always means too much of the cutting sat in water. Trim off the damaged section and start over with a fresh cut, submerging only the very tip this time.
No roots after a month. Check your light first. Low light slows everything down. Also make sure you’re refreshing the water regularly, since stagnant water can stall root growth.
The cutting looks shriveled. This usually means the tip isn’t actually touching the water anymore. Water evaporates faster than you’d think, so check your jar more often and top it up.
Roots form but the cutting struggles after transplanting. This is the classic water-to-soil hiccup. Ease into it. Keep the soil lightly moist for the first couple of weeks instead of watering on a strict schedule.
I’ve had a cutting rot on me before simply because I got impatient and dropped in a piece with three full segments underwater instead of just the tip.
Lesson learned. Less is always more when it comes to submerging your cutting.
FAQs
Do I need to let the cutting dry out before putting it in water?
Yes, this step really helps. Letting the cut end callus for a day or two protects it from rot once it hits the water.
How many segments should a cutting have?
Aim for at least two to three segments. Anything shorter struggles to root well.
Can I propagate a Christmas cactus in water year-round, or only after blooming?
The best time is late spring through early summer, after the plant finishes blooming. The cactus is actively growing then, which helps roots form faster.
Why is my cutting turning mushy?
Too much of the cutting is likely sitting in water. Trim the damaged part and try again, keeping just the tip submerged.
Can I just leave it growing in water permanently instead of moving it to soil?
You can for a little while, but it’s not a long-term fix. Eventually the cutting needs soil to keep growing strong and healthy.
Wrapping Up
Rooting a Christmas cactus in water is one of the easiest ways to grow your plant collection for free.
Just remember to keep only the tip submerged, be patient with the timeline, and ease into that soil transition when the time comes.
Before you know it, you’ll have a brand new Christmas cactus ready to fill out and bloom right alongside its parent plant.


One Comment