10 Genius Pallet Raised Garden Bed Designs You’ll Want to Try Today!

So, you’ve decided to start a garden.
But instead of the usual “dig into the earth and hope for the best” approach, you want something a little more sophisticated, customizable, and, let’s be honest, a lot less back-breaking.
Enter the pallet raised garden bed — the perfect solution for gardeners of all levels.
Whether you’re working with a tiny balcony or a sprawling backyard, pallets can give you the flexibility to create the garden of your dreams without draining your wallet.
Now, I know what you’re thinking: “Pallets? Really?” But trust me — they’re not just for transporting stuff from point A to point B.
Pallets are an absolute game-changer in the world of gardening. They’re easy to find, simple to work with, and can be turned into beautiful, practical raised beds that make your plants happy and your neighbors jealous.
If you’re ready to elevate your garden game (pun intended), keep reading for 10 creative pallet raised garden bed ideas that are perfect for any space, big or small.
10 Creative Pallet Raised Garden Bed Ideas
1. The Classic Pallet Raised Bed
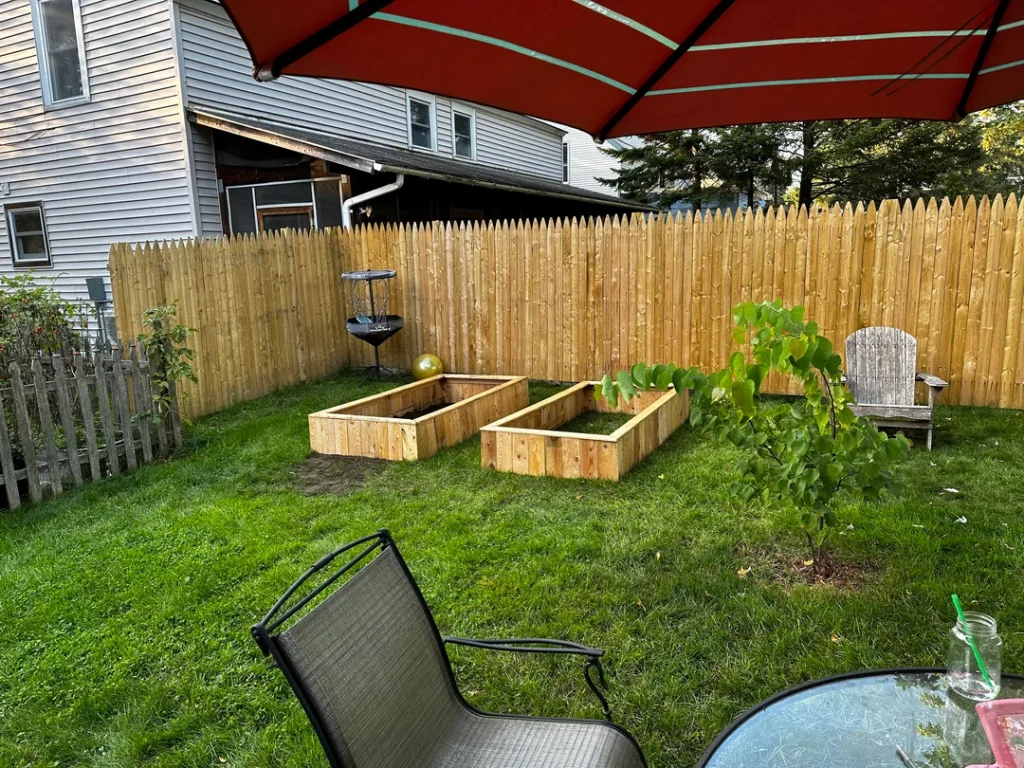
If you’re new to raised garden beds, starting with the classic pallet design is the way to go. All you need is one sturdy pallet — that’s right, just one.
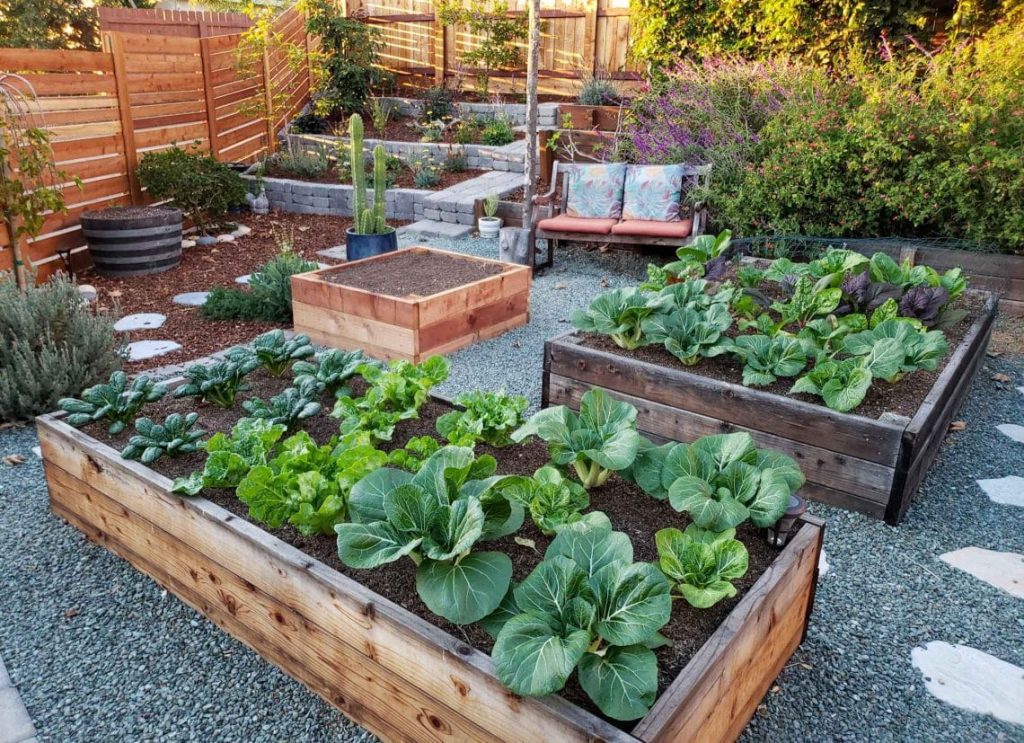
Lay it flat, secure the edges, and voilà! You’ve got yourself a neat, efficient garden bed ready to house your plants. This setup works wonders for small spaces and is ideal for herbs or flowers.
Plus, it’s a fantastic weekend project if you’re looking to dip your toes into the world of DIY gardening without feeling overwhelmed.
Honestly, it’s almost too easy. Ever wondered if it could really be that simple? Yep, it’s that simple. Add a little compost and good soil, and you’re ready to plant.
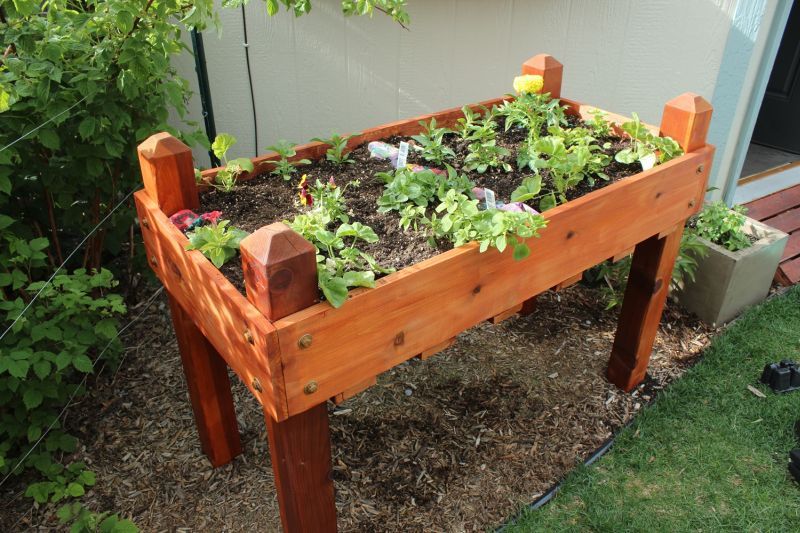
2. Elevated Pallet Bed for Comfort and Style
So, you’re not a fan of bending over to water your plants? I totally get it. This elevated pallet bed is your solution.
By stacking a couple of pallets and securing them together, you can create a garden bed that’s waist-high.
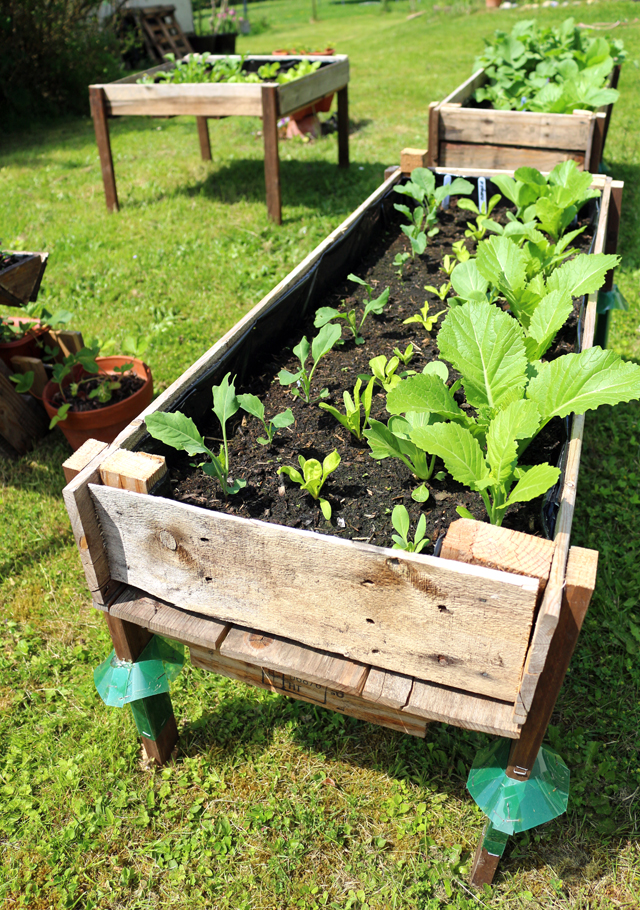
Not only does it reduce the need to bend down (seriously, thank me later), but it also adds a stylish, modern vibe to your outdoor space. Perfect for patios, small gardens, or even balconies.
The beauty of this design is that it’s both functional and easy on the eyes. And don’t worry about the weight — these elevated beds hold up beautifully, even with heavier plants. A win-win, right?
3. The Vertical Pallet Garden
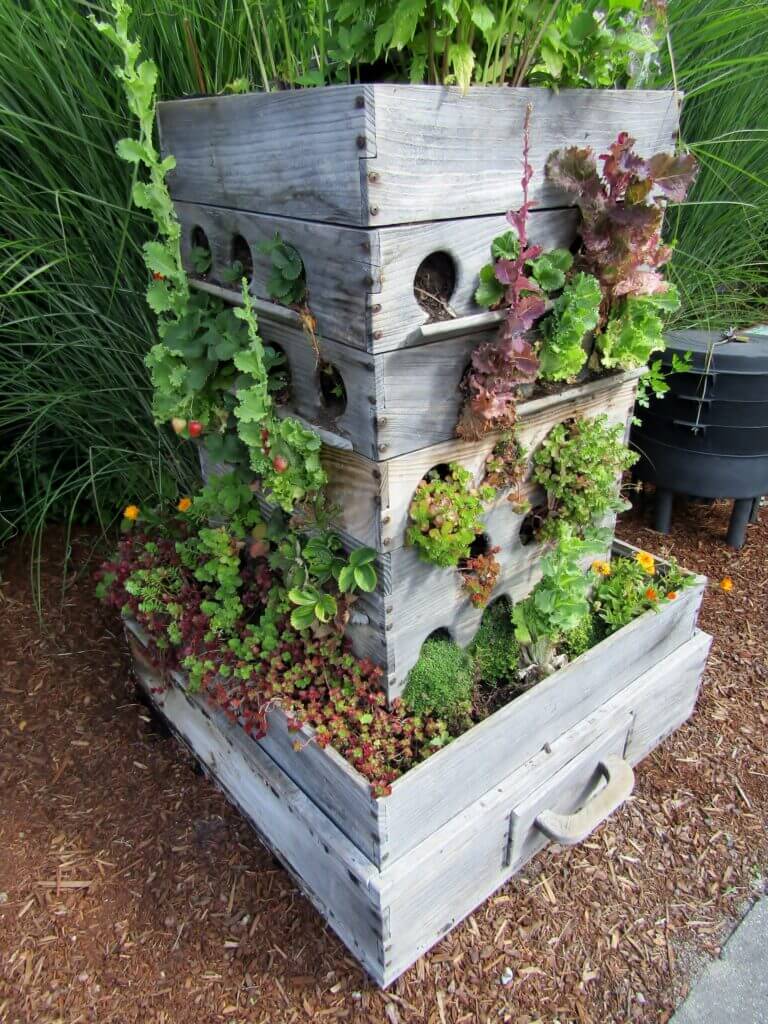
If you’re living in an apartment or have minimal outdoor space, vertical gardening could be your new best friend.
By standing a pallet up on its side and securing it against a wall, you’ve got an instant vertical garden. This design maximizes space by allowing plants to grow upwards instead of spreading out.
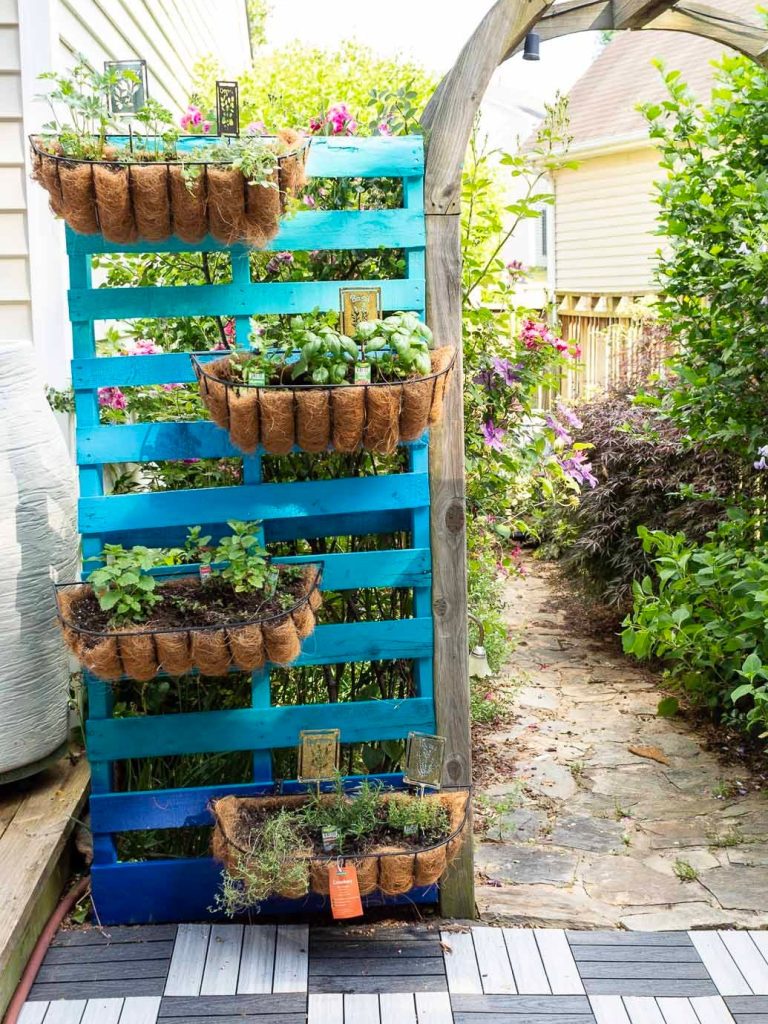
It’s perfect for small herbs, lettuces, or flowers that don’t require deep soil.
Plus, there’s something uniquely satisfying about planting and watching your garden grow upwards.
It’s like having a living wall of green that adds a touch of nature to any space. Trust me, it looks way cooler than it sounds.
4. L‑Shaped Pallet Garden Bed
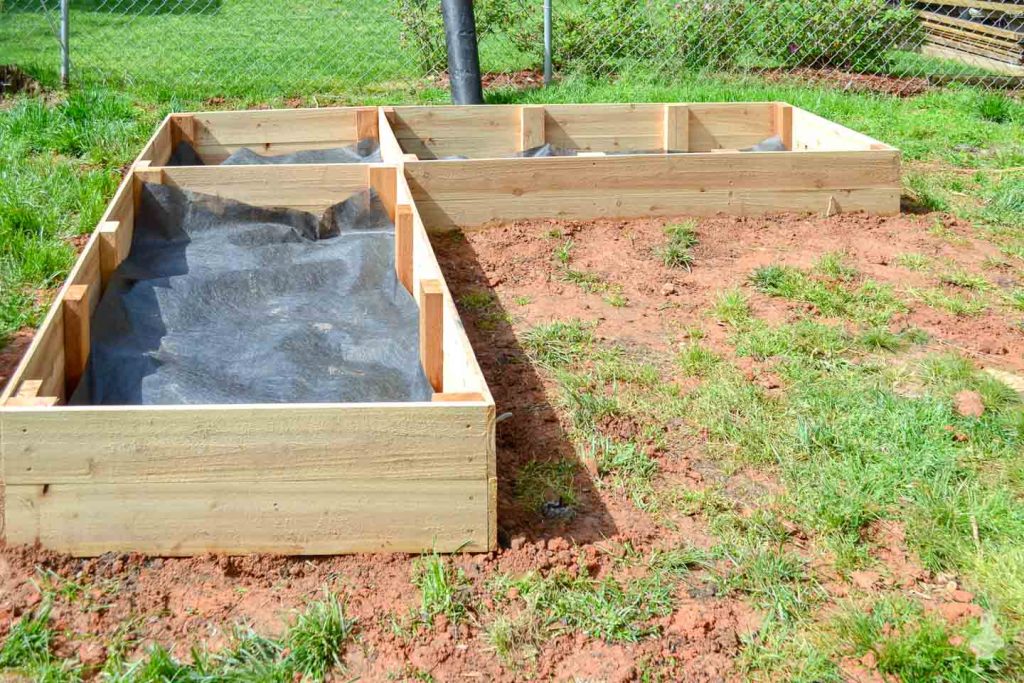
If your space feels a little cramped, consider going with an L-shaped pallet raised bed. By placing two pallets at right angles to each other, you create a corner garden bed that utilizes every inch of your space.
This layout is perfect for gardeners with limited room, but it still gives you plenty of space to grow a variety of plants.
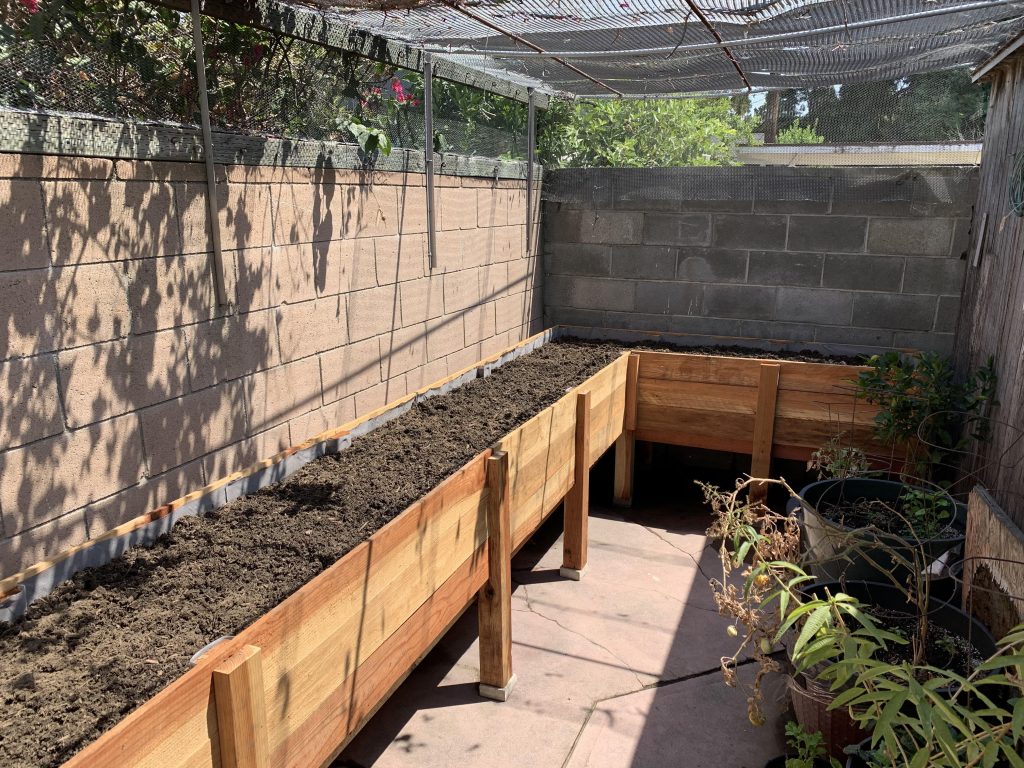
I’ve tried this in a few different settings, and let me tell you, it works wonders for making small corners look organized and lush.
Plus, it’s a lot less boring than a simple rectangular bed. Who doesn’t love a good design twist?
5. Stacked Pallet Garden Bed
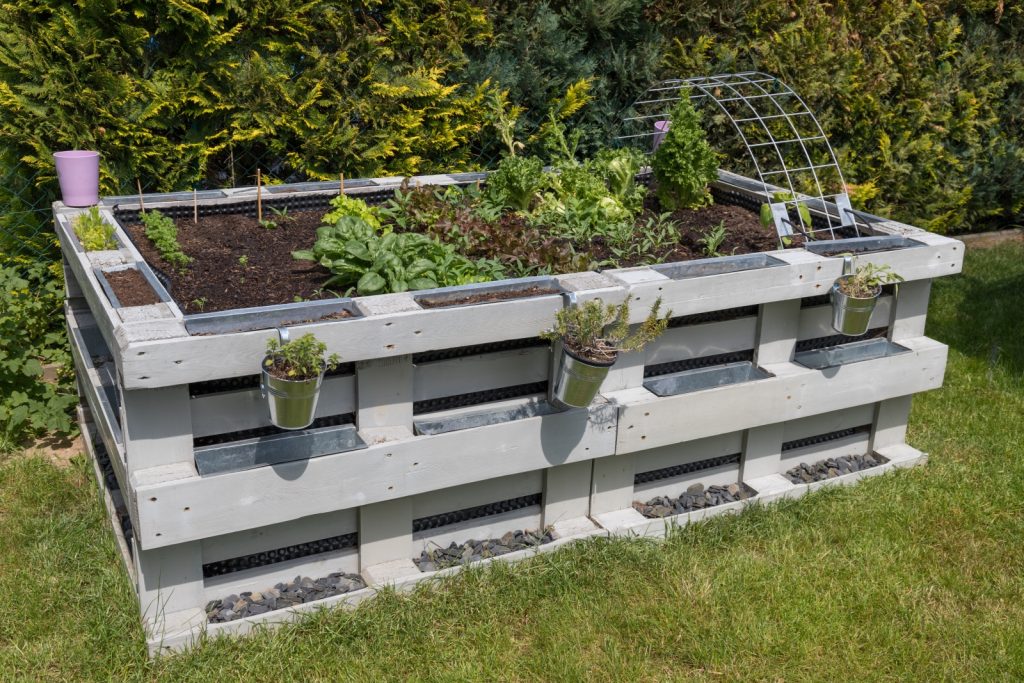
For those who want a multi-level garden (think tiers, but not as fancy), a stacked pallet garden bed is the way to go.
Stack two or three pallets on top of each other, secure them with screws, and you’ve got yourself a multi-tiered garden that’s great for growing taller plants like tomatoes or peas.
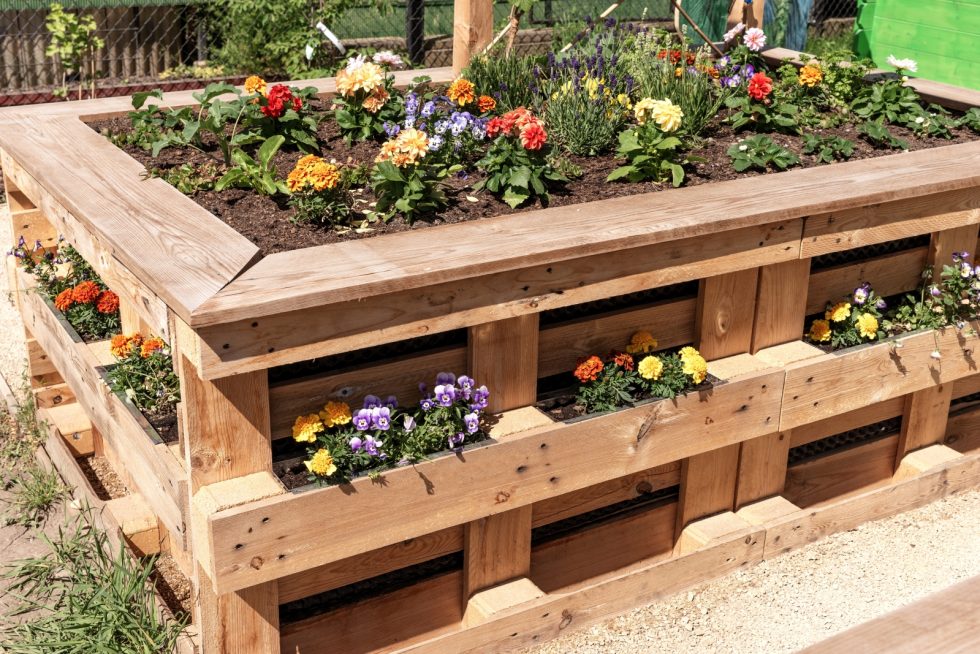
The levels not only look super cool, but they also make gardening easier by reducing the amount of bending you need to do.
It’s like having a mini garden pyramid in your backyard — and who doesn’t want that?
Bonus: It’s perfect for anyone who wants to maximize growing space vertically without taking up more horizontal space.
6. Pallet Bed with Built‑In Trellis
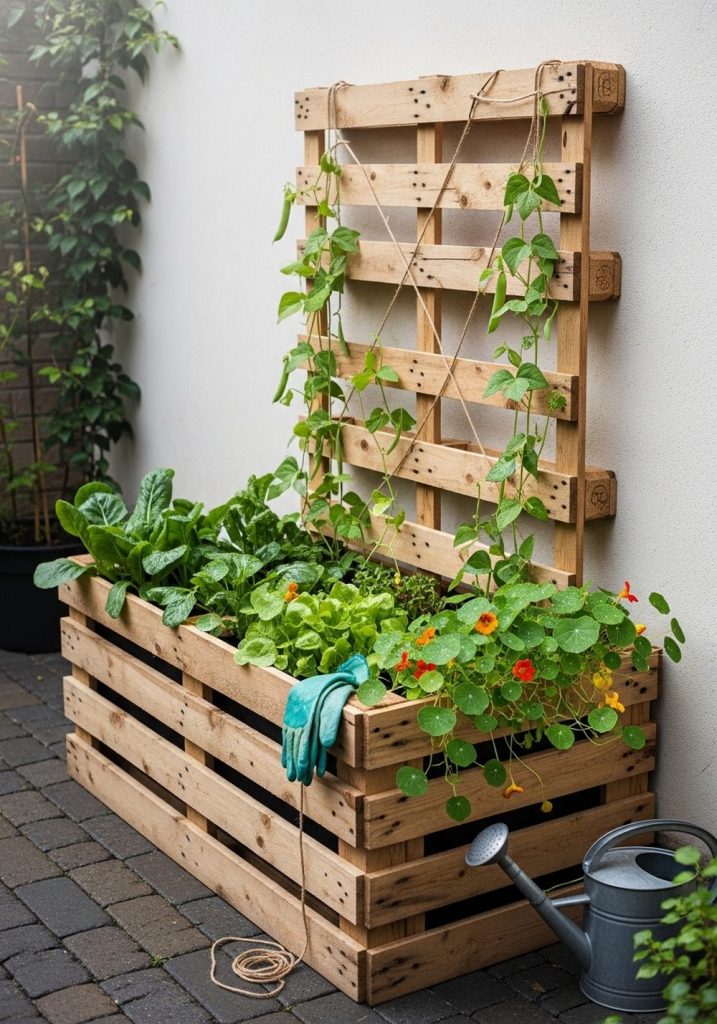
If you’re a fan of climbing plants like beans, cucumbers, or even sweet peas, this one’s for you. A pallet raised bed with a built-in trellis is an amazing two-in-one deal.
Not only do you get a sturdy garden bed, but you also get a natural climbing structure right alongside it. By attaching a trellis (you can use wood, wire, or even some string) to the back of your pallet bed, you create an instant support system for your plants to climb.
This idea works great for maximizing space since your plants will grow upward instead of outward. Plus, it looks pretty darn charming when the plants start to vine up the trellis, don’t you think? It’s like nature’s vertical art.
7. Rustic Log Border Pallet Bed
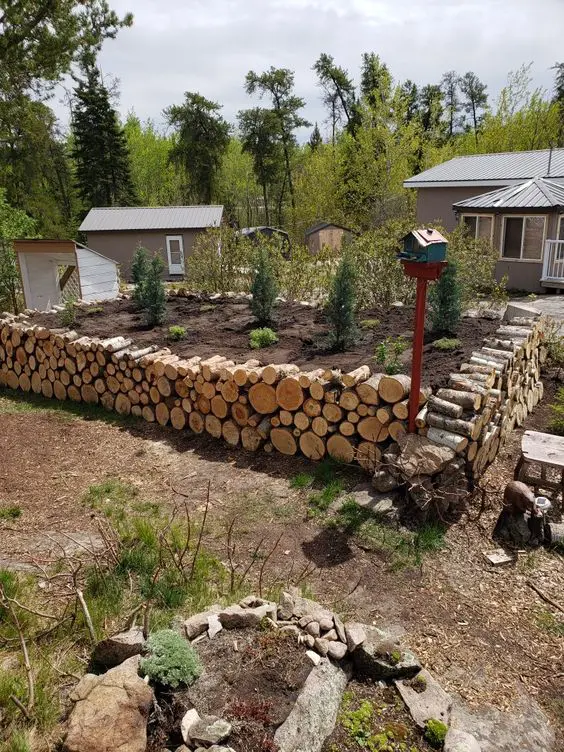
Looking for something a bit more rustic? Take your pallet raised bed up a notch with a log border. You can simply add logs to the outer edges of your pallet bed for a country feel.
The logs help create a natural boundary for your bed and add a touch of earthy charm to your garden. Plus, they’re easy to find — whether you’ve got access to fallen branches or can pick up a few logs from a local supplier.
This design is ideal for anyone who wants a more natural, rustic aesthetic without losing the practicality of a raised bed.
And let’s be honest, who wouldn’t love a cozy garden that looks like it came straight from a cabin in the woods?
8. Mobile Pallet Raised Garden Bed
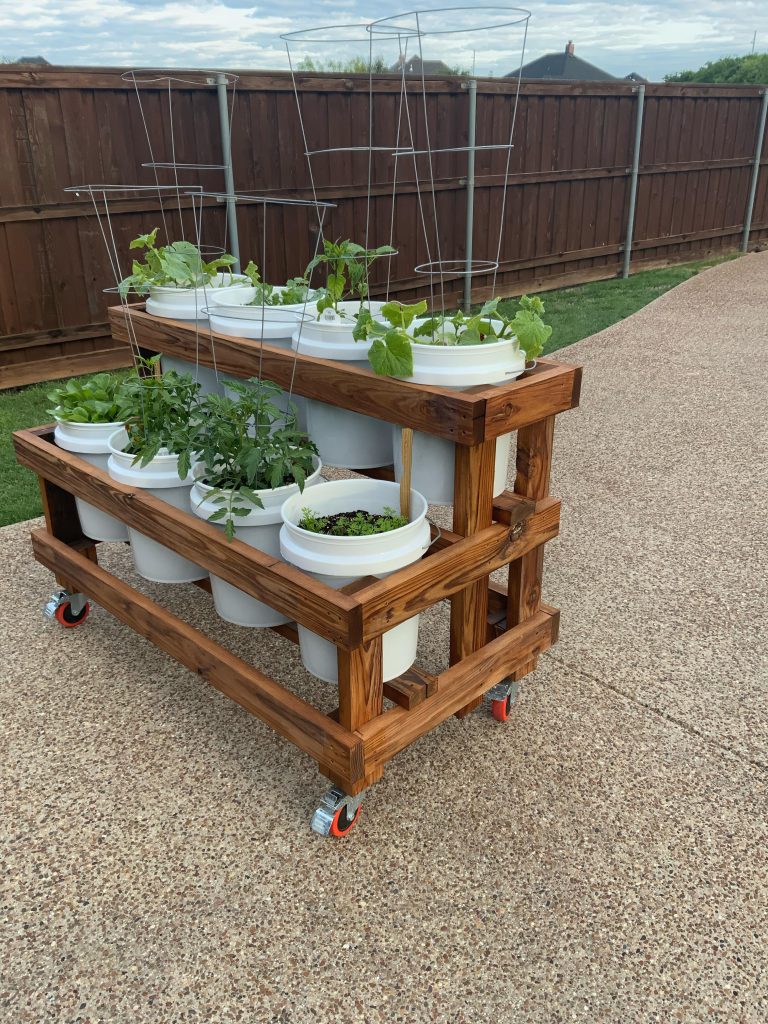
Let’s face it, we’ve all been there: one minute your garden’s thriving in the sun, and the next, a storm rolls in. A mobile pallet raised garden bed solves this dilemma in style.
By adding wheels to your pallet bed, you can easily move it to catch the sun or take it inside during bad weather.
It’s a perfect solution for anyone who loves the idea of being able to control where their plants get the best light or protection from the elements.
I’ve personally used this idea on my balcony, and let me tell you, it’s a game-changer.
Being able to move the bed around makes plant care way easier and way more fun. Plus, it adds a little “mad scientist” vibe to your gardening routine.
9. Pallet Planter Bench Combo
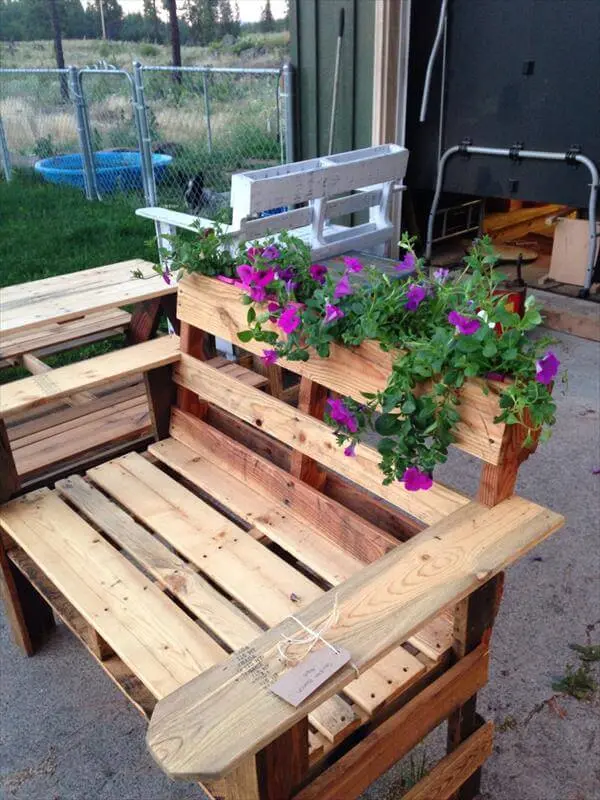
Why settle for just a garden bed when you can have a raised garden bed with seating? This idea combines a pallet bed with a built-in bench around the perimeter.
Not only does it give you a perfect spot to admire your hard work, but it also provides extra seating for family or guests.
It’s the ultimate multi-functional garden piece that combines form, function, and a little extra space for relaxation.
This one works best for larger gardens or outdoor patios, and it’s an ideal way to create a peaceful garden nook. Honestly, every time I sit down on mine, I can’t help but feel like I’m sitting in my own little paradise.
10. Cold Frame Pallet Raised Garden Bed
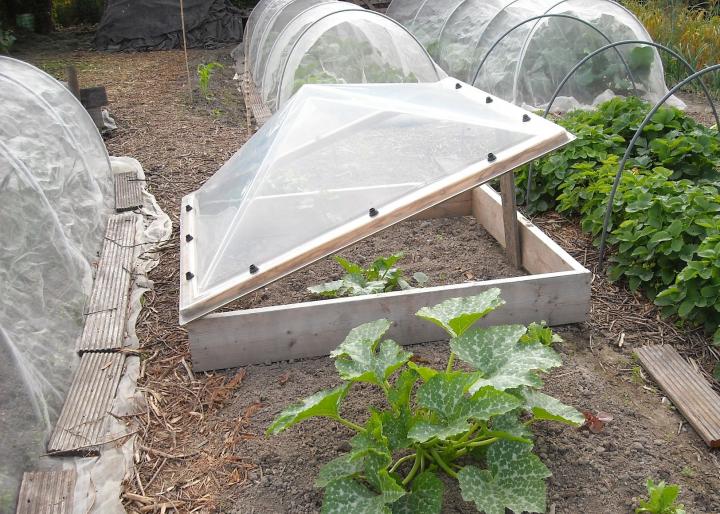
Looking to extend your growing season? A cold frame can help you do just that.
By attaching a hinged plastic or glass cover to your pallet raised bed, you create a mini greenhouse effect that warms the soil and protects plants from frost.
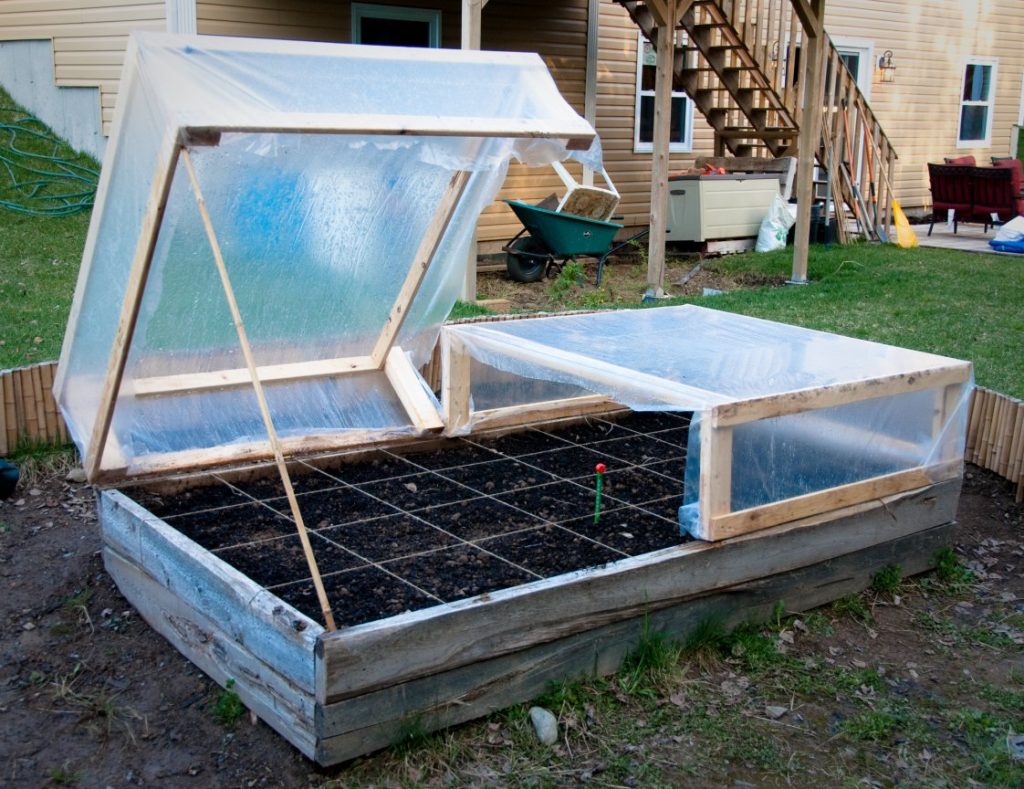
This is especially great for starting seeds earlier in the season or keeping your plants safe during unexpected cold snaps.
I use a cold frame for my herbs, and I’m always amazed at how much longer I get to enjoy fresh basil and parsley. Plus, it’s an incredibly rewarding feeling knowing you’ve successfully outsmarted winter.
How to Build a Raised Garden Bed with Pallets
Building your own raised garden bed with pallets is super easy. Trust me, if you’ve never done anything like this before, don’t worry — I’ve got you covered!
Grab your tools, pallets, and some good vibes because we’re going to create a garden that’ll make your neighbors green with envy.
Materials and Tools You’ll Need
Before you start, let’s gather everything you’ll need:
Materials:
- 3–5 heat-treated pallets (check for safe treatment stamps like “HT”)
- Screws (1½″ for the boards, 3½″ for the corners)
- Landscaping fabric (optional for the bottom)
- Staples (optional for securing fabric)
Tools:
- Power drill
- Saw (if you need to cut pallets)
- Measuring tape
- Level (for evenness)
- Sandpaper (for smoothing rough edges)
- Safety gloves and goggles (because safety first!)
1. Prepare the Site
You want to make sure your garden bed is in the best spot. Start by choosing a level area with lots of sunlight. Most plants need 6–8 hours of sunlight each day to thrive.
Mark the dimensions of your garden with some twine or stakes to see exactly how much space you have.
Make sure the ground is clear of weeds or rocks, so your plants have a clean start. If you’re worried about pesky weeds, lay down landscaping fabric or even cardboard before setting your bed in place.
2. Disassemble the Pallets (If Needed)
If your pallets are whole and still have nails in them, you might need to take them apart.
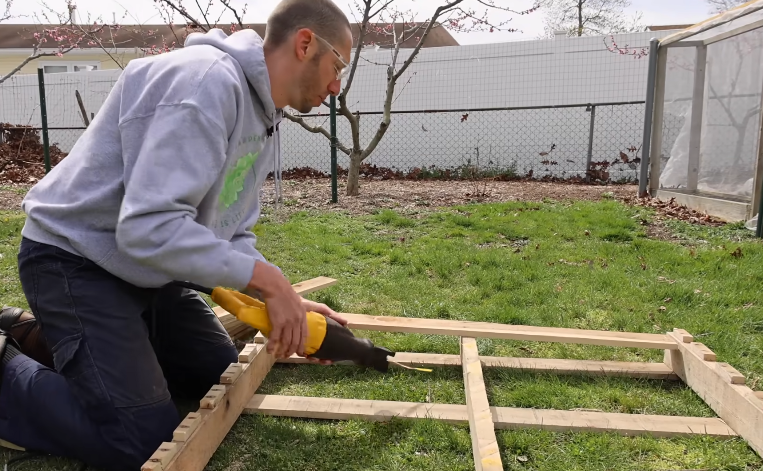
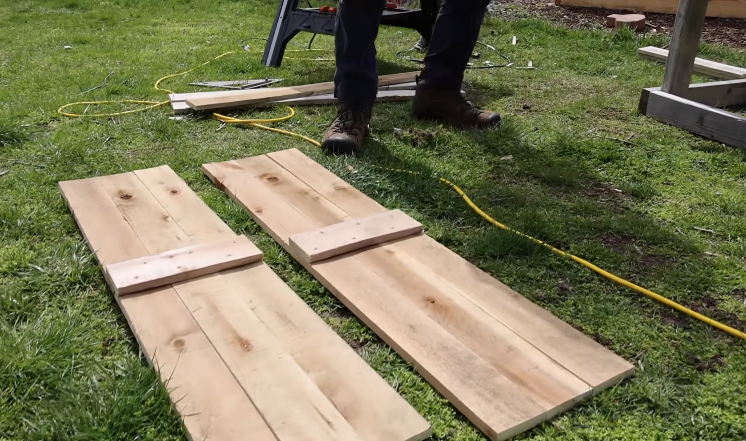
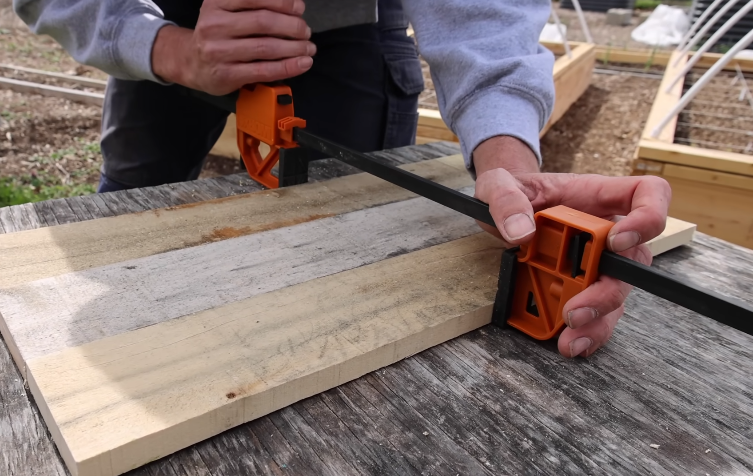
Don’t worry, it’s easier than it sounds! Use your saw or crowbar to carefully remove the slats. Just be careful not to break the wood — you want to keep it intact for the sides of your bed.
3. Assemble the Side Panels
Now, it’s time to build the sides. Lay out your pallet boards to create the frame.
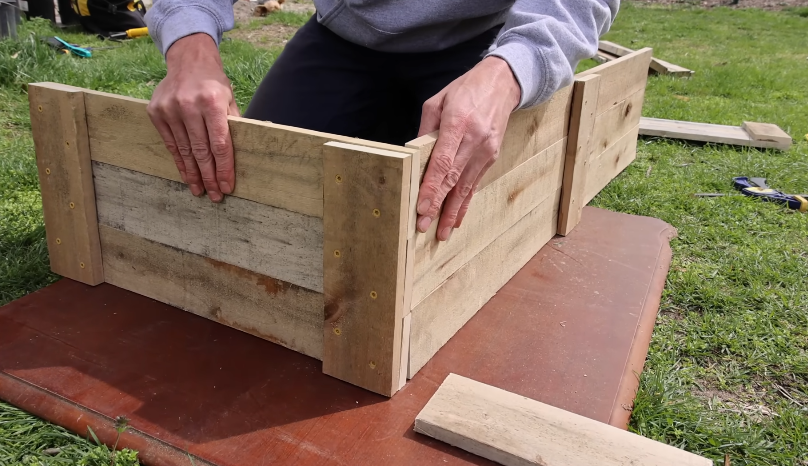
Start by laying two boards down for the length and two for the width. Screw them together at the corners using the 3½″ screws.
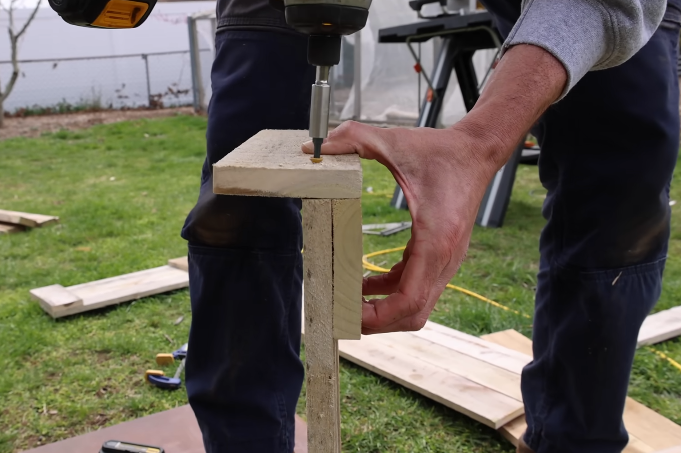
Make sure everything is level before tightening the screws — you don’t want a crooked garden bed! If you’re stacking pallets, you can add a second layer for more height. Just screw them together in the same way.
4. Add the Bottom (Optional)
If you’re placing your pallet garden bed on a hard surface like concrete or patio, you might want to add a bottom. Lay down some landscape fabric or wire mesh to hold the soil in place and keep critters out.
Use staples to secure the fabric to the inside of the bed. This will also help with drainage.
If you’re putting the bed directly on soil, you can skip this step. The soil beneath will naturally drain, and your plants will thank you for it.
5. Secure the Frame
Once the sides are assembled, give the whole frame a quick check. Make sure the corners are tight and that everything feels sturdy.
If you need extra support, you can add reinforcement with a few more slats across the middle.
6. Fill with Soil
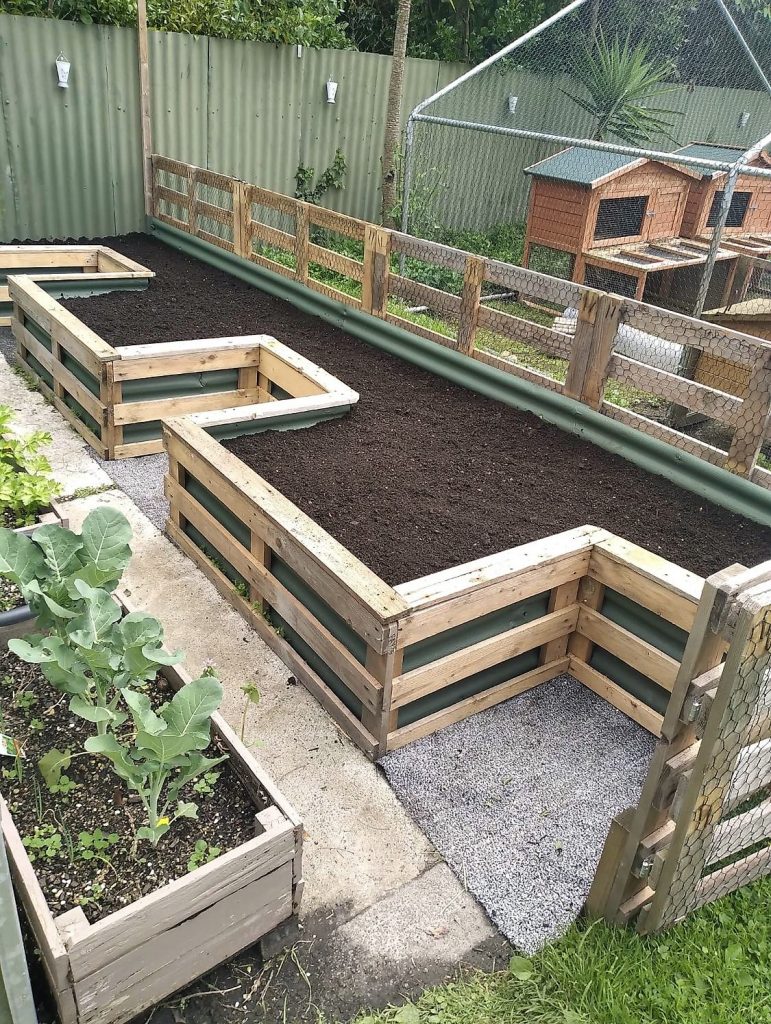
Now for the fun part! Fill your raised garden bed with good quality soil. A mix of topsoil, compost, and potting soil works great.
Fill it until it’s a couple of inches below the top of the bed. That way, your soil won’t overflow when you water your plants.
7. Plant Your Garden
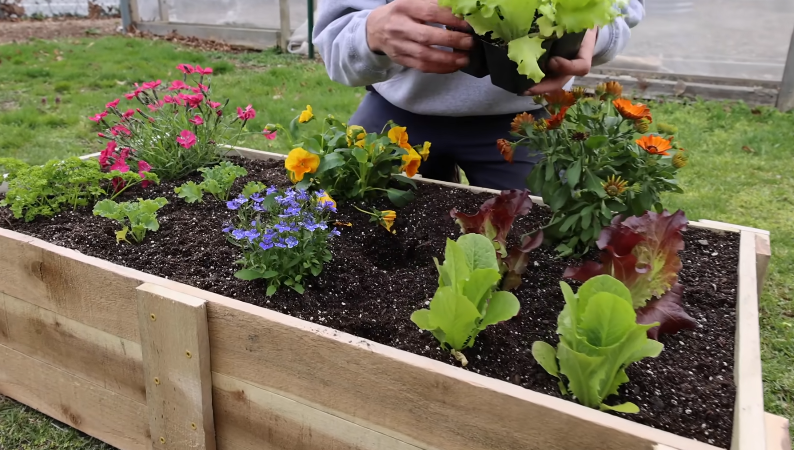
You’ve built the bed — now it’s time to plant! Choose your favorite veggies, herbs, or flowers. If you’re using a small space, you can also try companion planting or square-foot gardening to maximize your space.
8. Water and Maintain
Water your plants regularly, especially in the first few weeks. The great thing about raised beds is they tend to dry out faster than in-ground gardens, so keep an eye on the moisture levels.
And there you go! Now you have your very own raised garden bed made from pallets. It was easy, right? No need to be intimidated — with just a few simple steps, you’ve created a functional, stylish garden space that will make your plants thrive.
Conclusion
There you have it — 10 creative pallet raised garden bed ideas that can help you transform any outdoor space into a lush, productive garden.
Whether you’re working with limited space or just looking for a fun DIY project, these ideas are sure to inspire your next garden upgrade.
Plus, the best part is that these ideas are budget-friendly, easy to customize, and can be adapted to fit any space, style, or gardening need.