How to Plant Creeping Phlox Ground Cover (The Easiest Way)

If you’ve got a bare slope, a boring strip of lawn, or a rock wall that needs something to soften it, creeping phlox is one of the easiest fixes in gardening.
Plant it once, and it comes back every spring in sheets of pink, purple, blue, or white. Then it quietly turns into green groundcover for the rest of the year.
This isn’t a fussy plant. It doesn’t need rich soil. It doesn’t need babying. It just needs sun and drainage, and it will do the rest.
A quick heads up before you dig in: creeping phlox hates wet feet. If your yard has a low spot that stays soggy after rain, skip it there. Save this plant for the dry, sunny areas where other groundcovers struggle to survive.
What Exactly Is Creeping Phlox?
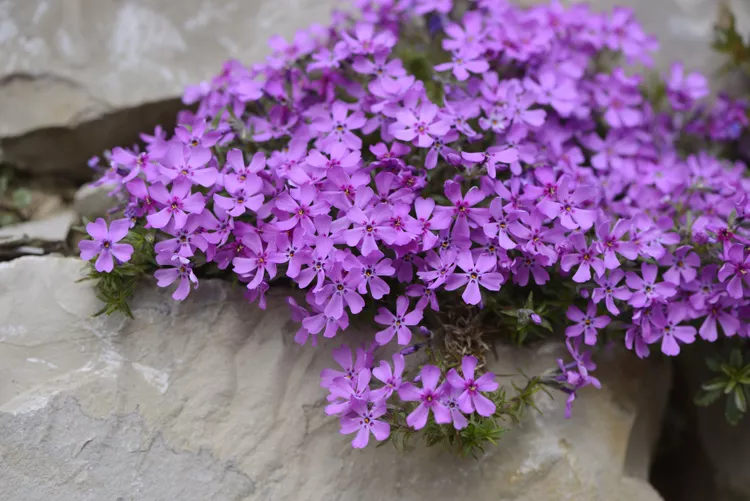
“Creeping phlox” is actually the common name for two different plants: Phlox subulata (also called moss phlox) and Phlox stolonifera. Gardeners use the names interchangeably, which gets confusing fast.
Here’s the easy way to tell them apart. Phlox subulata has narrow, needle-like leaves and wants full sun. Phlox stolonifera has broader, rounder leaves and tolerates more shade.
Most of what you’ll find at garden centers labeled “creeping phlox” is Phlox subulata, so that’s what this guide focuses on.
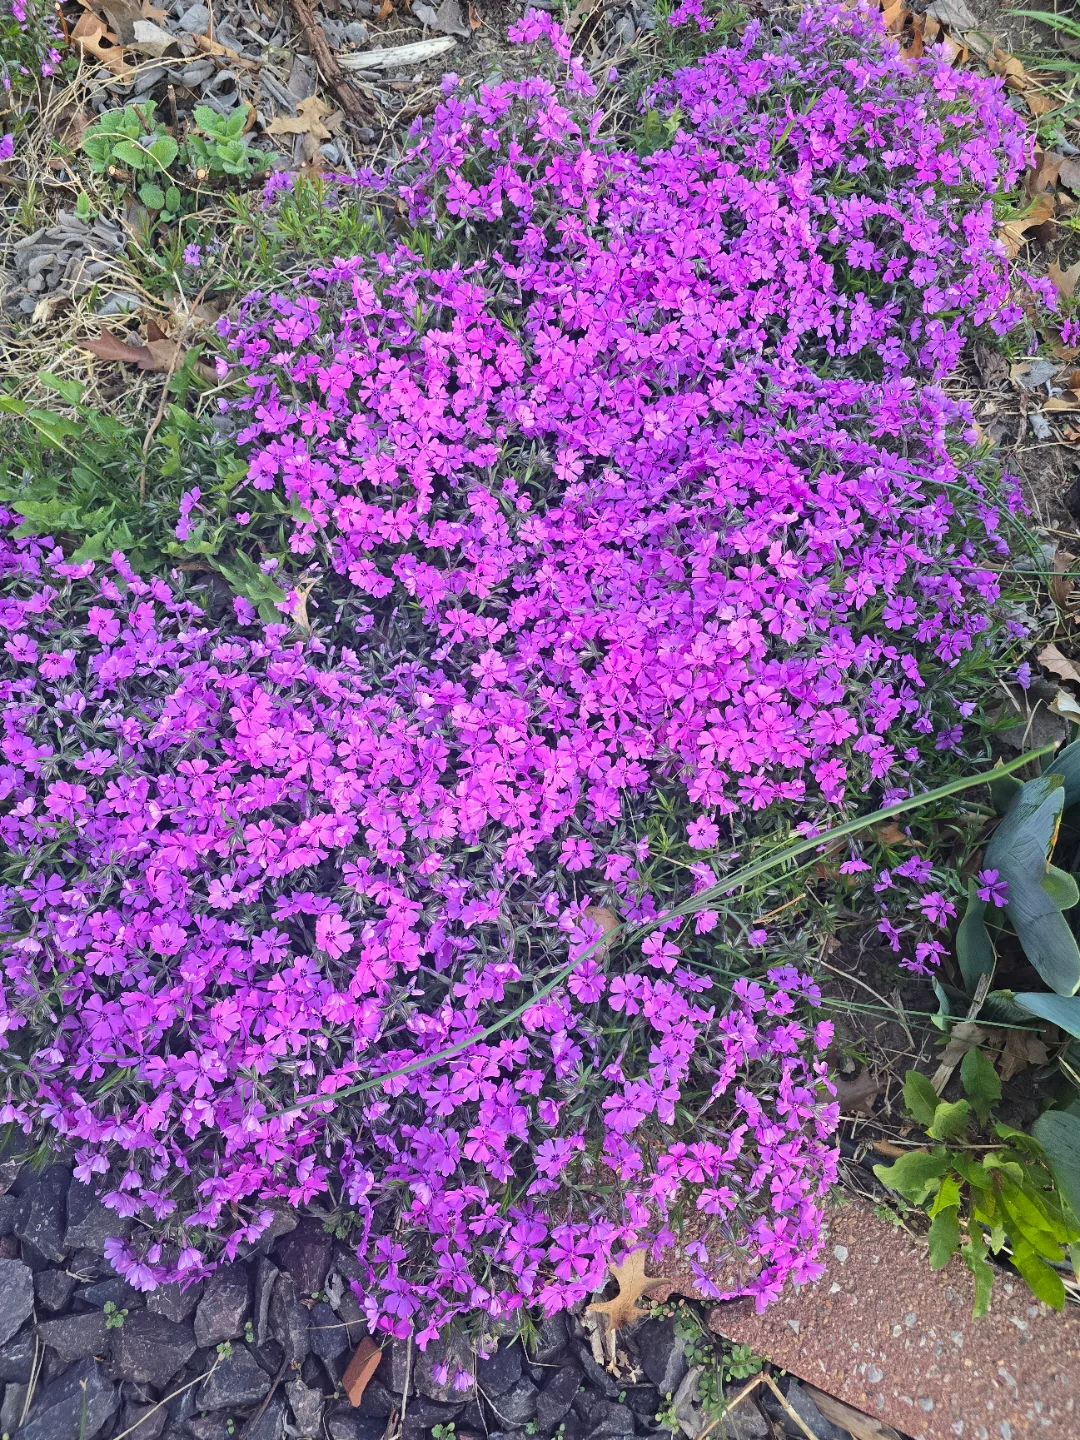
Both are native to the eastern and central United States, and both form a low, dense mat that hugs the ground. In spring, that mat disappears under a blanket of flowers so thick you can barely see the leaves underneath.
Also read: Creeping Phlox vs Creeping Thyme: Which Ground Cover Wins Your Garden?
Plant Overview
- Botanical name: Phlox subulata
- Common names: Creeping phlox, moss phlox, moss pink, mountain phlox
- USDA hardiness zones: 3 to 9
- Sun exposure: Full sun (some afternoon shade tolerated in hot climates)
- Soil: Sandy, rocky, or average soil with sharp drainage
- Mature size: 4 to 6 inches tall, 12 to 24 inches wide
- Bloom time: Mid to late spring
- Foliage: Evergreen to semi-evergreen, needle-like
What Conditions Does Creeping Phlox Need?
Sun
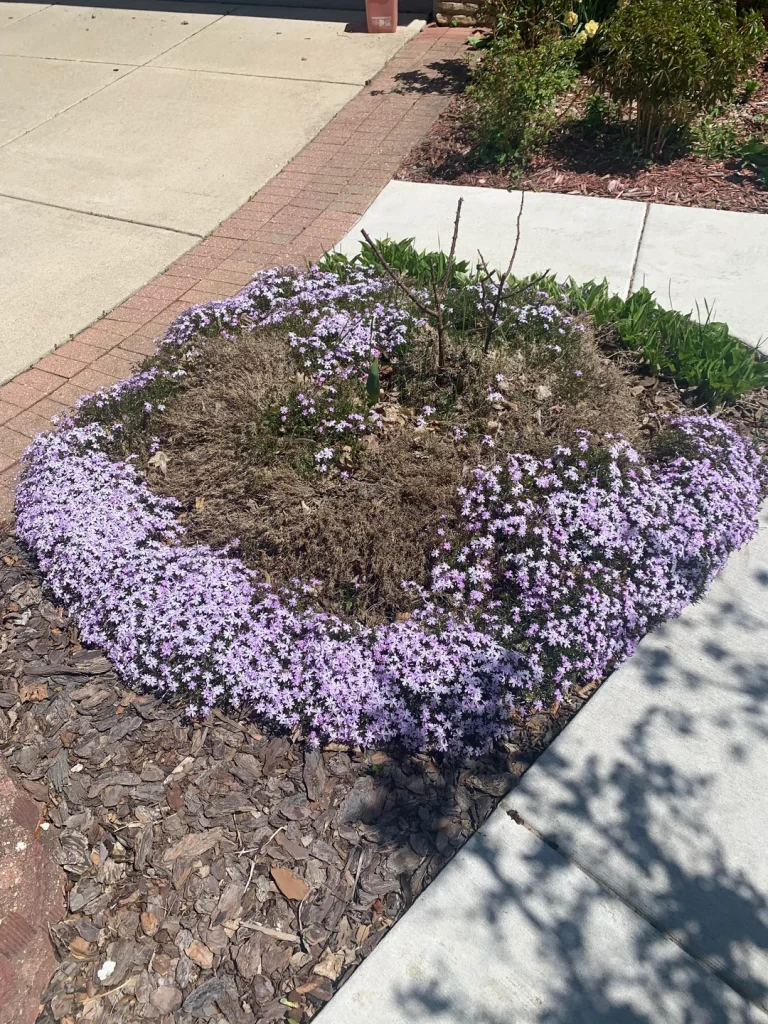
Give this plant as much sun as you can. Six or more hours of direct light a day is the sweet spot. Less than that, and you’ll notice the difference fast: fewer flowers, leggier growth, and a plant that just looks tired.
If you garden somewhere with brutal summer heat, a little afternoon shade won’t hurt. But in most climates, full sun is what gets you that jaw-dropping spring bloom everyone plants this for in the first place.
Soil
Here’s the good news. Creeping phlox isn’t picky about soil quality. It grows happily in sandy soil, rocky soil, even soil that’s on the poor side. What it can’t handle is sitting in water.
Think about where this plant grows in the wild: rocky ledges, dry slopes, thin gravelly soil where rain runs right off.
That’s the setup you’re recreating in your yard. If your soil is heavy clay, mix in some coarse sand, gravel, or compost before planting to help water move through instead of pooling around the roots.
A neutral to slightly acidic pH works best, though this plant tolerates a fairly wide range without complaint.
Climate and Timing
Creeping phlox grows in USDA zones 3 through 9, so most of the country can grow it without much trouble. The best times to plant are early spring or early fall, when temperatures are mild and rain is more reliable.
Fall planting has one advantage. It gives roots a head start before winter, so the plant is better established once spring rolls around. Spring planting works fine too, especially if you’re buying nursery starts that are already actively growing.
Avoid planting in the middle of summer heat if you can help it. New roots struggle to establish when they’re fighting drought stress at the same time.
How to Plant Creeping Phlox
Planting creeping phlox is about as simple as gardening gets. Here’s how to do it right:
- Pick your spot. Choose a sunny area with good drainage. Slopes, rock walls, and raised beds are all ideal because water naturally drains away from the roots.
- Loosen the soil. Dig or till the planting area to a depth of about 6 to 8 inches. Break up any compacted soil so roots can spread easily.
- Improve drainage if needed. If your soil is heavy or clay-based, work in sand, fine gravel, or compost before you plant.
- Dig your holes. Each hole should be roughly the same depth as the root ball and slightly wider.
- Set the plant. Place it so the crown (where the stems meet the roots) sits level with the surrounding soil. Planting too deep can cause the crown to rot.
- Backfill and firm gently. Fill in around the roots with soil, pressing down lightly to remove air pockets. Don’t pack it too tight.
- Water it in. Give each new plant a slow, deep drink right after planting. This settles the soil and helps roots make contact with the ground.
That’s it. No staking, no special fertilizer at planting time, no complicated technique. Just sun, drainage, and a little patience while it settles in.
How Many Plants Do You Need?
This part trips people up. Buy too few plants, and you’ll wait years for full coverage. Buy too many, and you’ve wasted money on plants that end up crowding each other out.
Here’s the simple rule: space creeping phlox 12 to 18 inches apart. Each plant spreads to fill that gap within a couple of growing seasons. Plant any closer, and you’re just paying for coverage the plant would have given you anyway.
You can use our plant spacing calculator for most accurate idea.
Quick math for your project:
- For a 10-foot slope, plant roughly 7 to 10 starts, spaced evenly.
- For a small border or edging strip, one plant every foot does the trick.
- For faster, fuller coverage, tighten spacing to 12 inches instead of 18. You’ll pay more upfront, but you’ll fill in gaps sooner.
Patience pays off here. A single plant can spread to cover 1 to 2 square feet within two years. Give it time, and it fills in on its own without much help from you.
Watering Creeping Phlox
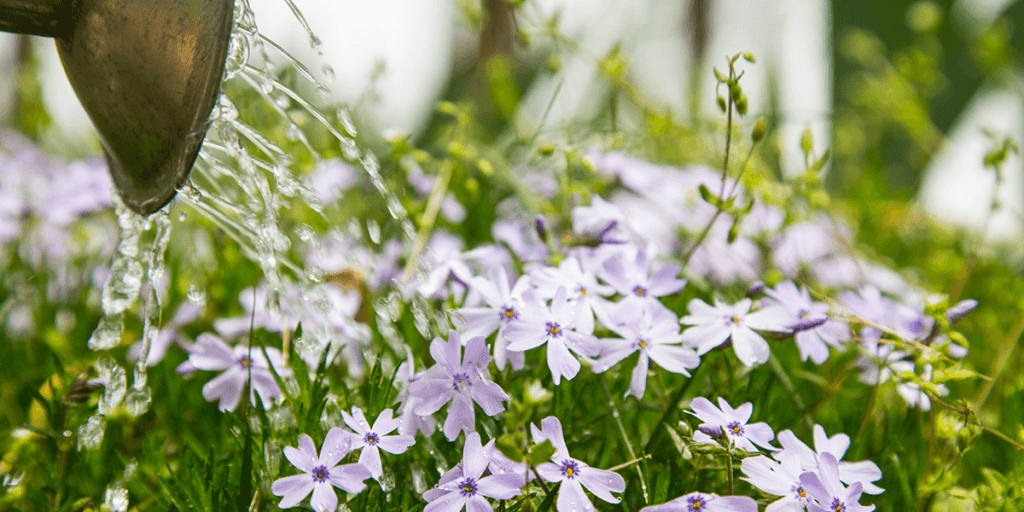
Newly planted creeping phlox needs consistent water while it settles in.
That first growing season is when the roots are doing all the work of establishing themselves, so don’t let the soil dry out completely.
Here’s a simple watering routine:
- Water deeply once or twice a week for the first few months after planting.
- Check the soil before watering. If the top inch feels dry, it’s time to water again.
- Water at the base of the plant, not overhead. Wet foliage sitting in the sun invites fungal problems.
Once established, usually after that first year, creeping phlox turns into one of the most drought-tolerant plants in your garden. Rainfall alone is often enough to keep it happy.
In fact, overwatering an established plant causes more problems than underwatering it ever will. Root rot shows up fast in soil that stays soggy.
During a serious dry spell, a deep watering once every week or two is plenty. This plant would rather be a little thirsty than sitting in mud.
Do You Need to Fertilize Creeping Phlox?
Short answer: not really.
This plant evolved on rocky cliffs and thin, gravelly soil where nutrients were never exactly abundant.
It’s built to get by on very little, and heavy feeding can actually work against you, pushing out weak, floppy growth instead of the tight, dense mat you want.
If you want to give it a small boost, here’s how:
- Use a light application of balanced, all-purpose fertilizer in early spring, right as new growth starts.
- Skip fertilizing entirely if your soil already has decent organic matter.
- Never fertilize right after planting. Let the roots establish first.
A thin layer of compost worked into the soil each fall does more good than any bag of fertilizer. It feeds the soil slowly and helps with drainage at the same time. That’s really all this plant is asking for.
Where to Plant Creeping Phlox in Your Yard
This is where creeping phlox really earns its keep. It’s not just a pretty flower. It’s a problem-solver for the tricky spots in your yard where other plants struggle.
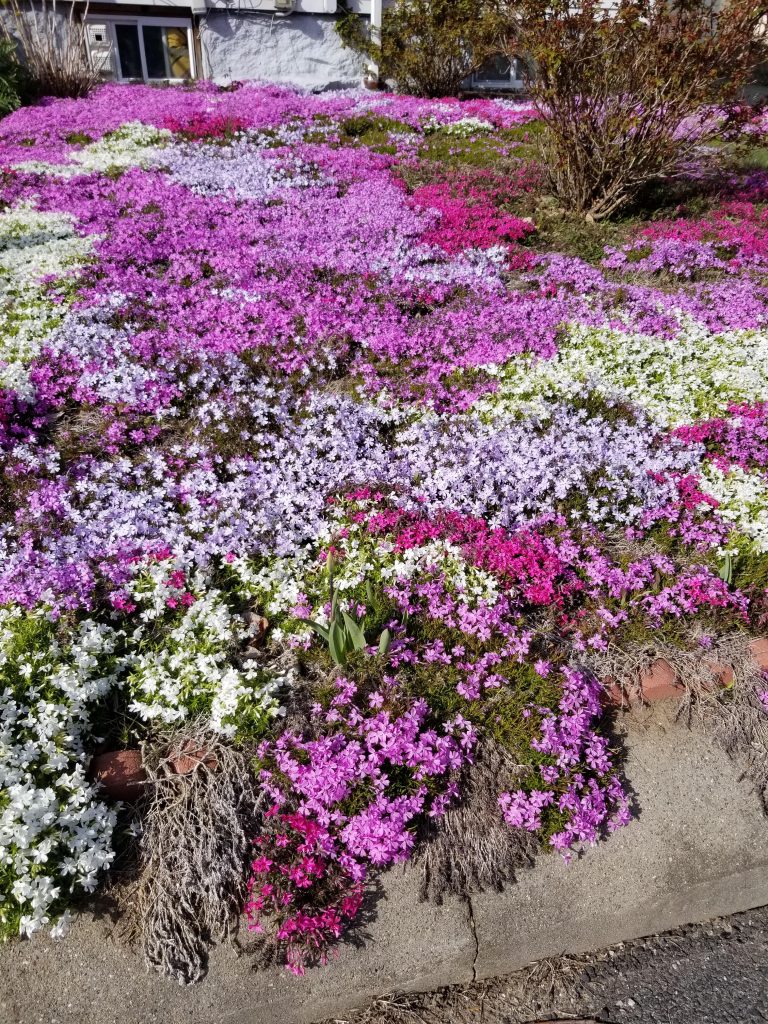
Great spots for creeping phlox:
- Slopes and banks. Anywhere too steep to mow safely, phlox holds the soil in place and looks good doing it.
- Rock walls. Plant it at the top and let it spill over the edge. This is the classic creeping phlox look everyone recognizes.
- Walkway borders. Low enough to stay out of the way, colorful enough to make a plain path feel intentional.
- Between stepping stones. It tolerates light foot traffic and fills gaps with soft, green texture.
- That strip of grass nobody wants to mow. You know the one, between the sidewalk and the street. Creeping phlox replaces it and never needs mowing again.
- Rock gardens. This is home turf. Phlox evolved growing in rocky crevices, so it fits right in.
- Containers. It works in pots too, especially ones raised up where the trailing stems can spill over the sides.
One thing to avoid: don’t plant it under trees or in deep shade expecting a good bloom. It’ll survive there, technically. But you’ll get mostly green leaves and a fraction of the flowers you’re hoping for.
Save the shady spots for a different groundcover, and let phlox have the sun.
Pruning and Maintenance
Creeping phlox doesn’t ask for much once it’s settled in. But one small maintenance step makes a big difference in how the plant looks for the rest of the year.
After the blooms fade, cut the whole mat back by about half. This sounds harsh, but trust the process. Use hedge shears or even a string trimmer. It doesn’t need to be precise.
Here’s why it matters. Without this haircut, creeping phlox tends to get leggy. The center thins out, and new growth only happens at the edges. A hard trim right after flowering keeps the plant dense and full instead of patchy and tired-looking.
A few other maintenance basics:
- Deadhead spent flowers if you want a tidier look while blooming, though this is optional.
- Leave the foliage alone through fall and winter. It provides some winter interest and protects the crown.
- Divide crowded clumps every two to three years in spring or fall. This keeps plants vigorous and gives you free starts for other parts of the yard.
That’s really the whole maintenance routine. Ten minutes with the shears once a year, and this plant looks good for the other fifty-one weeks.
Common Problems (and How to Fix Them)
Creeping phlox is tough, but it’s not bulletproof. Here’s what to watch for.
Powdery Mildew
This shows up as a white, dusty coating on the leaves, usually during hot, humid weather. It’s more of a cosmetic issue than a plant-killer, but it’s not attractive either.
Fix it by:
- Watering at the base, never overhead.
- Spacing plants so air can move between them.
- Cutting back stems after flowering to open up the mat.
Spider Mites
These tiny pests show up during hot, dry spells. You’ll notice yellow speckling on the leaves, and sometimes fine webbing if the infestation gets bad.
Fix it by:
- Spraying plants with a hard stream of water to knock mites off.
- Using insecticidal soap if the problem persists.
- Keeping plants watered during drought, since stressed plants attract more mites.
Root Rot
This is the one problem that can actually kill the plant, and it almost always comes down to drainage. Soggy soil suffocates the roots, and the center of the mat starts to die out.
Fix it by:
- Making sure your planting site drains well before you ever put a plant in the ground.
- Cutting back on watering once the plant is established.
- Avoiding low spots where water collects after rain.
The good news: most creeping phlox problems trace back to one of two things. Too much water, or too little sun. Fix those two variables, and this plant rarely gives you trouble.
A Few Standout Varieties Worth Growing
Wild creeping phlox blooms a soft pink, but decades of breeding have opened up a much wider color range. A few varieties worth seeking out:
- ‘Emerald Blue’: A classic. Bright blue-purple flowers over a dense, low mat.
- ‘Candy Stripe’: Pink and white striped petals that look almost hand-painted.
- ‘Snowflake’: Pure white blooms, great for brightening a shady corner of a rock garden.
- ‘Scarlet Flame’: A deep, vivid red that stands out from typical pastel phlox.
Any of these grow exactly the way the species does. Same care, same spacing, just a different color show in spring.
Creeping Phlox Makes Ground Cover Easy
Some plants demand a lot for very little payoff. Creeping phlox is the opposite. Give it sun and drainage, and it rewards you with weeks of color every spring and a tidy green mat the rest of the year.
Plant it once. Trim it once a year. Watch it spread on its own. That’s really the whole job.
If you’ve got a slope, a wall, or a patch of yard that’s never quite worked, this might be the plant that finally solves it.