
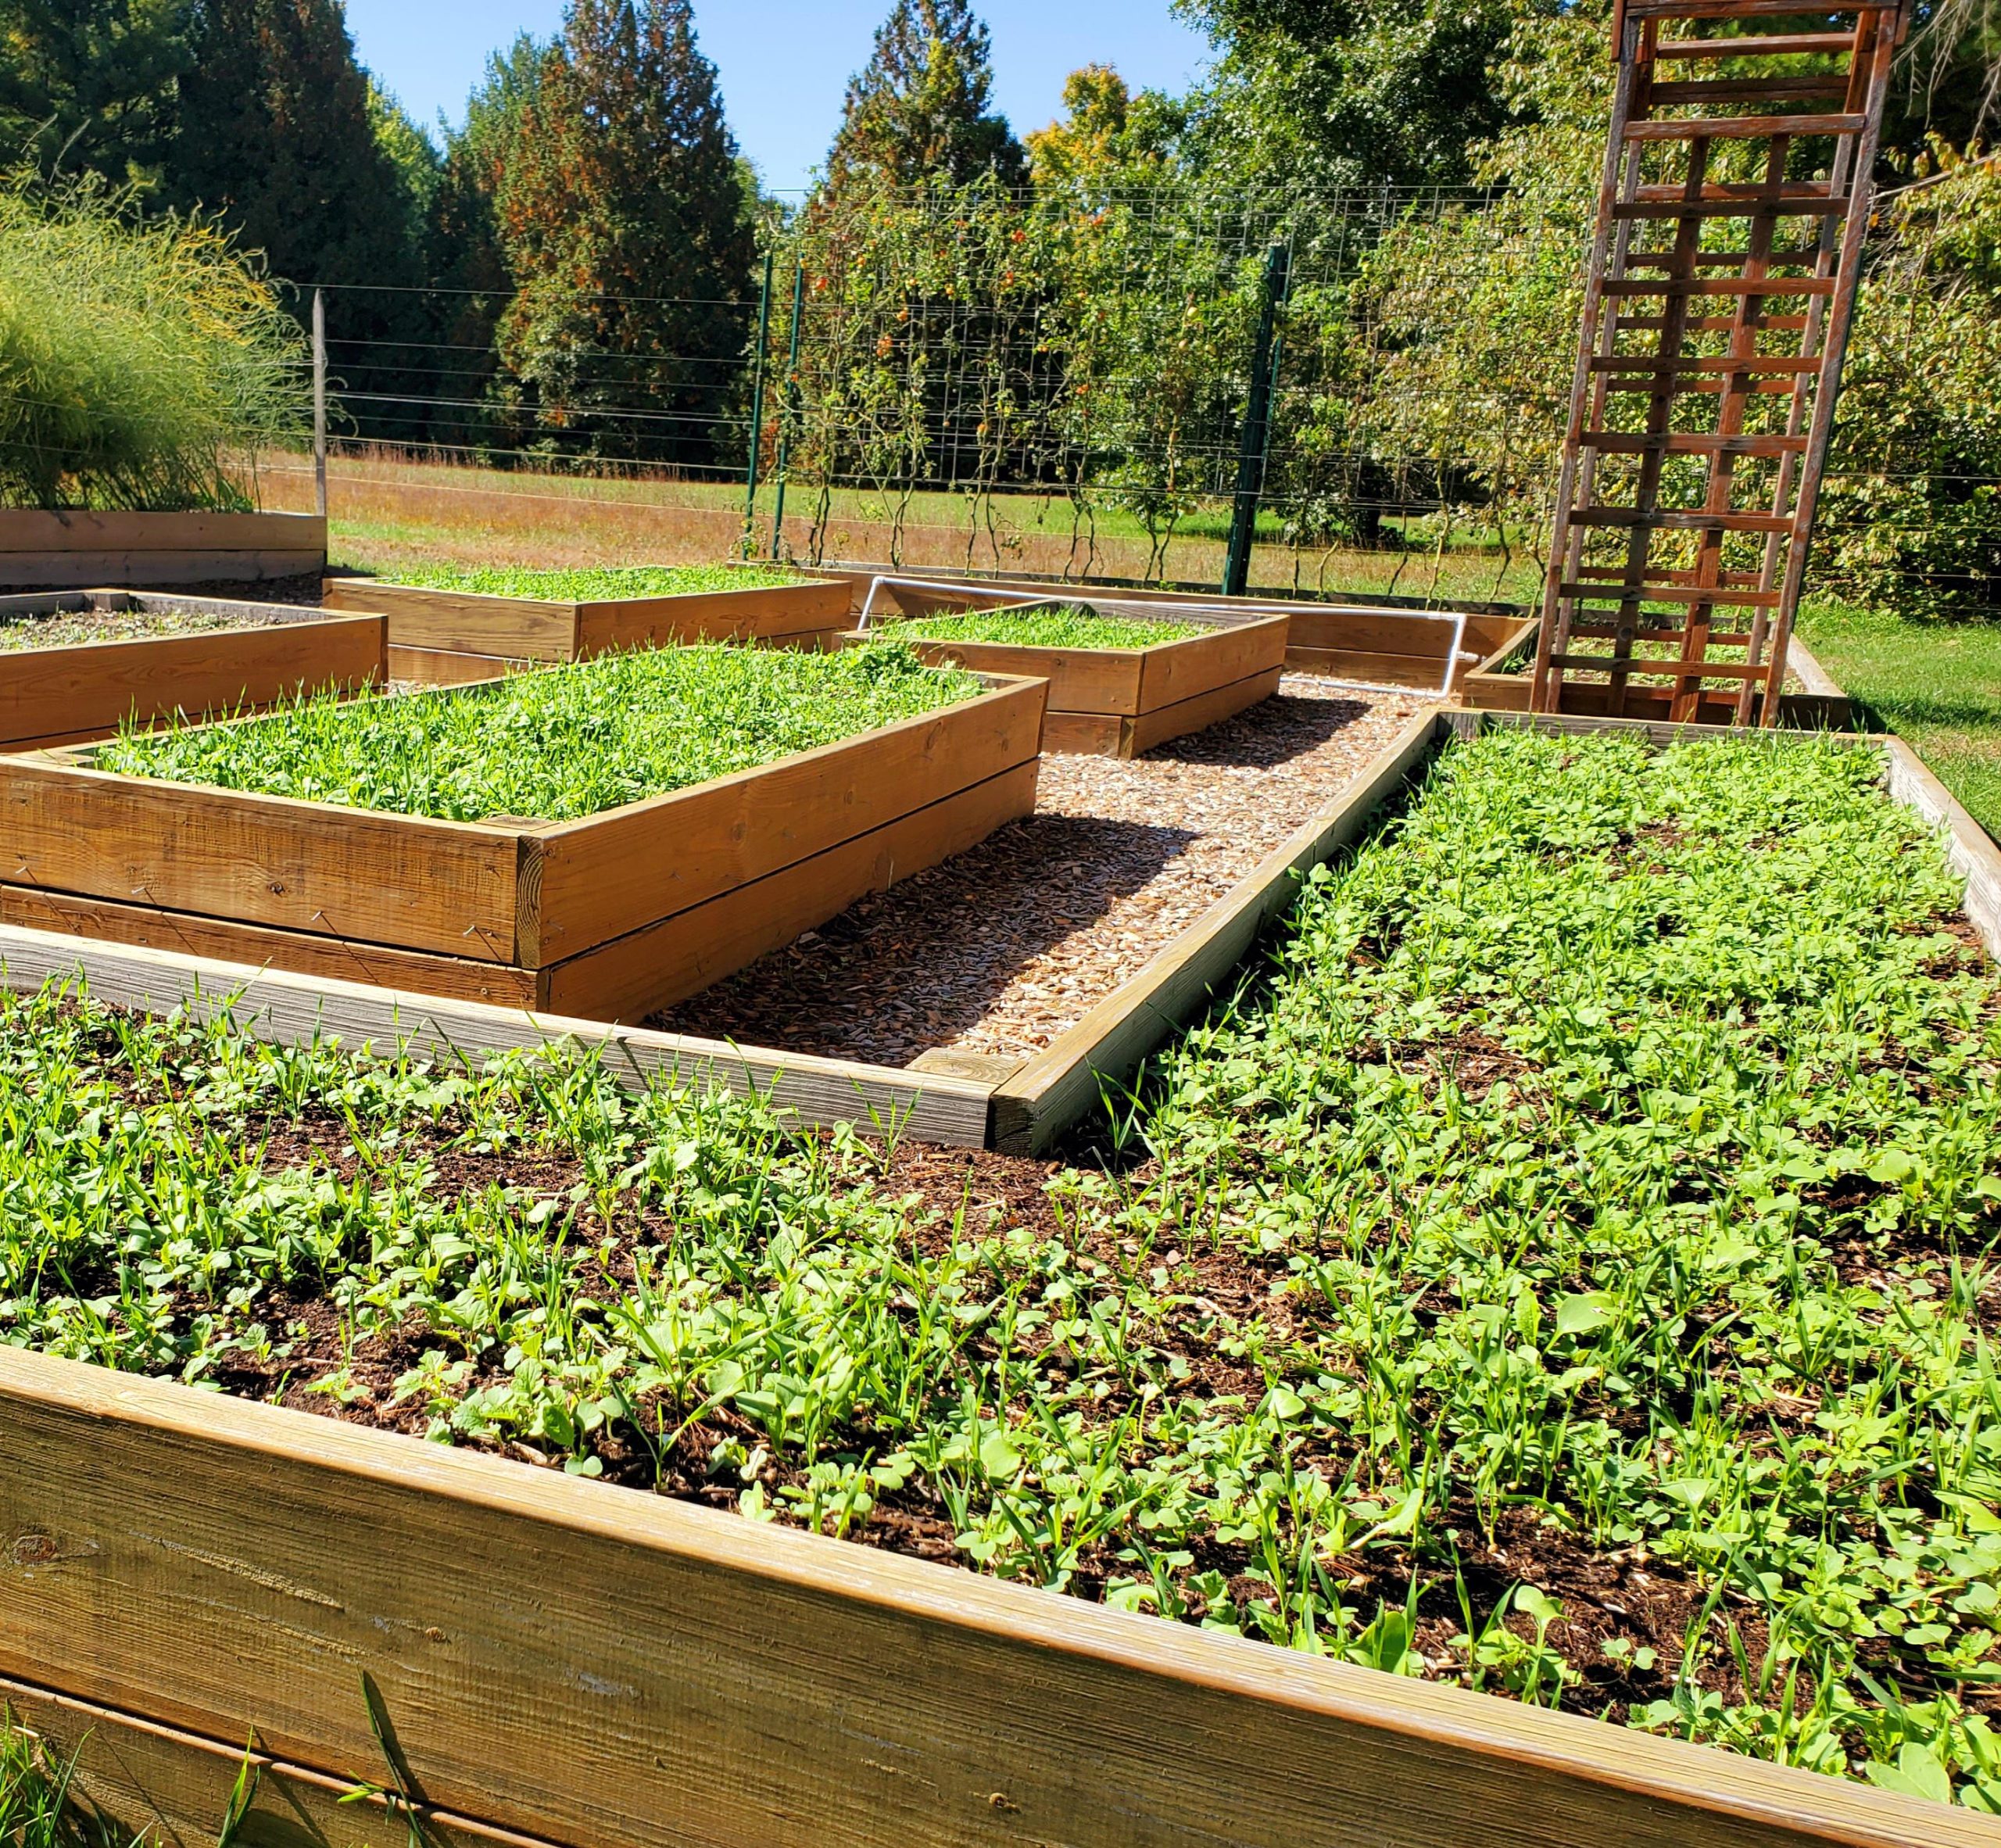
10 Productive Things to Do With a Raised Bed in Fall & Winter

Your raised bed doesn’t have to sit empty all winter. Once the last tomato comes off the vine, most gardeners just walk away.
But fall is actually one of the best times to work in a raised bed.
The soil is still warm. The bugs are slowing down. And every hour you spend now saves you three hours next spring.
Here are 10 things worth doing before the ground freezes for good.
Why Raised Beds Need Different Fall Care
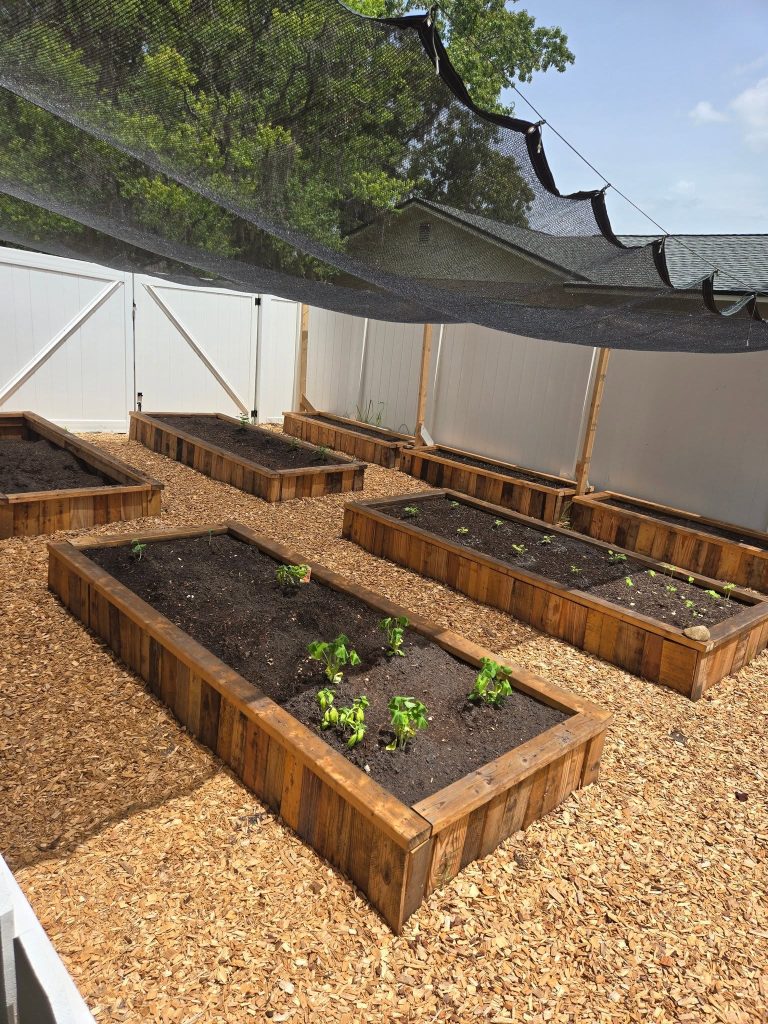
Raised beds don’t behave like in-ground gardens. They warm up faster in spring.
They also cool down faster in fall, since the soil is exposed on all sides instead of insulated by surrounding earth.
That’s good news for extending your harvest with cold-hardy crops. It’s bad news if you leave the soil bare and exposed to hard freezes without protection.
The wood or metal frame adds another wrinkle.
It expands and contracts with temperature swings, which is exactly why frame maintenance belongs on this list and not just soil and planting tasks.
Fall Prep Mistakes to Avoid
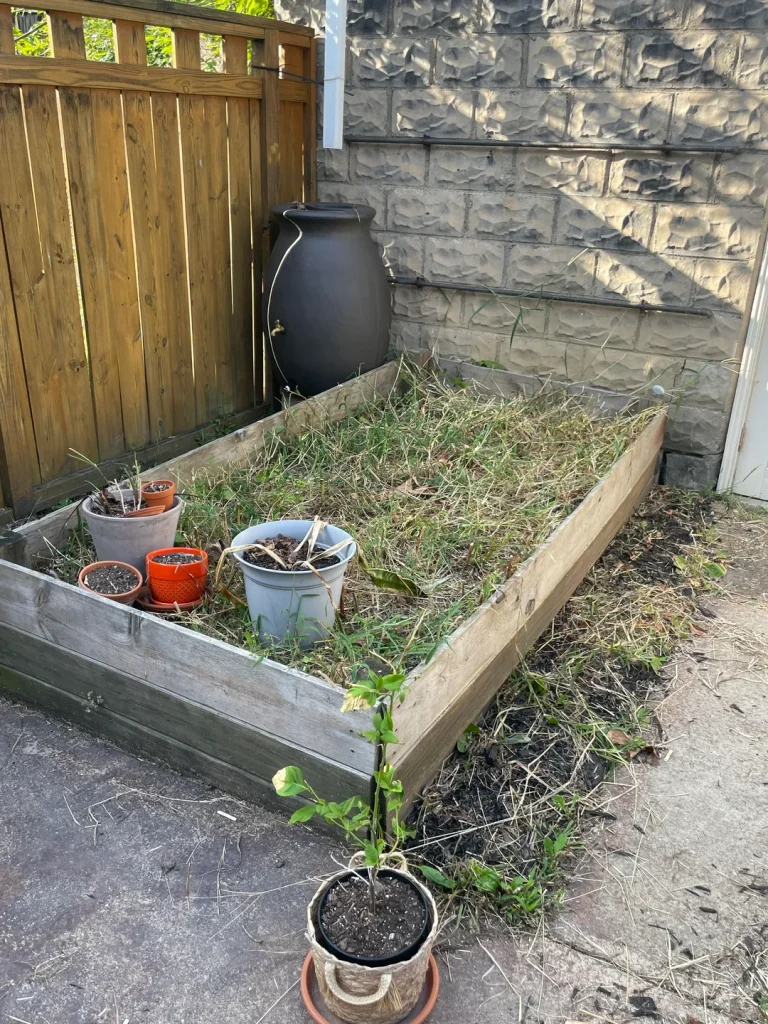
A few habits can undo all your hard work.
Composting diseased plants. Toss anything that showed blight, wilt, or fungal spots in the trash, not your compost pile. Composting won’t kill most pathogens, and you’ll just reintroduce disease next spring.
Using fresh manure. Fresh manure can burn roots and often carries weed seeds. Stick to aged or fully finished compost instead.
Piling mulch against wood frames. Mulch holds moisture, and moisture against wood means rot. Leave a small gap between your mulch and the frame itself.
Walking on the bed. Stepping into a raised bed compacts the soil and puts pressure on the walls, which is often why sides start to bow over time.
10 Productive Things To Do With An Empty Raised Bed In Fall & Winter
1. Clear Out Diseased Debris First
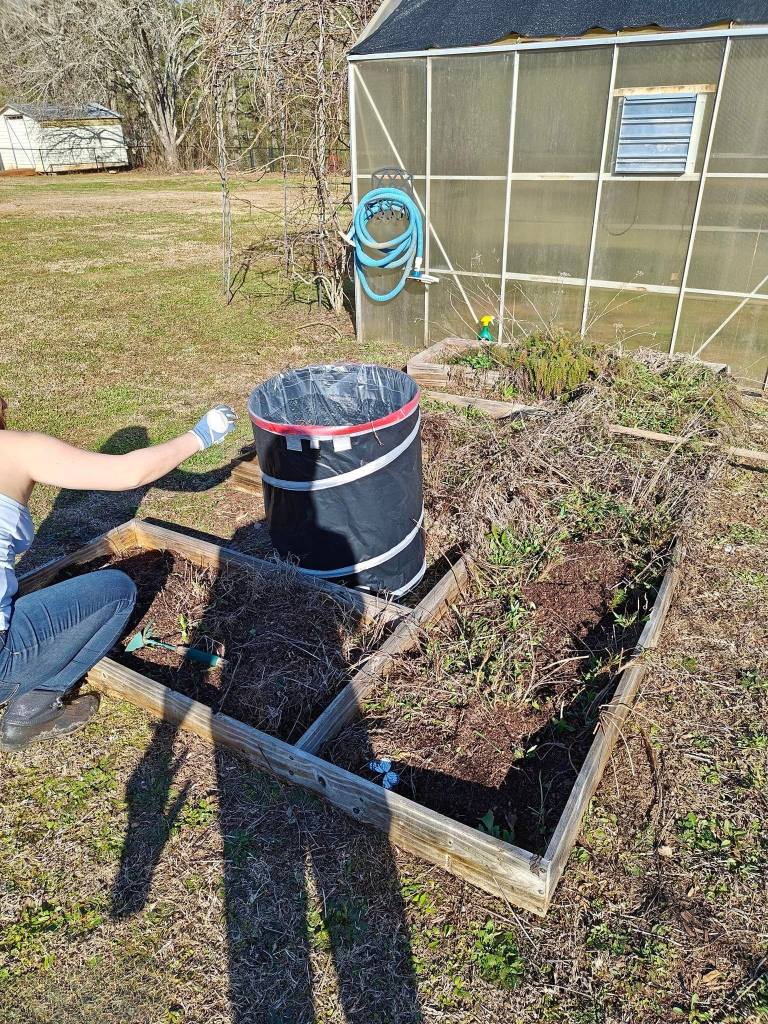
Before anything else, pull every plant out of the bed. Healthy stems and leaves can go straight into your compost pile. Anything with spots, mold, or signs of blight should go in the trash instead.
This matters more than most gardeners realize. Diseased debris left in the soil, or worse, tossed into compost, can carry pathogens right into next year’s crops.
Skipping this step is one of the fastest ways to end up fighting the same fungal problem two years in a row.
Watch out for: early blight, powdery mildew, and squash vine borer damage. These are the usual culprits worth removing completely rather than chopping into the soil.
2. Plant Garlic and Overwintering Onions
Fall is prime time for garlic. Cloves planted now spend the next month or two building roots while the soil is still warm.
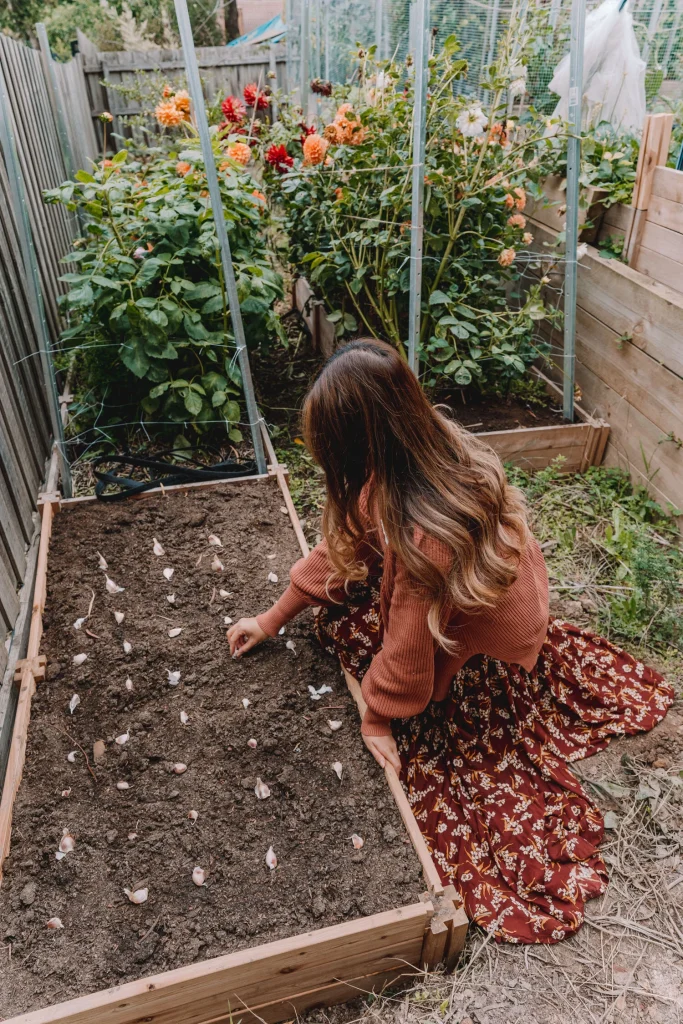
Come spring, they take off fast and reward you with bigger, fuller bulbs than anything planted in spring ever produces.
Onion sets work the same way. Tuck them in 4 to 6 weeks before your first hard freeze, and they’ll overwinter as hardy young plants ready to size up quickly once the weather turns.
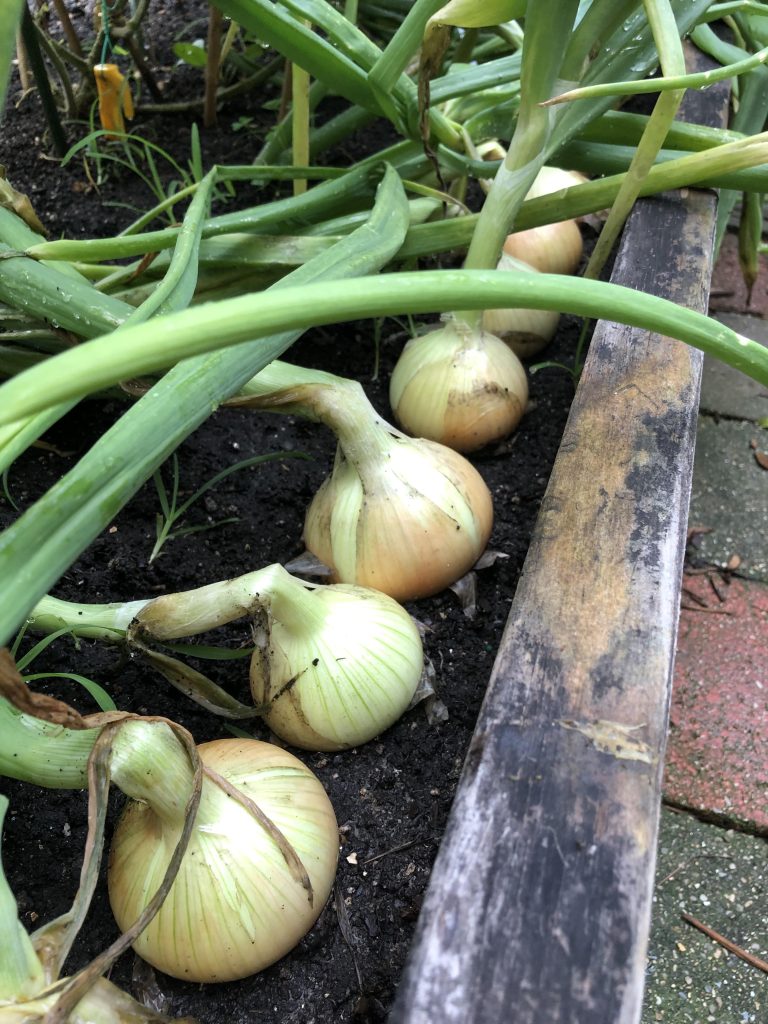
Cover both with a layer of straw mulch right after planting. It insulates the soil through the cold months.
It also happens to hide the freshly turned dirt from squirrels, who get curious about disturbed soil even when they have no interest in eating garlic.
Timing: mid-September through November for garlic, four to six weeks before frost for onion sets.
3. Sow Cool-Season and Root Crops Under Cover
Raised bed soil warms and cools faster than ground soil, and that works in your favor here. It means you can keep sowing well past the point in-ground gardeners have given up.

Leafy greens like kale, spinach, and lettuce handle cold shockingly well, especially with a little help. Add a row cover or set up a simple cold frame, and you can keep harvesting fresh greens long after the first frost.
Root vegetables play a longer game. Carrots, beets, and radishes planted now won’t be ready this year.
Instead, they’ll spend winter building strong roots underground. Once spring soil warms, they’ll size up fast.
Best for: kale, spinach, radishes, carrots, and beets. Mulch root crops heavily once temperatures drop for a late or early-spring harvest.
4. Plant Spring Bulbs With the Lasagne Method
Few things look better in April than a raised bed bursting with tulips and daffodils. But if you want that spring display, you need to plant the bulbs in fall. They need a period of cold weather to bloom properly.
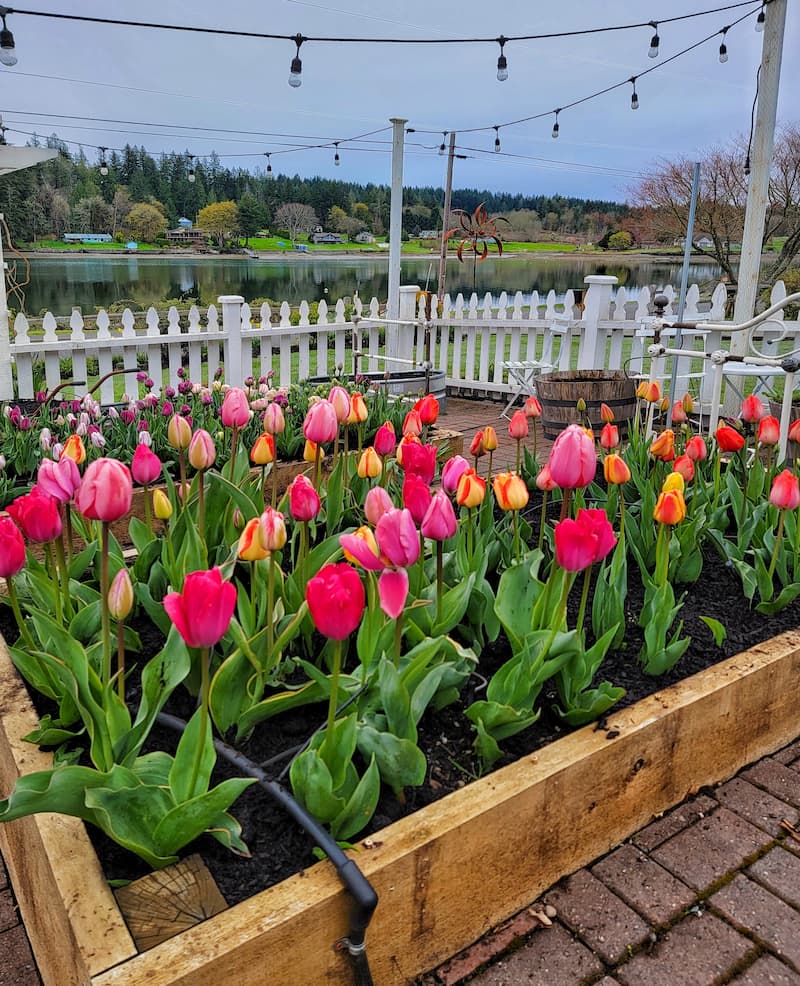
Raised beds are perfect for them because the soil stays loose and drains well instead of leaving the bulbs sitting in soggy soil all winter.
For a longer, more staggered bloom, try a bulb lasagne. Plant your latest-blooming bulbs, like tulips, deepest. Layer mid-season bloomers like daffodils above them. Finish with early bloomers like crocuses near the surface.
Each layer wakes up and blooms at a different point in spring, so instead of one big burst of color, you get weeks of it.
Pro tip: use a bulb planter with a depth marker so you don’t guess at spacing between layers.
5. Get Perennials Established, But Leave Some Stems Standing
Fall beats spring for planting perennials, and it’s not close. Soil is still warm, so roots settle in fast instead of sitting cold and sluggish the way they would after a spring planting.
Asparagus, rhubarb, and hardy herbs all do best going into the ground now rather than waiting until next year.
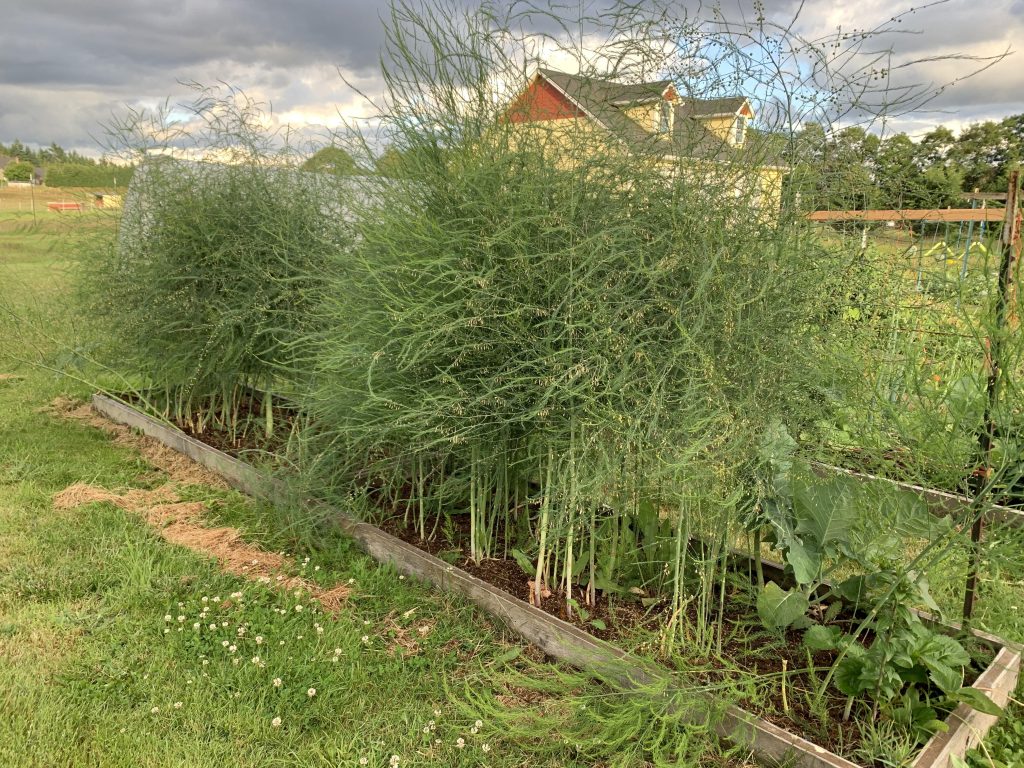
Here’s the part most guides skip: Don’t feel like you have to cut everything all the way back to the ground. Leaving a few spent stems and seed heads in place gives birds and overwintering pollinators a safe spot to shelter during the colder months.
Once spring arrives and the weather warms up, you can clean things up and cut everything back.
Best for: asparagus, rhubarb, horseradish, and cold-hardy herbs like chives or sage.
6. Rebuild Your Soil the Right Way
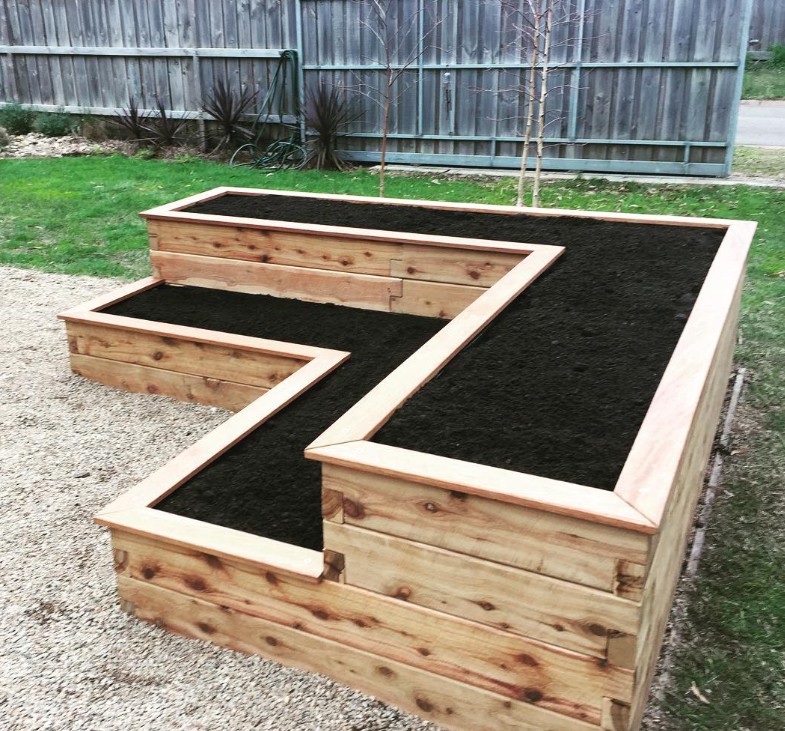
A full season of growing leaves soil tired. Nutrients get used up, structure breaks down, and your bed needs a refill before it can support next year’s crops.
Skip guessing and aim for a real ratio. University of Maryland Extension recommends roughly 50% topsoil, 30% compost, and 20% other organic matter for raised beds.
That mix gives you good drainage plus a steady supply of nutrients as everything breaks down over winter.
If your plants struggled this year, pull a soil sample now and get it tested. Knowing your pH and nutrient levels means you can fix the actual problem instead of throwing amendments at it and hoping.
Watch out for: letting the soil level drop too low. Beds settle over time, and a top-off is often overdue by fall.
7. Sow a Winter Cover Crop
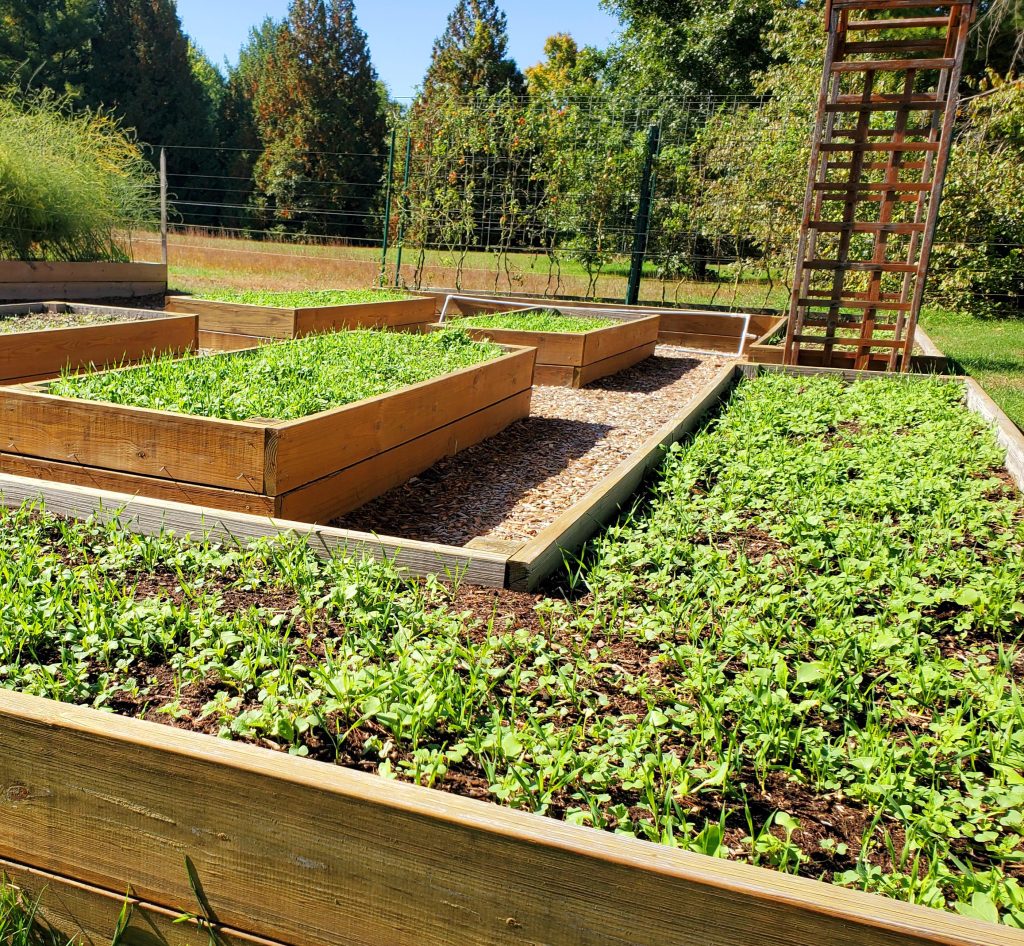
An empty bed is a wasted opportunity. Cover crops, sometimes called green manures, protect bare soil from erosion while quietly building fertility underneath.
Your choice depends on what you want out of it. Winter rye grows fast and holds soil in place through heavy rain and snow. Crimson clover and hairy vetch are legumes, meaning they pull nitrogen from the air and feed it into your soil for free.
Oats are worth considering too, since they winter-kill in most zones, so you never have to till them under. They just die back and leave a mat of protective residue on their own.
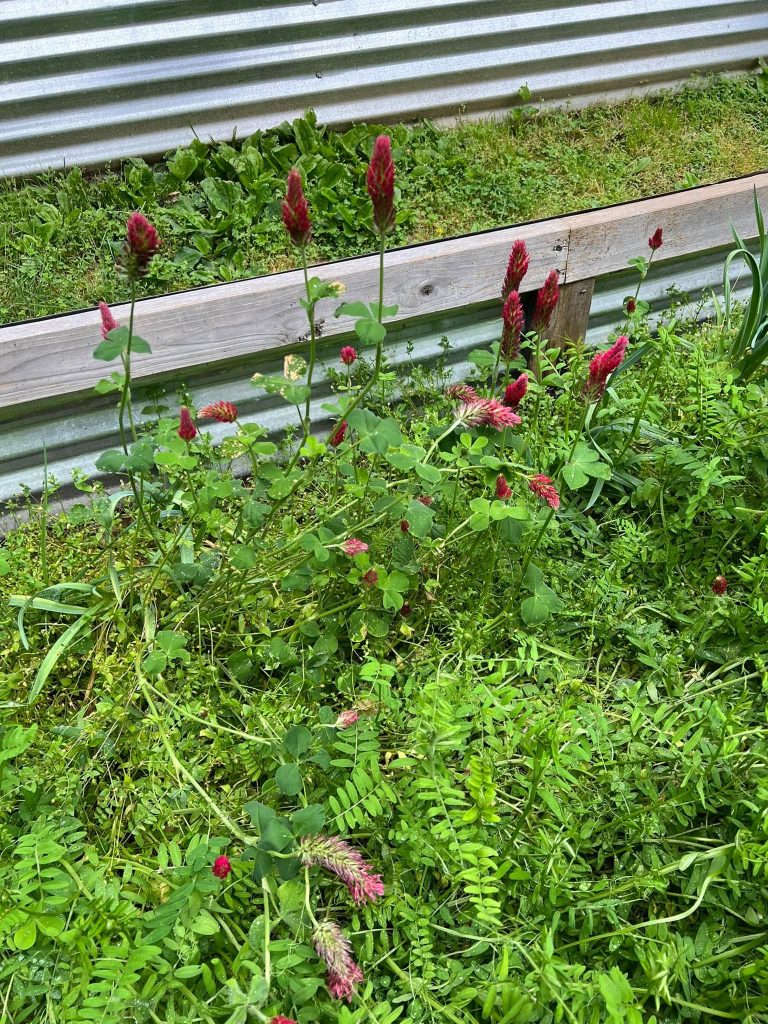
Come spring, chop everything down and let it decompose right on the surface, or work it into the top few inches of soil.
Best for: winter rye and oats for erosion control, crimson clover and hairy vetch if you want a nitrogen boost too.
8. Mulch Properly, Not Just Generously
Mulch is the easiest step to get wrong by overdoing it in the wrong spot. Aim for two to four inches of straw, shredded leaves, or wood chips spread evenly across the soil surface.
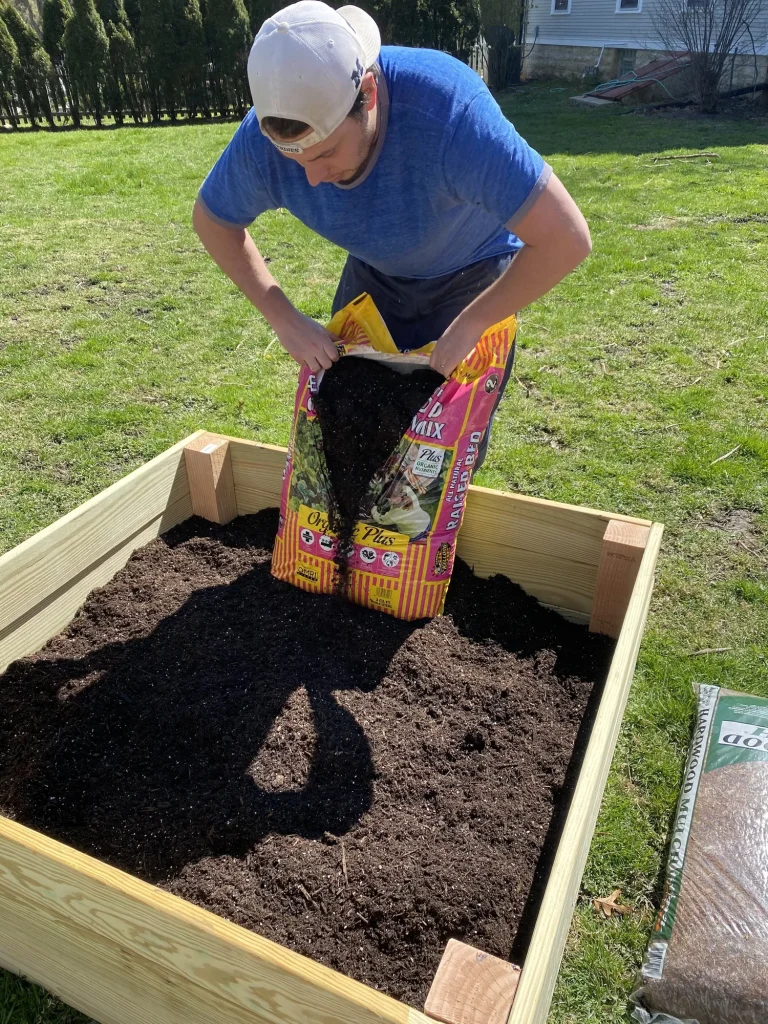
The material matters more than people think. Straw is cheap and breaks down fast but can carry weed seeds if it’s not certified weed-free.
Wood chips last longer but take more time to decompose, so you may be picking out chunks come spring. Shredded leaves are often the best free option sitting right in your yard.
One detail almost every guide skips: keep mulch pulled back a few inches from wood frames. Piling it directly against the boards traps moisture against the wood, and that’s exactly how rot starts.
Timing: apply after your first light frost, once the soil has cooled but before it freezes solid.
9. Inspect and Repair the Bed Frame
While the bed is empty, take a real look at the structure holding it all together. This step gets skipped more than any other on this list, and it’s the one that causes the most expensive problems later.
Check for rot along the bottom boards first, since that’s where wood meets damp soil the longest. Look at the corners too. If sides are starting to bow outward, that’s usually from soil pressure building up over a season, and it only gets worse if you ignore it.
A mid-point stake along each long side or a simple metal mending bracket can pull bowed boards back into place before they fail completely.
If voles, gophers, or mice have been a problem, now’s the time to line the bottom with hardware cloth before you refill the bed with fresh soil and mulch.
Watch out for: soft, spongy wood at the base of the frame. That’s rot in progress, not something to patch and forget.
10. Set Up Season Extenders and Plan Next Year’s Layout
An empty bed in fall is also a blank canvas. Build a simple cold frame or hoop house now, while you have the time and the bed isn’t full of plants in the way.
Even a basic setup with PVC hoops and frost fabric can push your growing season weeks longer in either direction.
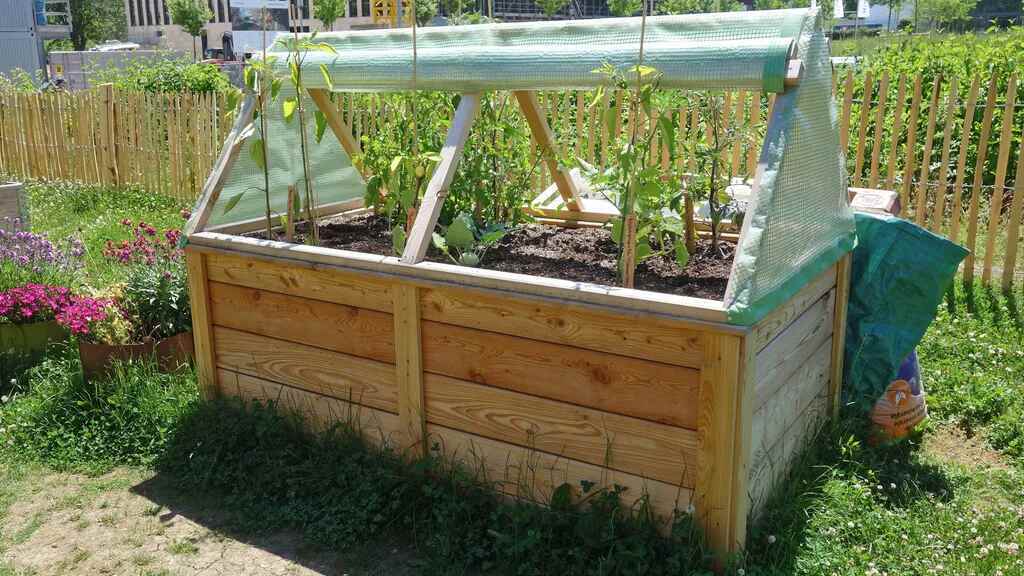
This is also your best chance to plan ahead. With everything cleared out, you can actually see where each crop family grew this season.
Sketch out next year’s layout and rotate your families accordingly, since planting the same crop in the same spot year after year is one of the quickest ways to build up soil-borne disease.
Best for: cold frames for hardy greens through winter, hoop houses if you want flexibility to pack the structure away once spring arrives.
Frequently Asked Questions
Do I need to do all of these steps every fall?
No. Pick what fits your climate and goals. Cleanup, soil rebuilding, and mulch are worth doing every year, while bulbs, cover crops, and frame repairs can rotate based on what your bed actually needs.
Can I plant a cover crop and garlic in the same bed?
Yes, just not in the exact same spot. Many gardeners cover crop most of the bed and leave a section open for garlic and onions, then let the cover crop grow around them.
Is it too late to prep my raised bed if the first frost already hit?
Not necessarily. Cleanup, mulching, and soil amendments can still happen after a light frost. Bulb planting and cover crops have a tighter window, so those are worth prioritizing if you’re getting a late start.
Will mulch attract pests to my raised bed over winter?
Thick mulch mainly shelters beneficial organisms, not pests. Keeping it a few inches off the wood frame and away from plant stems keeps the risk low.
How do I know if my raised bed frame needs repair or just soil?
Push gently on the sides. If a board flexes or feels loose, that’s a frame issue. If the soil just looks low or compacted, a top-off with fresh compost solves it.
Final Thoughts
A little fall effort goes a long way here. Clean beds, rebuilt soil, a solid frame, and a few smart plantings now mean spring starts with a head start instead of a scramble. Your raised bed will thank you when the first warm days roll around.