How to Grow Hostas in Containers (A Complete Guide)

I didn’t plant my first hosta in a pot on purpose. I had a shady side yard with nothing but bare dirt and roots from an old maple. Nothing wanted to grow there.
So I grabbed a spare planter, filled it with soil, and dropped a hosta in. That one pot changed how I think about shade gardening completely.
If you’ve got a dark corner, a concrete patio, or a balcony that never sees direct sun, a potted hosta might be the easiest win you’ll get all season.
Why Grow Hostas in Pots
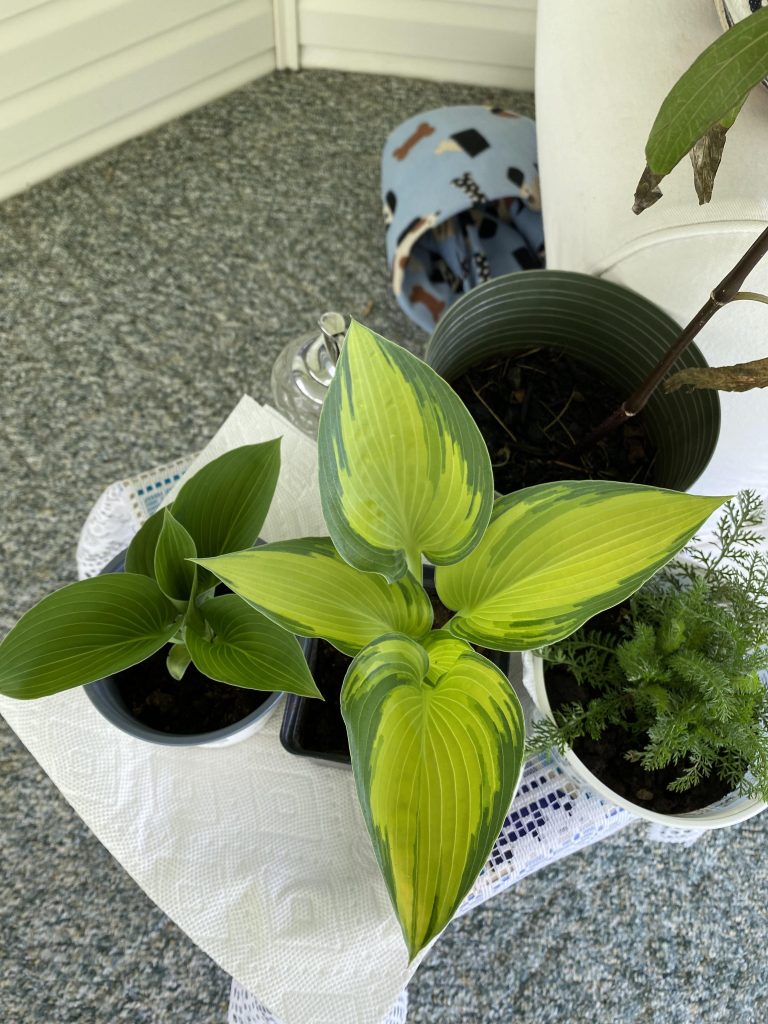
Hostas love shade. That makes them perfect for spots where most flowering plants give up.
Growing them in containers gives you a few extra advantages you don’t get in the ground.
- You control the soil. No fighting compacted clay or tree roots.
- You can move them. Chase the light, or shift them out of a storm.
- They dodge slugs more easily. Pots sitting above ground level see less slug damage than in-ground plants.
- They work anywhere. Patios, balconies, front steps, even a spot under a tree where nothing else survives.
I’ve grown hostas in the ground for years. But the potted ones are the plants I actually rearrange every season, like furniture for the garden.
Choosing the Right Container
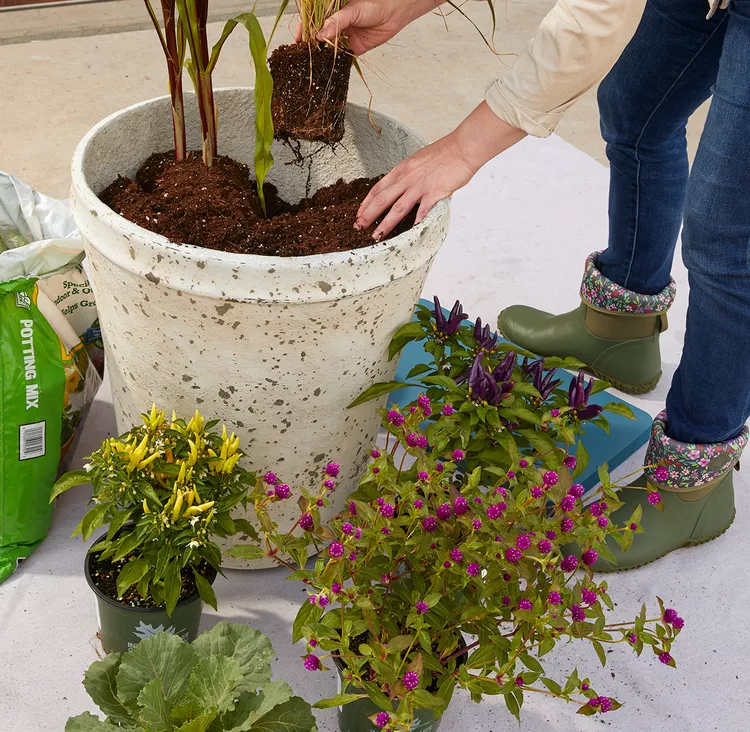
Pot size matters more with hostas than with a lot of other perennials.
Miniature varieties, like ‘Blue Mouse Ears,’ stay small. A 4 to 6 inch pot is plenty for them.
Medium and large hostas need real room. Go with a 12 to 18 inch container, or bigger if you’re growing one of the jumbo varieties.
Material matters too. Here’s how I think about it:
- Fiberglass or resin holds up best through freeze and thaw. It’s my go-to for pots that stay outside year-round.
- Terra cotta and ceramic look great, but they can crack in cold climates. I lost a favorite terra cotta pot to a hard freeze one winter. Learn from my mistake.
- Plastic is light and easy to move, but it can tip over once the plant fills in.
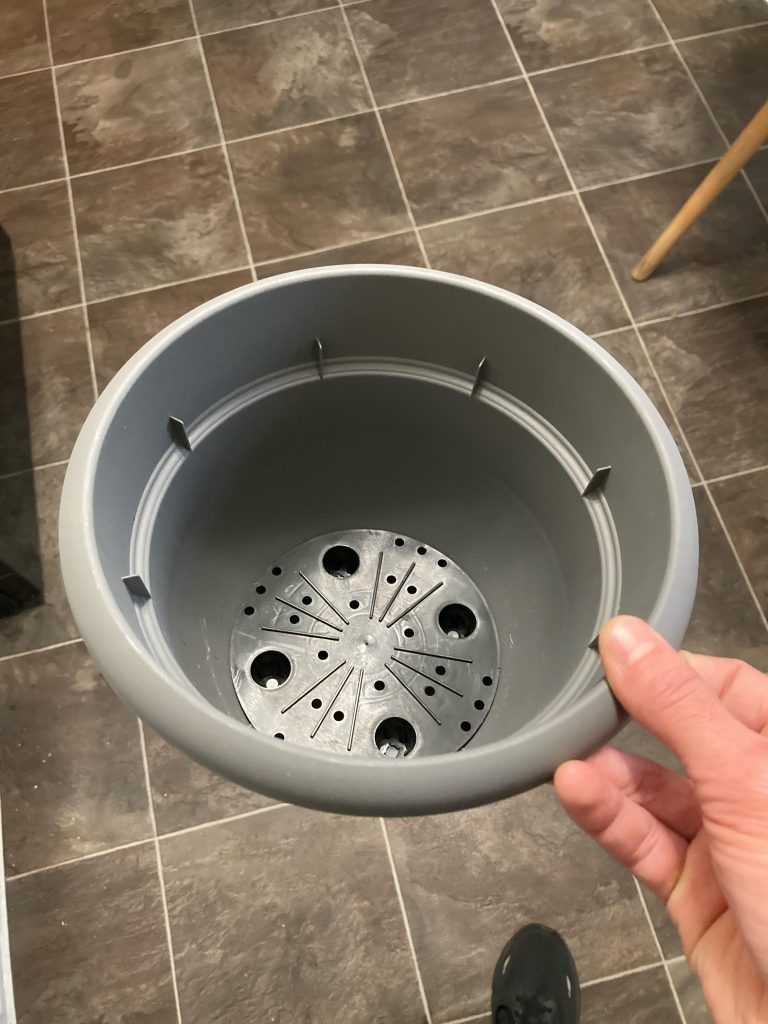
Whatever you pick, make sure it has drainage holes. Hostas hate sitting in soggy soil.
My Step-by-Step Method for Potting Up a Hosta
This is the process I use every time. It’s simple, and it works.
Step 1: Start With Fresh Potting Mix
Skip garden soil. It compacts fast in a container and drains poorly.
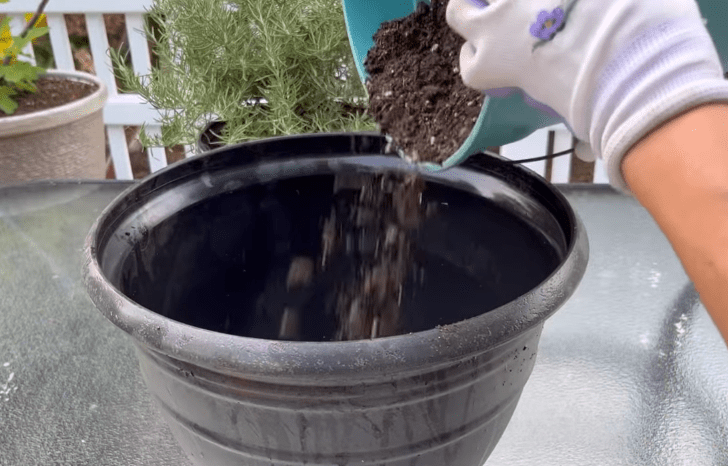
Use a quality all-purpose potting mix instead. Add a layer to the bottom of your pot before you do anything else.
Step 2: Loosen the Roots
Pull your hosta out of its nursery pot. If the roots look tightly wound, gently tease them apart with your fingers.
This step matters more than people think. A rootbound hosta struggles to spread into new soil.
Step 3: Set the Crown at the Right Depth
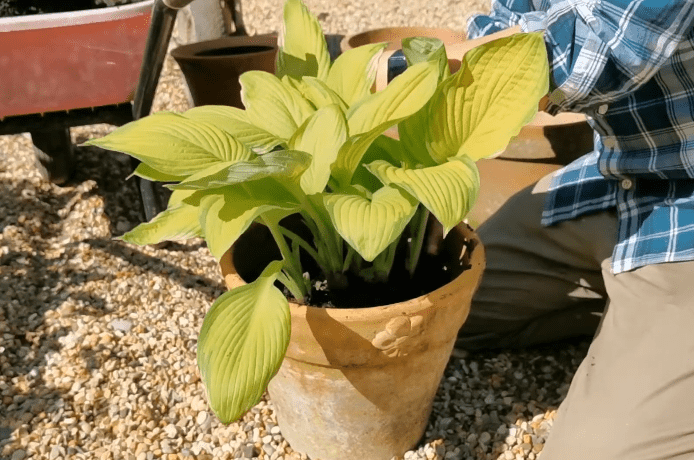
Place the hosta so its crown sits 1 to 2 inches below the rim of the pot. Not buried. Just slightly below the top.
Step 4: Backfill and Firm the Soil
Add potting mix around the root ball. Press down gently as you go to knock out air pockets.
Leave a little space below the rim. That gap keeps water from spilling over the sides when you water later.
Step 5: Water It In
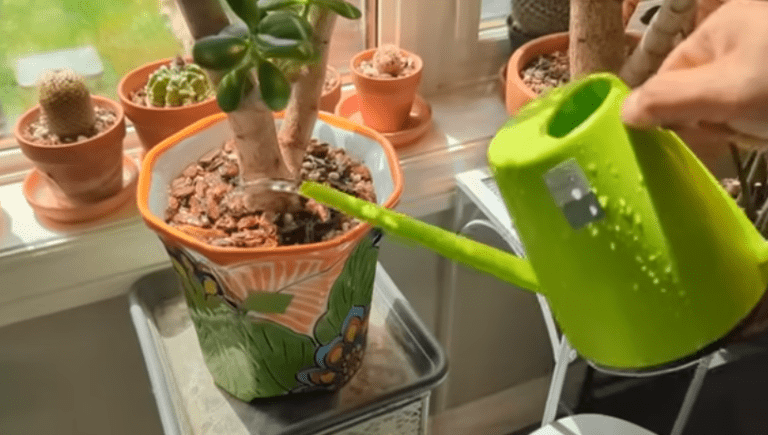
Water slowly until it runs out the drainage holes. This settles the soil around the roots and gets rid of any remaining air gaps.
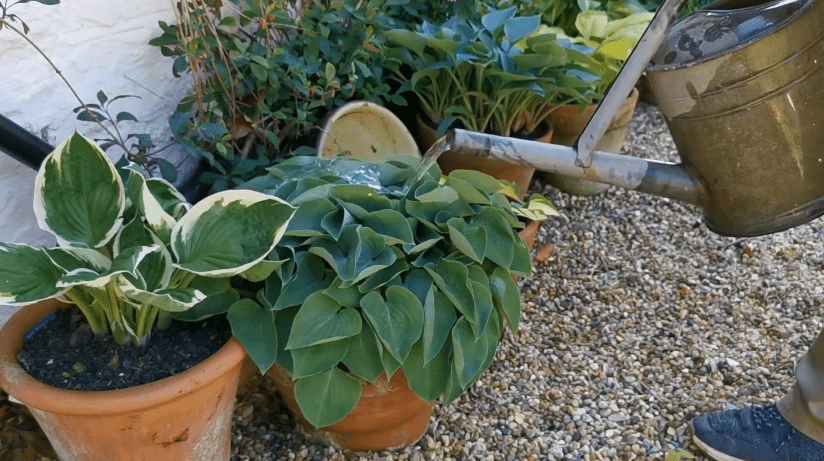
Your hosta is officially potted. From here, it’s all about keeping it happy through the season.
Light, Soil, and Watering
Hostas aren’t fussy, but they do have preferences.
Light: Give your potted hosta morning sun and afternoon shade if you can. Too much hot afternoon sun scorches the leaves. Full shade works too, but you’ll get better color with a little morning light.
Soil: Stick with that same rich, well-draining potting mix from planting day. It holds moisture without staying waterlogged.
Watering: Container hostas dry out faster than ones in the ground. Check by sticking a finger into the soil, about 1 to 2 inches deep. If it feels dry, it’s time to water. During a heat wave, that might mean watering every day.
Underwatering shows up fast. Leaves turn brown and crispy at the edges. Overwatering is sneakier. It rots the roots before you notice anything wrong on top.
Feeding and Pruning
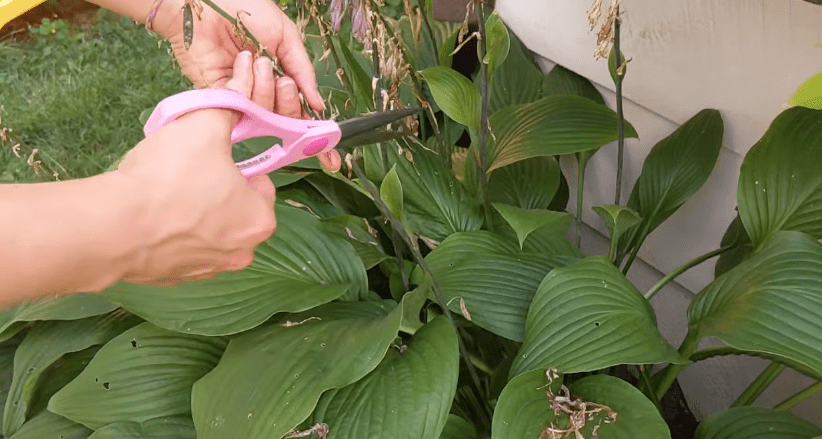
Hostas in a good potting mix don’t need much extra food.
Feeding: In early spring, mix a granular, slow-release fertilizer into the top of the soil. Follow the package directions. That’s usually all a potted hosta needs for the whole season.
Pruning: There’s not much to do here either. Snip off dead or damaged leaves as you spot them. Cut back spent flower stalks once the blooms fade. That keeps the plant looking tidy without any real effort.
Low-maintenance plants can feel like a myth. Hostas in pots prove otherwise.
Repotting and Dividing
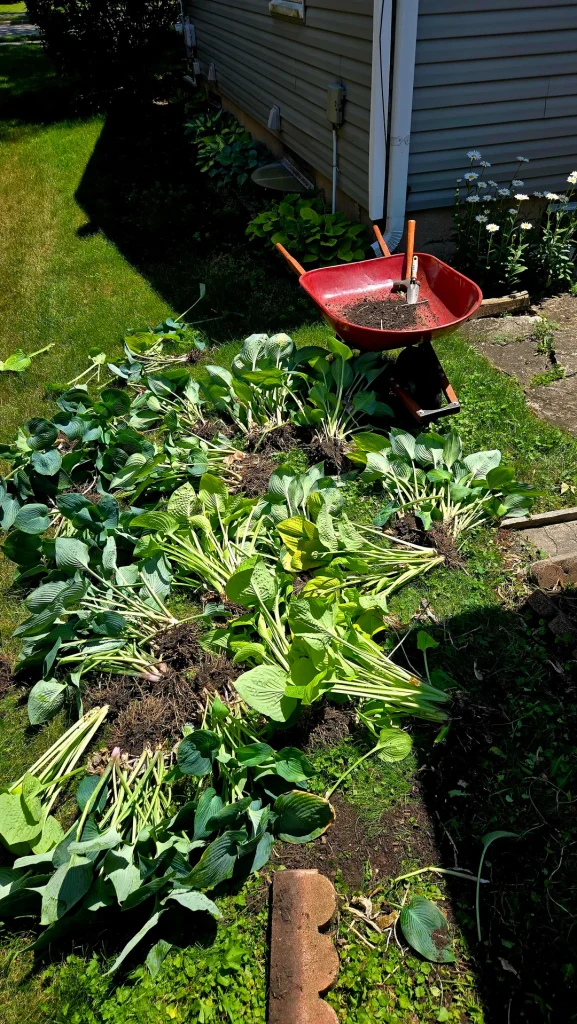
Every few years, your hosta will outgrow its pot. You’ll see roots poking out of the drainage holes, or circling the top of the soil.
Here’s how to handle it:
- Tip the pot on its side. Roll it back and forth a few times to loosen the root ball.
- Slide the plant out. Grip it near the base and wiggle gently.
- Knock away old soil. Trim off any roots that look dead or mushy.
- Divide if needed. Cut straight through the root ball and crown with a clean, sharp tool.
- Repot in fresh mix. Use a container one size larger, or two same-size pots if you divided the plant.
Early spring or fall are the best times for this. The plant isn’t pushing out new growth yet, so it handles the disturbance better.
A Special Note on Overwintering Potted Hostas
This is the part beginners get wrong most often. It’s an easy mistake to make.
A hosta in the ground has the earth around it for insulation. A hosta in a pot doesn’t.
Its roots are exposed to cold air from every side. Leave it out on an exposed patio through a hard winter, and you risk losing the whole plant.
Hostas are tough plants. Most varieties handle USDA zone 3 in the ground. But in a pot, treat your hardiness zone as two zones colder than it really is. That’s the safest rule of thumb.
There are a few solid options:
- Move it into an unheated garage or shed. This is the easiest fix. Keep it cold but not frozen solid, and check the soil once a month so it doesn’t dry out completely.
- Sink the pot into the ground. Dig a hole somewhere in the yard and bury the container up to its rim. The surrounding soil insulates the roots the same way it would for an in-ground plant.
- Group and wrap for milder climates. If winters aren’t too harsh in your area, cluster the pots against a sheltered wall, wrap them in burlap, and pile mulch over the top.
Water potted hostas well before the first hard freeze. A hydrated plant handles cold better than a dry one.
Best Hostas for Containers
Some hosta varieties just look better in a pot than others. These are a few worth starting with:
- ‘Blue Mouse Ears’: a tiny, thick-leaved variety perfect for small pots.
- Shadowland® ‘Diamond Lake’: bold blue foliage that holds its color well.
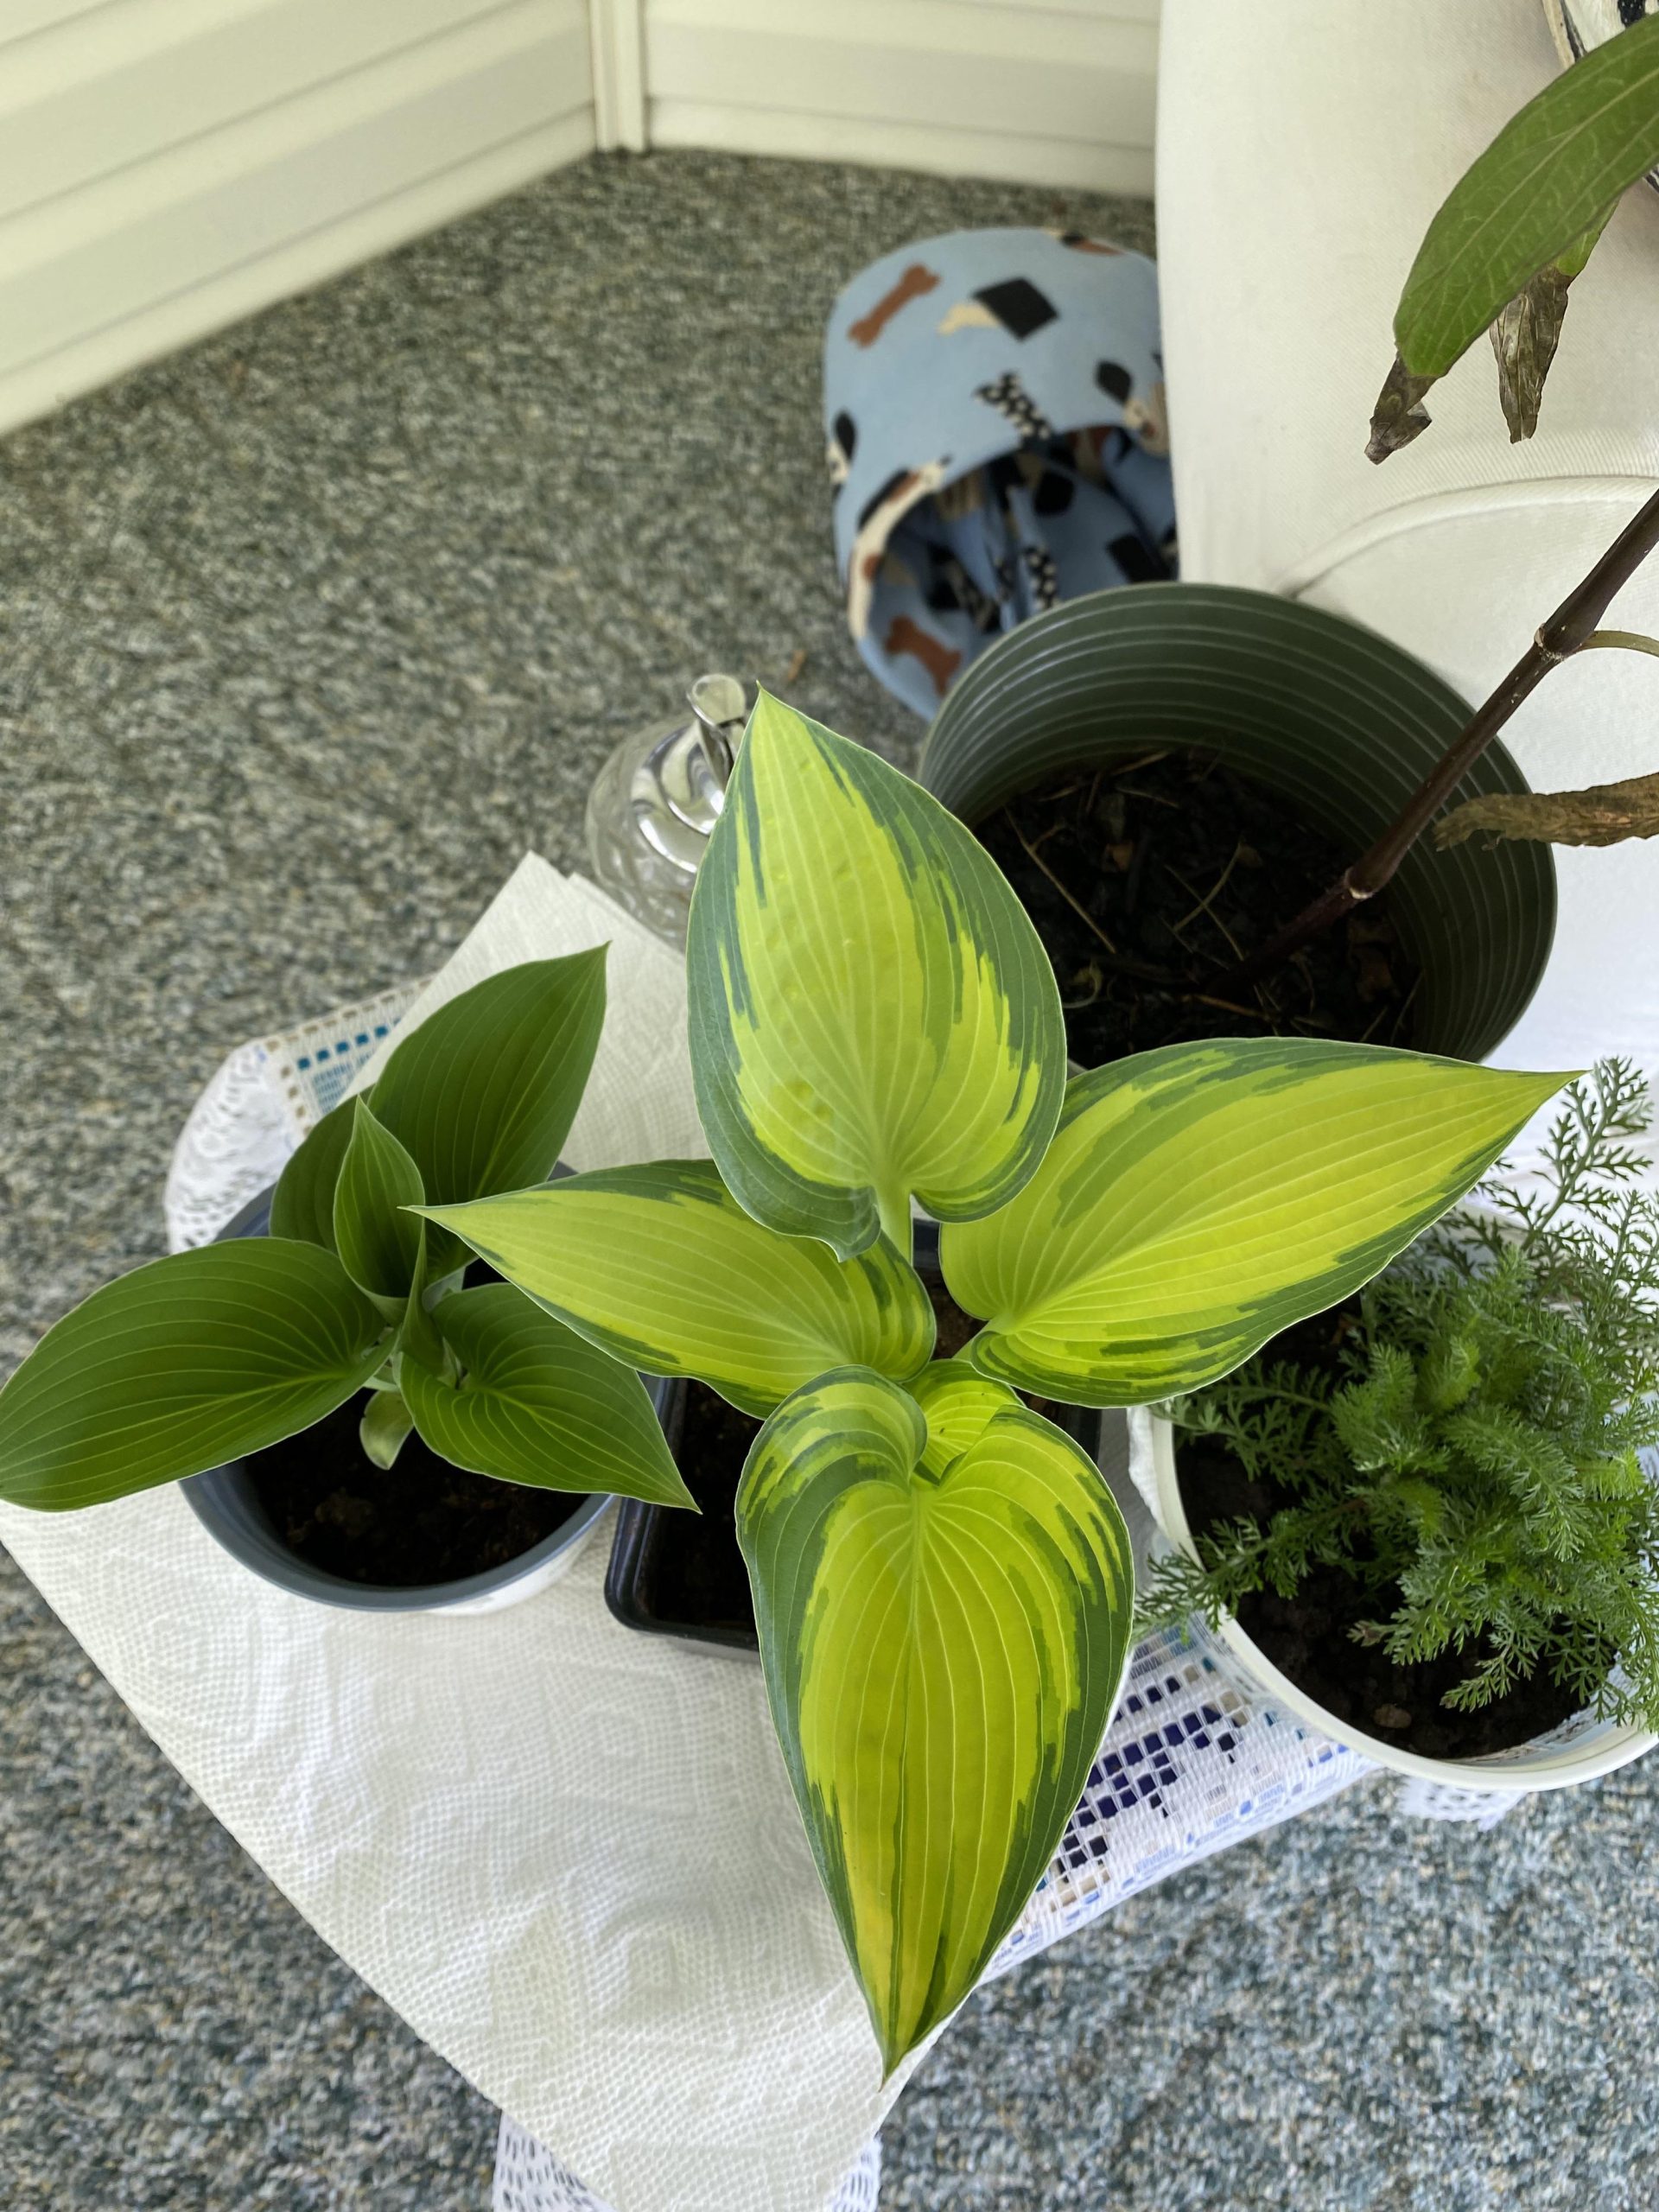
- Shadowland® ‘Coast to Coast’: bright chartreuse leaves that pop against dark containers.
- Shadowland® ‘Wheee!’: wavy, ruffled edges that give a pot real texture.
- Shadowland® ‘Etched Glass’: crisp variegation that looks sharp as a standalone specimen.
Any hosta can grow in a container. But these varieties earn their space by looking just as good as they perform.
Final Thoughts
Growing hostas in pots turned out to be one of the simplest changes to make in a shady garden. A dead corner becomes a green one. A bare patio gets some life in it.
Give a potted hosta the right pot, steady water, and a little shade, and it will reward you with lush foliage all season long. Come winter, tuck it in properly, and it will be back to do it all again next year.