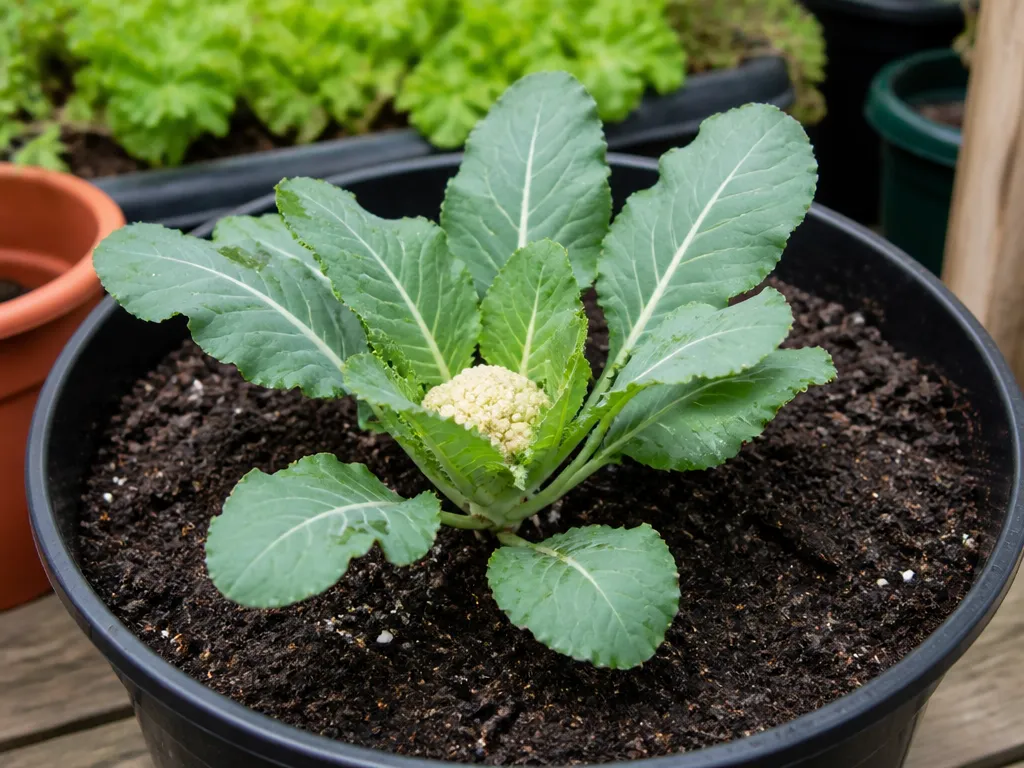
How to Grow Cauliflower in Containers? Beginners Guide

There’s something deeply satisfying about watching a cauliflower head form in a pot on your own patio. I still remember checking mine every single morning, half convinced I’d imagined the progress from the day before.
Those pale, tightly wrapped curds seem almost too delicate for something you grew yourself.
You don’t need a sprawling vegetable garden to pull this off. A sunny spot and the right container are really all it takes. Ready to see how easy this actually is? Let’s get into it.
Why Containers Work So Well for Cauliflower
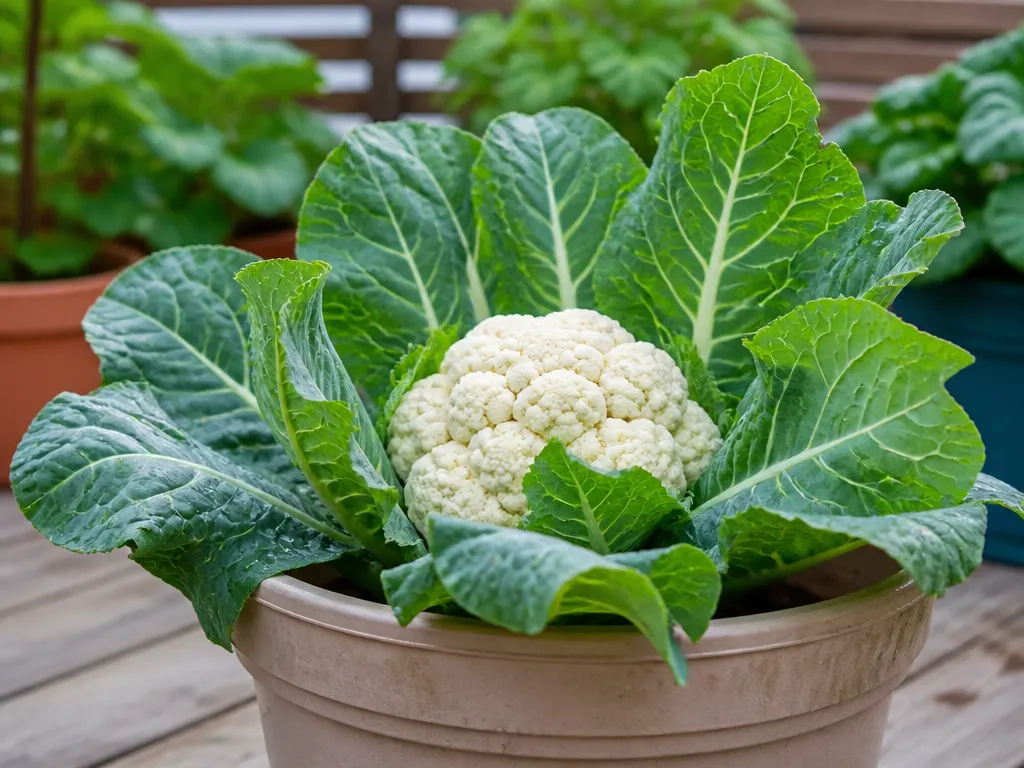
Cauliflower actually suits pot life better than most people expect. I was skeptical the first time I tried it, honestly. Its root system stays fairly compact, so it doesn’t demand the deep digging room that many vegetables need.
Have you ever wished you could just pick up a plant and move it when the weather turns?
Portability is exactly what makes containers so appealing here. You can shift the pot toward stronger sun or tuck it away from a sudden cold snap in minutes.
Garden beds don’t give you that same freedom once a plant takes root. I’ve watched neighbors lose entire crops to one bad frost because their plants were stuck in the ground.
Containers let you dodge that problem entirely, and that flexibility alone makes cauliflower worth trying in pots.
Read more: 10 Easy Vegetables to Grow in Grow Bags
Choosing the Right Container
Size plays a bigger role than most beginners realize, myself included. A depth of at least eight to twelve inches gives the roots enough room to settle in comfortably.
Width matters just as much, so look for something twelve to eighteen inches wide.
Why does width matter so much? Wider containers support healthy growth without forcing you into a constant watering routine.
Drainage holes deserve special attention before you plant anything. Cauliflower dislikes soggy roots, and I learned that lesson the hard way with my first batch.
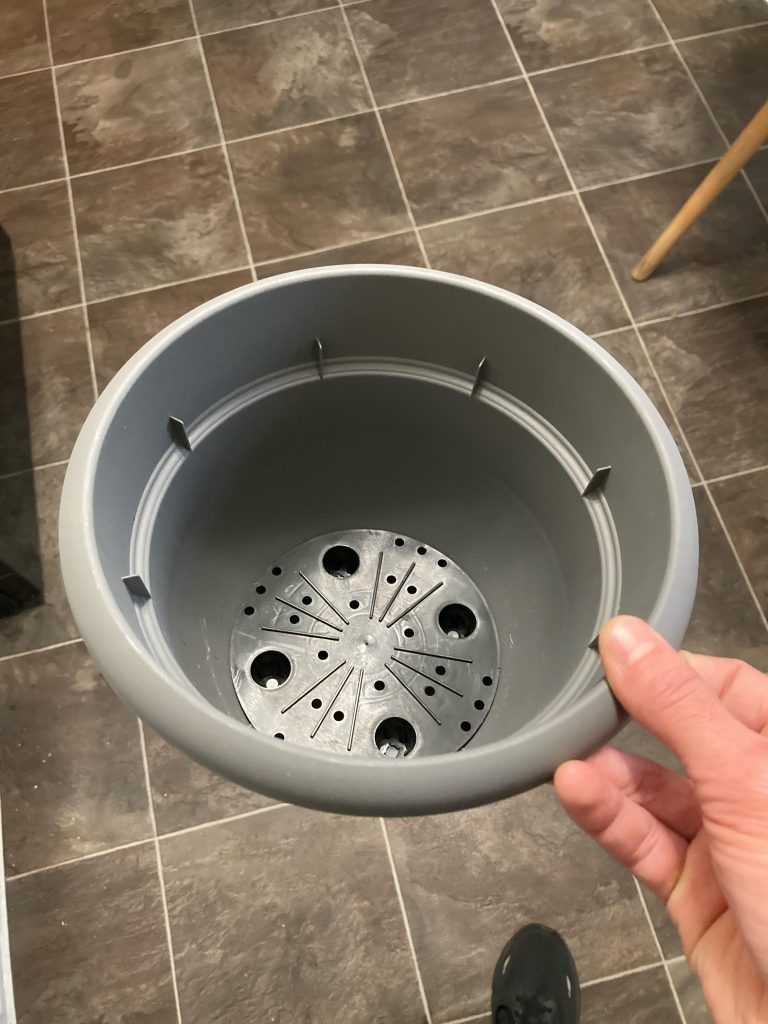
Check the bottom of your pot and drill extra holes if you’re not seeing enough already.
Material choice shapes how often you’ll be reaching for the watering can. Plastic and metal containers hold moisture well and stay light enough for you to move around easily.
Terra cotta looks charming on a patio, but it pulls moisture from the soil fast, especially during warm afternoons.
Are you hoping to grow more than one plant at once? Half whiskey barrels, sturdy grow bags, and large buckets all work beautifully for that. Just leave 18 to 24 inches between each plant so nobody feels cramped.
Finding the Right Spot for Sunlight
Light shapes almost everything about how well your cauliflower turns out.
I’ve found that a spot offering 6 to 8 hours of direct sun each day gives you the best results, hands down. Curds develop fullest and most flavorful under those brighter conditions.
Does your climate run on the hotter side? Partial sun, somewhere around 4 to 6 hours, actually works better once summer temperatures climb too high.
Intense heat can push the plant to form a smaller head too early, and that’s frustrating after months of care.
Temperature plays just as important a role as light exposure. Cauliflower grows comfortably between fifty and eighty-five degrees Fahrenheit, though 60 to 70 degrees suits head formation best. I always check the forecast closely before moving my seedlings outdoors, and you should too.
Frost worries plenty of new gardeners, and for good reason. A maturing head exposed to freezing temperatures can suffer real damage overnight.
Bring your container indoors or tuck it somewhere sheltered whenever a cold night sneaks up on you.
Building the Right Soil Mix
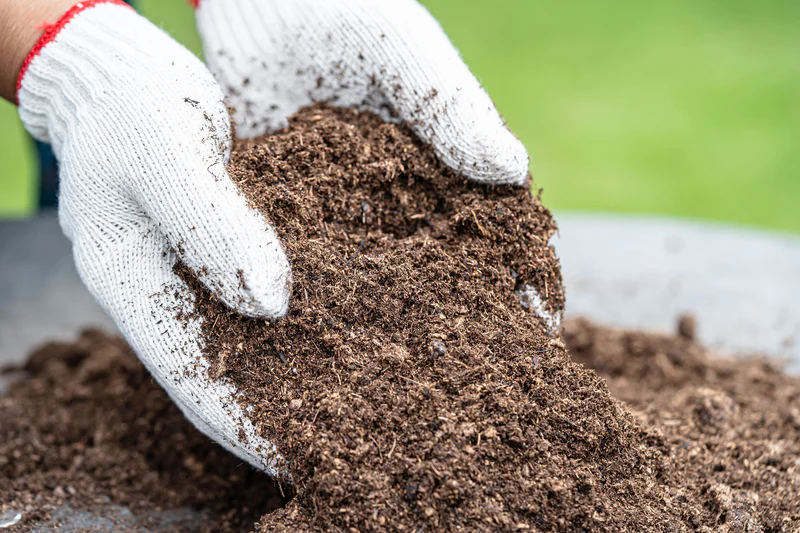
Cauliflower belongs to the brassica family, and like its relatives, it asks for rich, well-balanced soil.
You’ll want a light, humus-heavy potting mix that gives roots the nutrients they crave. Slightly clayey soil holds onto moisture without ever feeling heavy or dense.
Moisture retention matters enormously here, since dry spells hurt this crop quickly. I like blending in a quarter part peat moss or coco coir to improve water-holding ability.
That small addition often makes the difference between a thriving plant and a stressed, stunted one.
Have you tested your soil’s pH lately? A range between 6.5 and 7 keeps nutrients available and roots content. Testing your mix ahead of planting saves you a lot of guesswork later in the season.
Watering Cauliflower the Right Way
Consistency beats everything else when it comes to watering this vegetable. Your soil should stay evenly moist throughout the seedling stage and especially during head formation.
Letting it dry out, even briefly, can shrink your harvest or split the developing curd.
Overwatering causes its own set of headaches too, so don’t overcorrect. Waterlogged roots struggle to breathe and often stunt overall growth.
I check the top inch of soil before watering again, and that simple habit keeps things balanced.
Container plants typically need more frequent watering than those in garden beds. Pots dry out faster, particularly during warm afternoons or breezy days.
Sticking a finger into the soil remains one of the simplest ways for you to know exactly when it’s time.
Feeding Your Cauliflower Plants
Cauliflower ranks among the hungrier vegetables you’ll ever grow. Heavy feeding describes this crop perfectly, since it pulls a lot of nutrients from the soil as it develops.
Mixing compost or well-rotted manure into the potting soil at planting time gives it a strong head start.
A second feeding partway through the growing season keeps that momentum going.
I side-dress with fresh compost around the middle of growth, and my heads always turn out fuller for it. Plants that skip this step often produce smaller, less flavorful curds.
Do you want a simple backup option? Liquid fertilizer applied once a month covers any gaps compost might leave behind.
Following the product label closely prevents overfeeding, which can actually slow growth rather than help it.
Blanching for Beautiful White Heads
Sunlight exposure changes the color and flavor of a developing cauliflower head. Once the curd reaches two to three inches across, it’s time to protect it from direct light.
Blanching simply means covering the head with its own surrounding leaves.
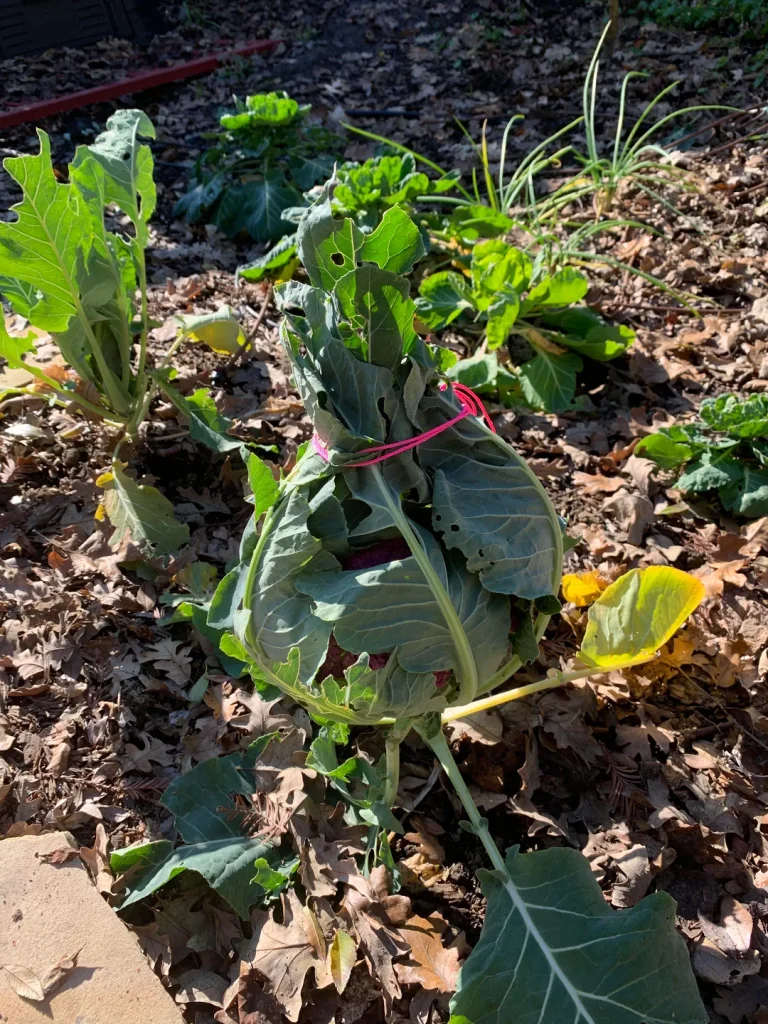
Twine, rubber bands, or a gentle fold-and-tuck method all work for this task.
I usually just gather the leaves loosely by hand and secure them with a rubber band. Colored varieties skip this step entirely, since their pigment doesn’t fade the same way white ones do.
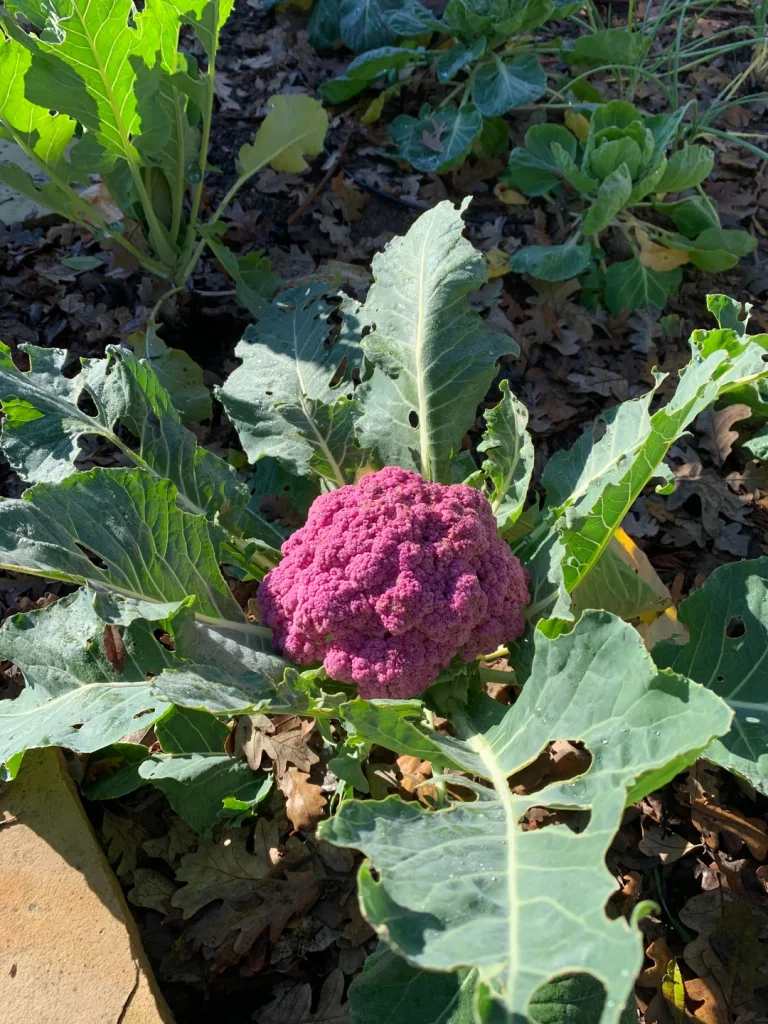
This small effort pays off nicely at harvest time. Blanched heads turn out whiter, more tender, and noticeably sweeter than unprotected ones. Most gardeners find the process takes only a minute or two per plant, so there’s really no excuse to skip it.
Managing Pests and Diseases
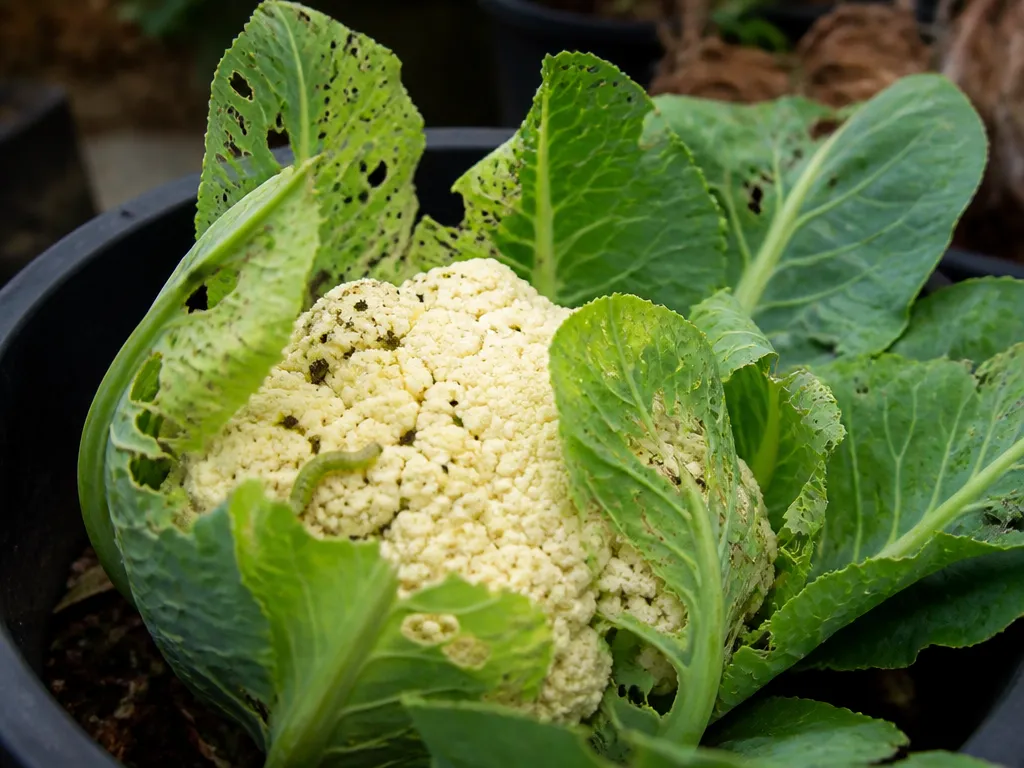
Several common pests find cauliflower just as appealing as you do. Aphids cluster on the undersides of leaves, leaving behind a sticky residue called honeydew.
Cabbage worms chew through foliage quickly, sometimes stripping a plant within days during hot weather.
Flea beetles and the larvae of cabbage moths cause similar damage to your leaves.
I check my plants every few days, and catching an infestation early makes treatment so much easier. A simple soap spray usually handles smaller outbreaks without much fuss.
Clubroot ranks as the most serious disease threat for brassicas like cauliflower. This soil-borne fungus interferes with the roots’ ability to absorb water properly.
Using clean, high-quality potting soil dramatically lowers your risk of ever dealing with it.
Powdery mildew shows up occasionally too, especially in humid conditions. Keeping foliage dry during the day, rather than watering late in the evening, helps prevent this fungal issue.
Good airflow around your container makes a noticeable difference as well.
Knowing When to Harvest
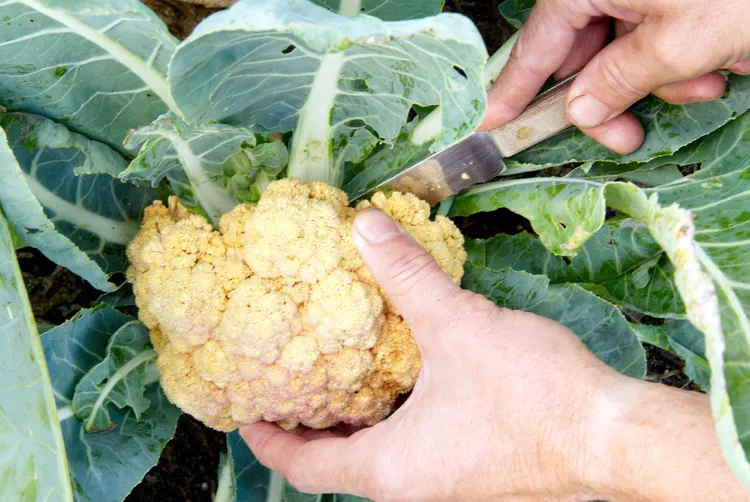
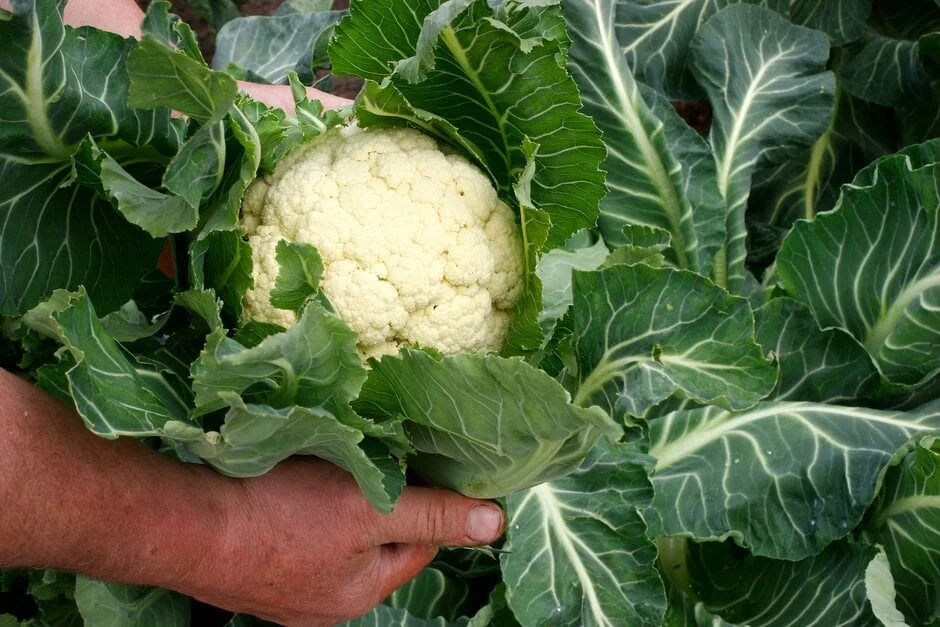
Timing your harvest correctly makes all the difference in flavor and texture. Most cauliflower reaches maturity somewhere between three and five months after planting.
Climate, variety, and sowing time all influence exactly where you’ll land within that window.
A ready head measures roughly six to twelve inches across, depending on the variety you’re growing.
Compactness matters more than size alone, since a head that’s starting to separate has stayed on the plant too long. I check daily once the curd looks close to full size, and you’ll want to do the same.
Cutting happens right at the main stem, just below the head. Leaving a few outer leaves attached protects the curd during the trip from garden to kitchen.
Once blanching begins, most heads finish developing within seven to twelve days.
Storing and Enjoying Your Harvest
Fresh cauliflower keeps best in the refrigerator for short-term storage. Wrapping it loosely and using it within a week preserves that crisp texture you worked so hard to grow.
Freezing works well too, especially if you’ve ended up with more than one household can eat quickly.
Roasting brings out a nutty sweetness that steaming never quite achieves. I toss my florets in olive oil with a little salt and pepper before roasting at 400°F, and it disappears within minutes at my table.
Mashing, riced preparations, and even pizza crusts give you plenty of other ways to use a homegrown head.
Final Thoughts
Growing cauliflower in containers takes a bit of patience, but the payoff feels genuinely rewarding. Getting the container size, sunlight, and watering right solves most of the challenges this crop tends to bring.
Once you’ve grown one successful head, the whole process starts to feel far less intimidating.
Small adjustments along the way, like blanching at the right moment or catching pests early, make a real difference in your results.
Container gardening also gives you the freedom to chase better weather whenever conditions shift. That flexibility alone makes this method worth trying, even if you already have plenty of space outdoors.
So, ready to grab a pot and give it a shot? Before long, you may find yourself planning a second batch for next season.