How to Revive a Dying Christmas Cactus: A Symptom-by-Symptom Rescue Plan

Your Christmas cactus looks limp, wrinkled, and tired. Maybe it dropped half its segments overnight. Don’t toss it yet.
These plants hold on longer than they look. Most rescues come down to fixing one habit. In this guide, I show you how to check if your plant is still alive.
You match what you see to the real cause, then apply the right fix. You also get a recovery timeline and a backup plan, so you never lose the plant for good.
The 60-Second Alive Check
Three quick checks tell you whether you’re rescuing a plant or saving cuttings.
Bend a stem. Flex a segment near the soil line. A living stem bends. A dead one snaps like a dry twig. Test a few spots, because the lower stems often stay alive when the tips look finished.
Look at the base. Firm green or woody brown is normal. A dark, soft, or water-soaked base is a rot warning.
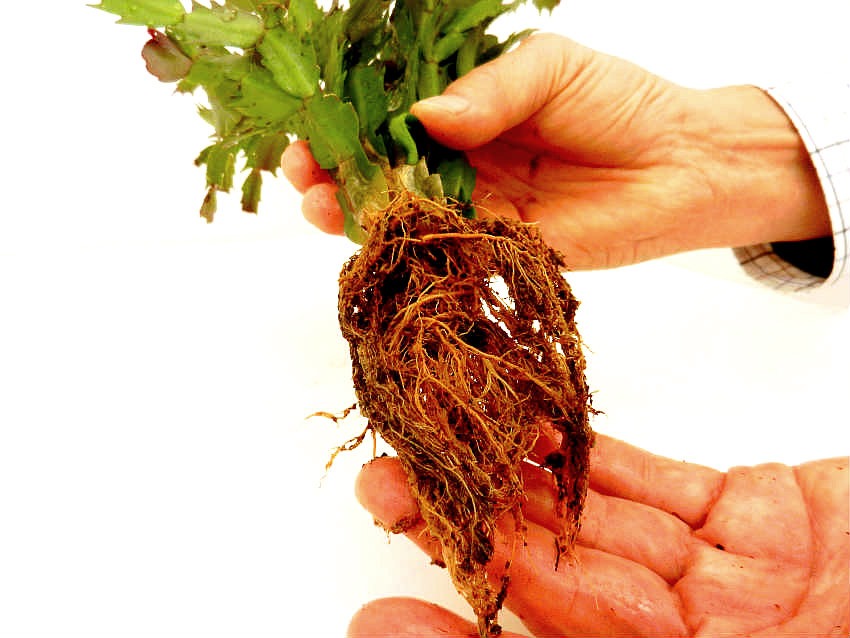
Check the roots. Slide the plant out of its pot. Healthy roots look white or tan and feel firm. Rotted roots look dark, feel mushy, and smell sour.
Here’s what most guides skip. The stems store water. They can live for a long time after the roots die.
A plant that seems to collapse overnight has usually struggled for months. That’s good news. If any stem still bends, you have something to work with.
Also read: How to Repot a Christmas Cactus Without Killing the Blooms
Wet Soil or Dry Soil? One Question Decides the Fix
Limp, shriveled stems mean water isn’t reaching them. That happens for two opposite reasons. So don’t grab the watering can yet.
Push a finger two inches into the soil. Lift the pot too. Dry soil feels dusty, and the pot feels light. Wet soil feels cool, and the pot feels heavy.
Dry soil means thirst. Go to Fix 1.
Wet soil means damaged roots. The roots drowned, rotted, or burned from salt. They can’t pull water up anymore. Your plant is thirsty in a soaked pot, and more water makes it worse. Go to Fix 2.
Got a mixed result? Say the top inch is dry but the pot feels heavy. The lower soil is wet. Treat it as a root problem.
Read more: How & When to Prune Your Christmas Cactus Plant
What Your Christmas Cactus Is Telling You
Match your plant to the closest description below.
- Limp, dull, wrinkled segments in dry soil: Thirst. Use Fix 1.
- Limp, soft segments in wet soil: Root rot. Use Fix 2.
- Mushy base or a brown spot at the soil line: Basal stem rot. Use Fix 2.
- Segments turning translucent yellow and soft: Overwatering. Use Fix 2.
- White or yellow crust on the pot rim or stems: Salt buildup. Use Fix 3.
- Sticky residue, cottony white tufts, or small brown bumps: Pests. Use Fix 4.
- Red or purple tint: A light blush in fall is harmless. Deep red across the whole plant means too much sun. Use Fix 5.
- Pale, washed-out segments: Too much light. Use Fix 5.
- Dropping segments or buds: Drafts, temperature swings, or too many moves. Use Fix 5.
- Tiny hair-like roots along the stems: A stress signal. Check the roots and the soil.
- Limp right after the flowers fade: Normal exhaustion. Use Fix 6.
Also read: Christmas Cactus Care: A Year-Round Calendar for Blooms Every December
Fix 1: Rehydrate a Thirsty Plant
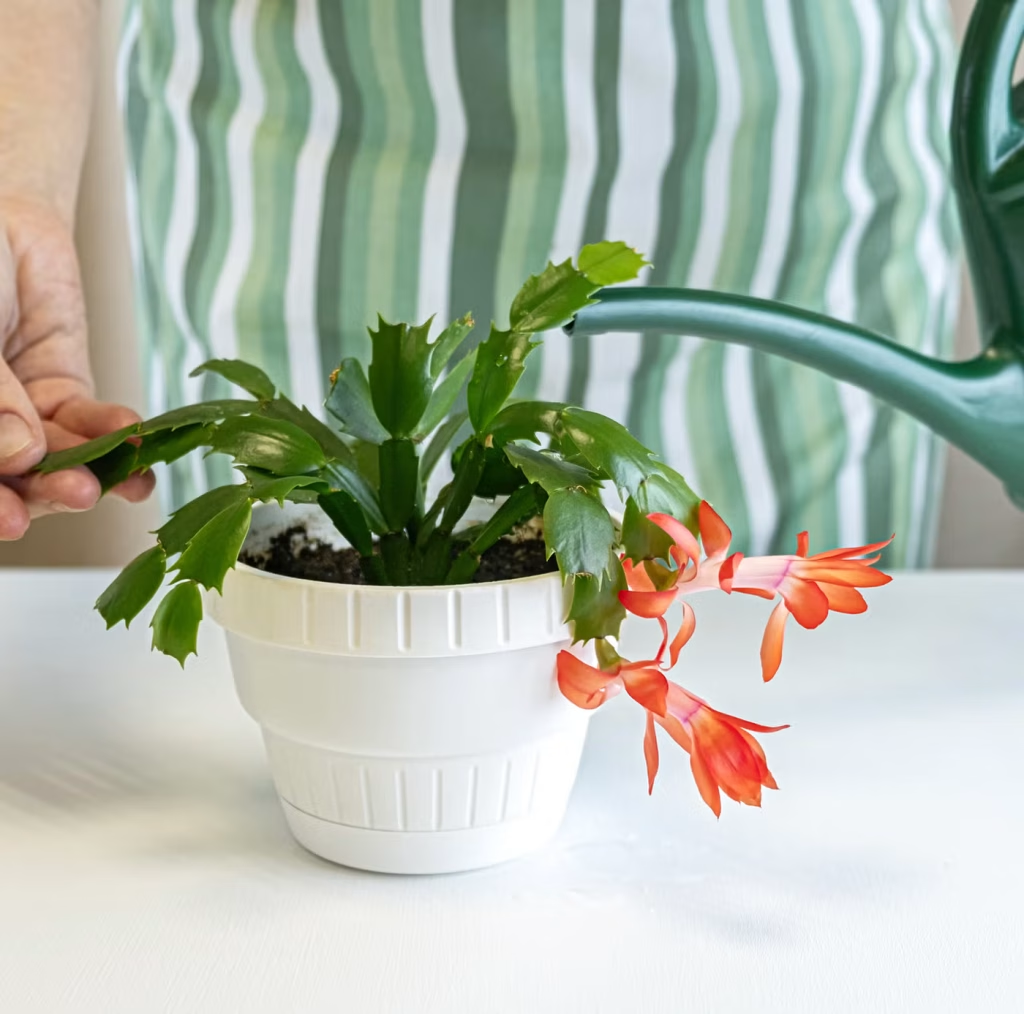
Bone-dry soil often repels water. It shrinks away from the pot wall. Water then runs straight through and out the bottom. This happens most in hanging baskets. So don’t just pour water on top.
Set the pot in a sink or bucket of room-temperature water. Let it soak for 15 to 20 minutes. Lift it out once the top of the soil feels damp. Let it drain fully. Never leave it sitting in the saucer.
Then slow down. After a long dry spell, many fine roots have died. The survivors can’t handle a big drink every day. Give one soak, then water lightly. Water a little more often for the first two weeks.
Once new growth shows up, switch to a steady rhythm. Water when the top inch feels dry, then drain.
Expect plumper segments within a few days. The glossy look returns in two to three weeks.
Fix 2: Rescue Rotted Roots
Rot is the most common killer, so work through these steps in order.
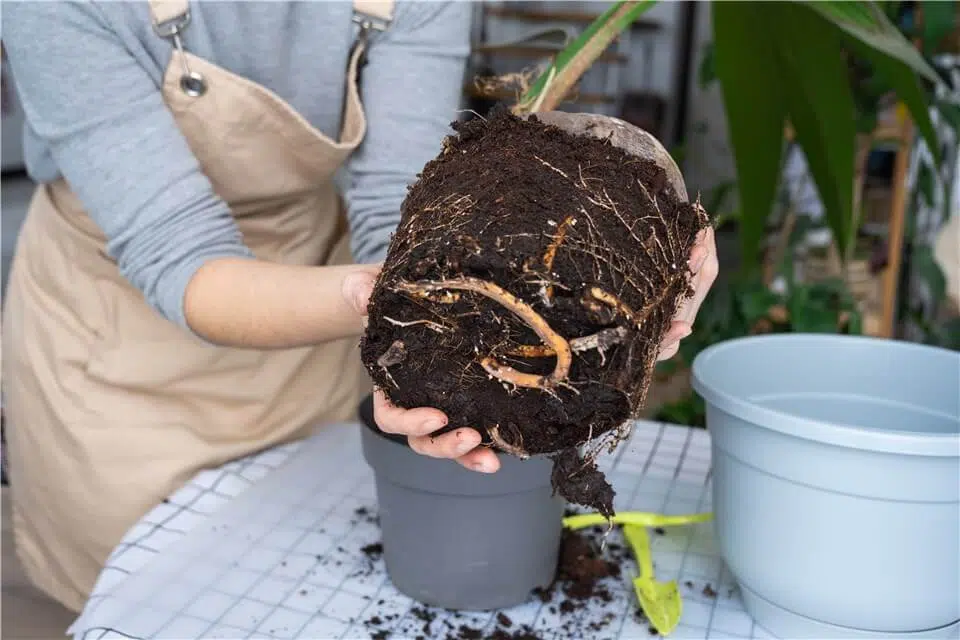
- Unpot the plant. Tip it out gently. Shake off the old soil and loosen what’s left with your fingers.
- Rinse the roots. Use lukewarm water. You need to see what’s alive and what isn’t.
- Sterilize your pruners. Wipe the blades with rubbing alcohol.
- Cut away every bad root. Remove anything dark, mushy, or sour-smelling. Cut back to firm white or tan tissue. Don’t be shy here. A little leftover rot spreads fast. Trim any rotted tissue at the stem base too. If you removed most of the roots, trim a few stems as well. The roots left behind then have less to feed.
- Let it dry. Rest the plant out of soil for 12 to 24 hours. Keep it out of direct sun. The cuts seal over as they dry.
- Repot in a clean pot. Pick one with drainage holes. Use the same size, or one size smaller if you cut away many roots. A big pot holds extra water, and extra water rots roots. Fill it with fresh, fast-draining mix. A cactus mix works well. A houseplant mix with added perlite works too. Never reuse the old soil.
- Water once, then hold back. Water lightly to settle the soil. Then let the top inch or two dry out between waterings. Skip fertilizer for now. Feeding damaged roots makes things worse.
If rot took nearly every root, don’t give up. Your best move is the cuttings backup plan later in this guide.
Is your plant budding right now? Rescue it anyway. A few buds may drop after the repot. That’s a fair trade for saving the plant. You can bloom it again next year.
Fix 3: Flush Out Salt Buildup
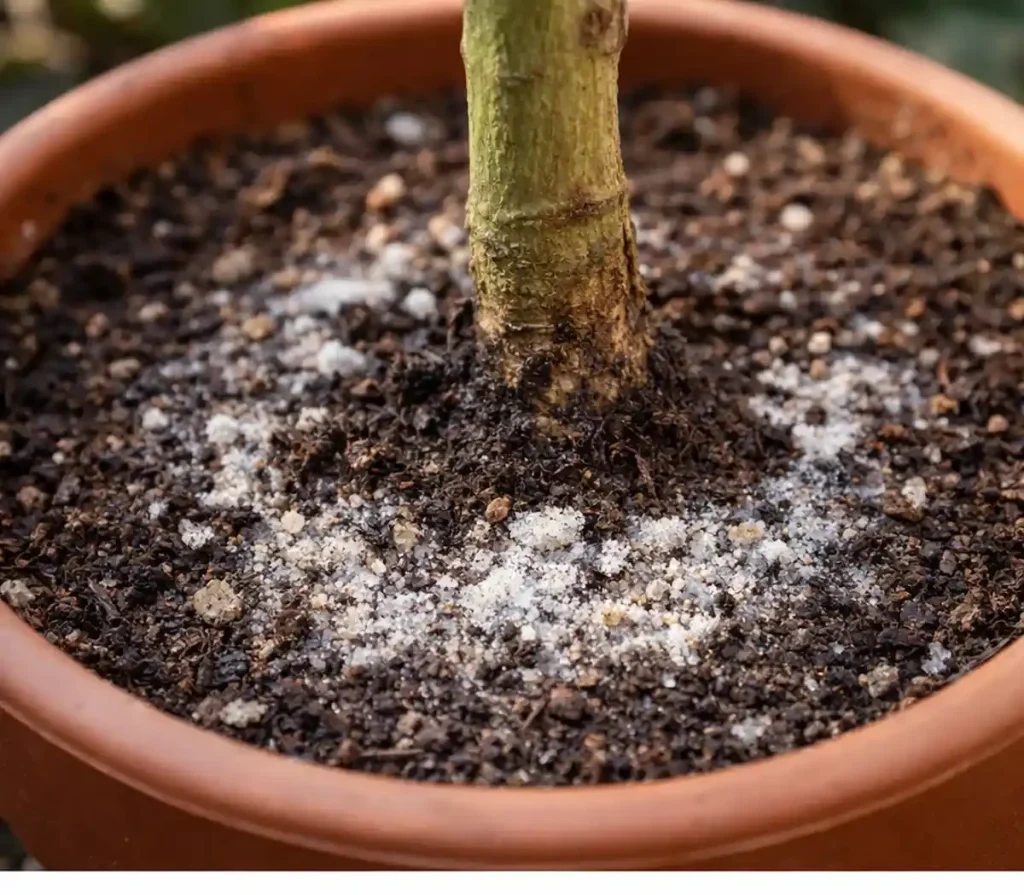
Tap water and fertilizer leave mineral salts behind. Over the years they build up in the soil.
When the salt level gets too high, the roots stop absorbing water. Some even lose water to the soil. The plant shrivels in a wet pot.
Look for a white or yellow crust on the pot rim. You may also see it on the stems. Christmas cacti are sensitive to this because they grow on trees in the wild. Their roots expect clean, light, airy conditions.
For a quick fix, run lukewarm water through the pot for a few minutes. Let it drain completely. Do this twice, a day apart.
The best fix is fresh soil. Repot using the steps in Fix 2. Scrub the pot first, or use a new one. Skip fertilizer until you see new growth.
Fix 4: Stop Pests Before They Finish the Job
Pests rarely kill a healthy plant. They love a stressed one. Check the stems, the joints between segments, and the soil surface.
- Fungus gnats: Tiny black flies hover over the soil. The larvae chew roots in wet soil. Let the soil dry between waterings. Add yellow sticky traps near the pot.
- Mealybugs: They look like small tufts of white cotton. Dab each one with a cotton swab dipped in rubbing alcohol.
- Root mealybugs: You find white fluff on the roots when you unpot the plant. Rinse the roots well. Repot in fresh mix.
- Scale: Flat brown bumps stick to the stems. They leave a sticky film behind. Scrape them off, or wipe them with an alcohol swab.
Repeat your treatment every 5 to 7 days for about a month. One round never gets them all. Move the plant away from your other houseplants while you treat it.
For a heavy infestation, spray insecticidal soap or neem oil. Follow the label. Black patches on the sticky film are sooty mold. Wipe them off with a damp cloth.
Fix 5: Correct the Light, Temperature, and Drafts
Christmas cacti come from humid rainforests. They grow in the shade of tree branches. Your living room should copy that setting.
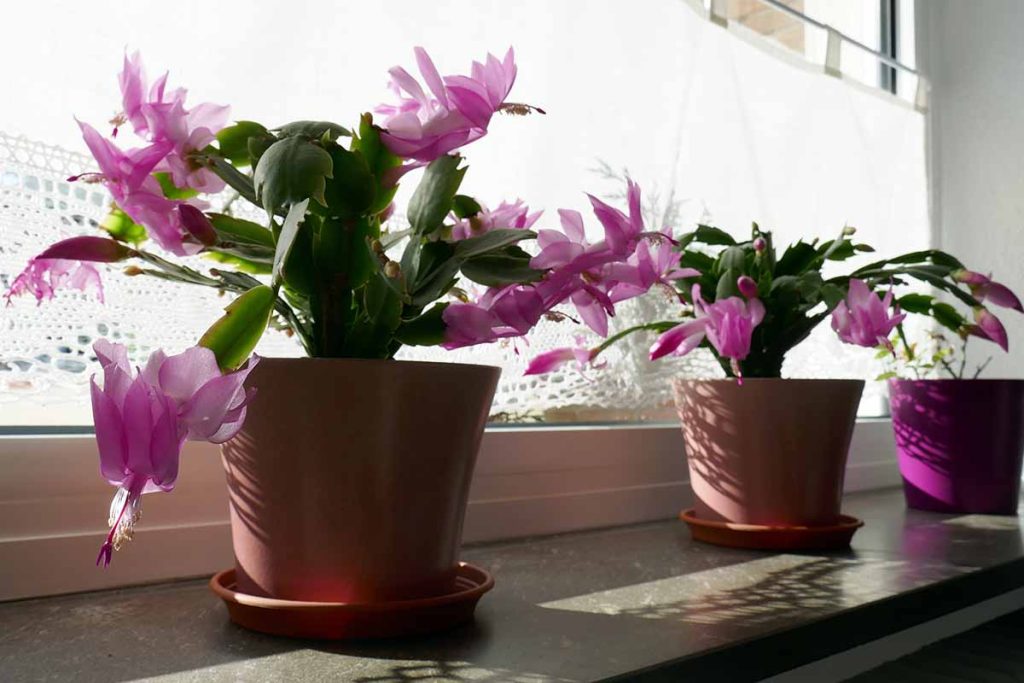
Light: Give your plant bright, indirect light. An east window works well. Keep it a few feet back from a south or west window.
Direct afternoon sun bleaches the stems or turns them deep red. A light red blush in fall is normal. A full red plant needs more shade.
Temperature: Hold the plant between 60 and 75°F while it heals. Cold hurts it fast. Anything near 40°F can drop segments. Sudden swings do the same.
Keep it away from heater vents, cold windows, and exterior doors. Gas stove fumes can also trigger bud drop.
Humidity: Dry winter air stresses these plants. Set the pot on a tray of pebbles with a little water. Keep the pot above the waterline.
Buds are forming now. Late October is when the plant sets flower buds. The plant wants cool nights and 12 or more hours of darkness. It also wants slightly drier soil during this stretch. Water only when the top inch or two feels dry. Don’t move the plant once you see buds. Moving it makes the buds fall off.
Fix 6: The Post-Bloom Slump
Flowering takes a huge amount of energy. A plant can look limp and tired right after the last bloom drops. That’s normal. It’s resting, not dying.
Cut back on water a little until new growth appears. Then return to your normal routine. Start feeding lightly in spring and summer.
A balanced houseplant fertilizer once a month is enough.
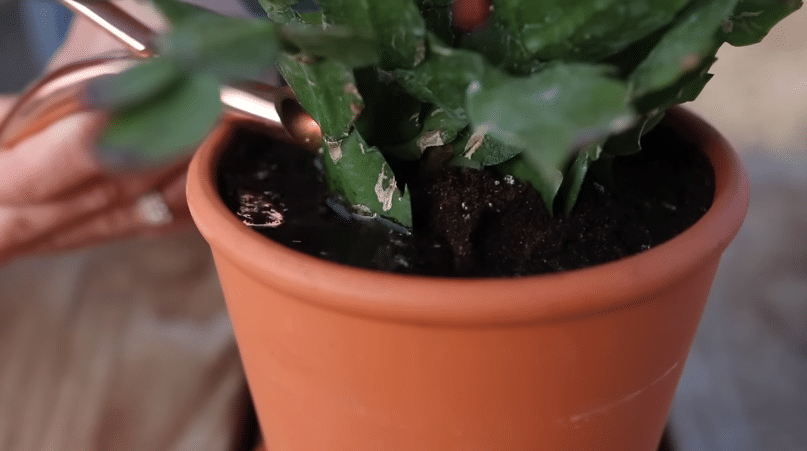
Brown segments or black spots point to something else. That’s overwatering. Go back to Fix 2.
What Recovery Looks Like
Every rescue runs on its own clock. Use this as a rough guide.
- Days 1 to 7: Thirsty plants plump up first.
- Weeks 2 to 3: Segments turn glossy. New growth starts under good light.
- Weeks 4 to 6: Pink or bright green tips show up on a repotted plant. This tells you the roots are working again.
- Months 2 to 4: A plant with heavy root loss rebuilds its root system. You see steady improvement.
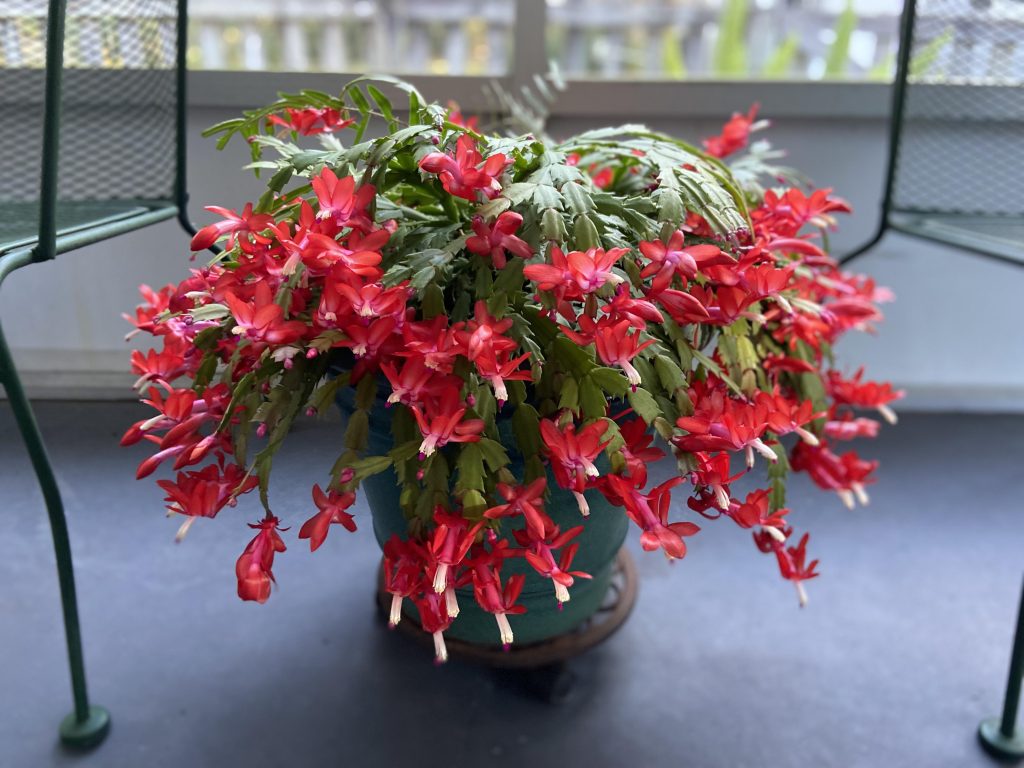
- Next bloom season: A recovered plant often flowers again. A hard-hit plant may need one full growing season.
Patience matters here. Don’t tug on stems to check for roots. Don’t repot a second time just because it still looks sad.
Your Backup Plan: Take Cuttings Now
Take cuttings from any rescue, even a promising one. Old plants sometimes resist repotting. Cuttings protect you.
- Choose healthy stems. Pick pieces with three to five segments. Skip anything soft, discolored, or fallen off on its own.
- Twist, don’t cut. Hold the stem and twist. It separates cleanly at the joint.
- Let them dry. Set the cuttings on a paper towel overnight. The cut end seals over.
- Plant them shallow. Use a small pot of moist perlite or a light cactus mix. Bury the bottom segment about an inch deep.
- Add humidity. Slip the pot inside a clear plastic bag. Keep it in bright, indirect light.
- Wait. Roots usually form in about a month. Move the cuttings to their own pots once the roots reach an inch.
If the parent plant is badly stressed, use shorter pieces. Short cuttings need less root power to survive.
Also read: How to Propagate Christmas Cactus in Water
Mistakes That Undo a Rescue
- Using a bigger pot. Extra soil holds extra water. Stay the same size or go smaller.
- Flooding a dry plant. One giant drink after weeks of drought can finish off the last good roots.
- Feeding a sick plant. Fertilizer burns damaged roots. Wait for new growth.
- Moving the plant again and again. Pick a spot and leave it there.
- Watering on a calendar. Check the soil first. Water only when the top inch feels dry.
- Reusing old soil. It carries salts and the organisms that caused the rot.
- Skipping repotting for a decade. Refresh the soil every three to four years.
FAQ’s
Can a Christmas cactus recover with no roots?
Yes, in many cases. The stems store water and stay alive for a while. Take cuttings from the healthiest segments and root them in perlite.
Why is my Christmas cactus limp when the soil is wet?
The roots are damaged. Rot, overwatering, or salt buildup can stop them from absorbing water. Unpot the plant and check the roots.
How long does it take to revive a Christmas cactus?
A thirsty plant bounces back in one to three weeks. A plant with rotted roots needs four to six weeks to show new tips. Full recovery can take several months.
Should I repot while my cactus has buds?
Repot only if you see rot. Saving the plant matters more than saving the buds. A healthy budding plant should stay put until after it blooms.
Can I cut off brown or dead stems?
Yes. Use clean pruners. Cut back to the last firm green segment. Removing dead growth helps the plant put its energy into healthy stems.
The Final Word
Most Christmas cacti recover once you fix the real cause. Check the roots first and match your plant to the right fix. Then give it time and a steady routine. A plant you rescue often blooms harder than one that never struggled.