Grow Garlic in an Indoor Pot: Greens in 2 Weeks or Bulbs in 8 Months

You want fresh garlic, but you only have a windowsill. Good news. A pot is all you need.
Here’s the catch. Indoor garlic gives you two very different harvests. You can snip tender garlic greens in about two weeks.
Or you can wait around eight months for small, homegrown bulbs.
I’ll show you both paths, step by step. You’ll learn which one fits your space, your patience, and your light. Then you can pick one and get planting.
Greens or Bulbs? Pick Your Path
Garlic bulbs need a cold spell before they form. Your living room doesn’t have one. That’s why indoor garlic works best when you pick your goal first.
Path 1: Garlic Greens
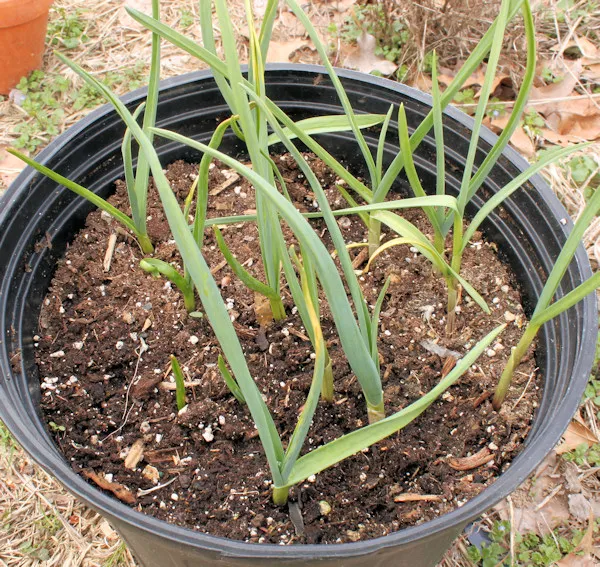
Time: About two weeks to your first snip.
Light: A bright window with around four hours of direct sun.
Effort: Low. You don’t need to chill the cloves first.
What you get: Mild, garlicky shoots for eggs, soups, and salads.
Path 2: Garlic Bulbs
Time: About eight months from clove to harvest.
Light: At least six hours of direct sun, or a grow light.
Effort: Medium. You chill the cloves in the fridge first. Then you water steadily and wait.
What you get: Small heads with real garlic flavor. Hardneck types also give you curly scapes.
Reality check: Indoor bulbs stay smaller than store-bought heads. A pot limits root room, and indoor light is weaker than sunshine. I’m telling you now so you aren’t let down later. Small homegrown bulbs still taste great.
Quick tip: Plant separate cloves for each path. A garlic plant needs its leaves to build a bulb. So don’t snip the plants you’re growing for heads.
Not sure which to pick? Start with greens. They give you a fast win while you decide.
Read More: 10 Garlic Planting Mistakes That Shrink Your Harvest (And Easy Fixes)
What You Need Before You Plant
You don’t need much. A pot, some soil, and the right garlic will do it.
Choose the Right Pot
Garlic sends roots down, not out. Pick a pot at least 8 inches deep. Make sure it has drainage holes. Add a saucer to protect your windowsill.
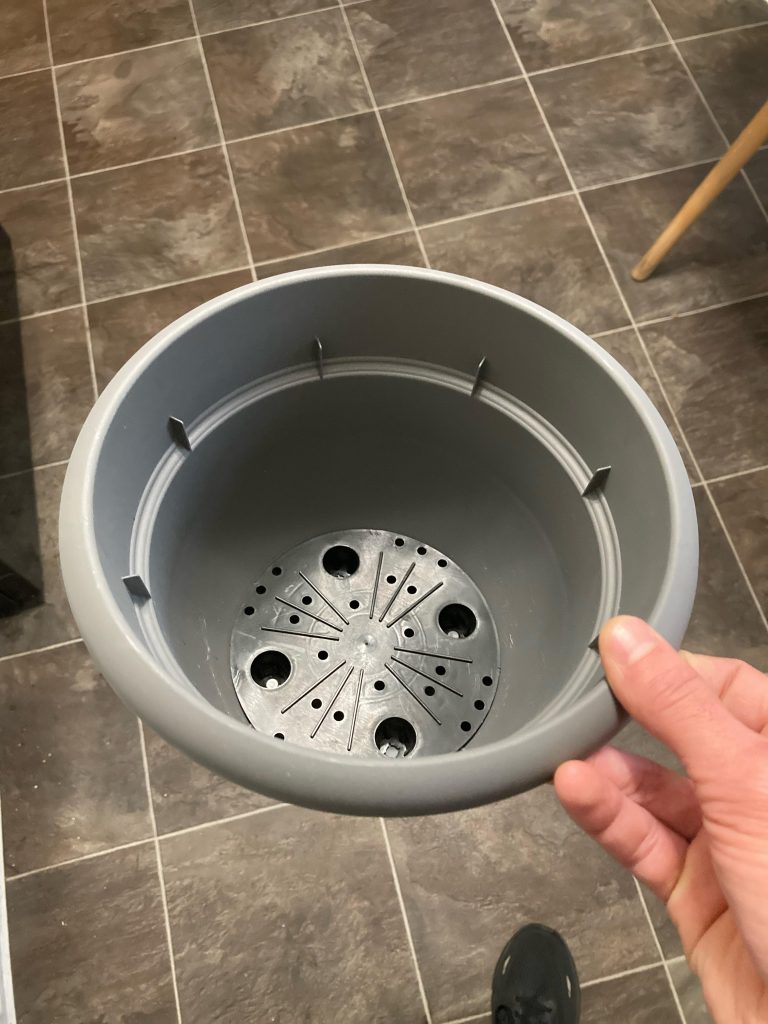
For bulbs, choose a pot about 12 inches wide. That fits three to four cloves with room to spread. For greens, any pot that deep works.
Plastic and glazed pots hold moisture well. Terracotta dries out fast, so you’ll water more often.
Mix the Best Soil
Skip garden soil. It packs down in pots and chokes the roots. Use a quality potting mix instead.
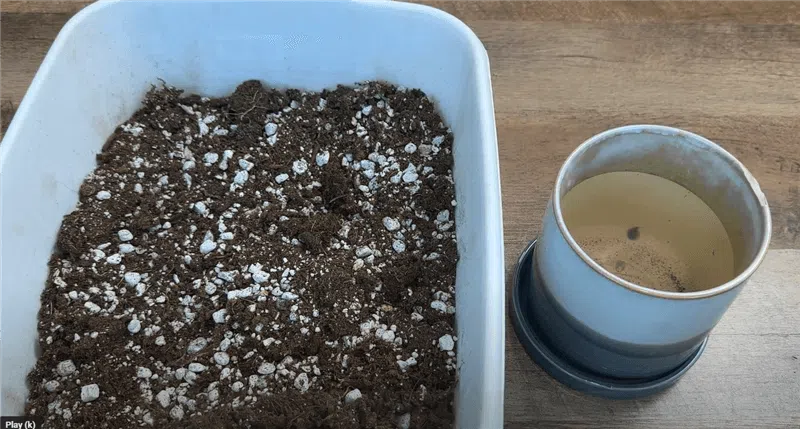
For bulbs, mix three parts potting mix with one part compost. Add a handful of perlite for extra drainage. For greens, plain potting mix works fine.
Garlic hates soggy soil. Good drainage keeps the cloves from rotting.
Pick Your Garlic
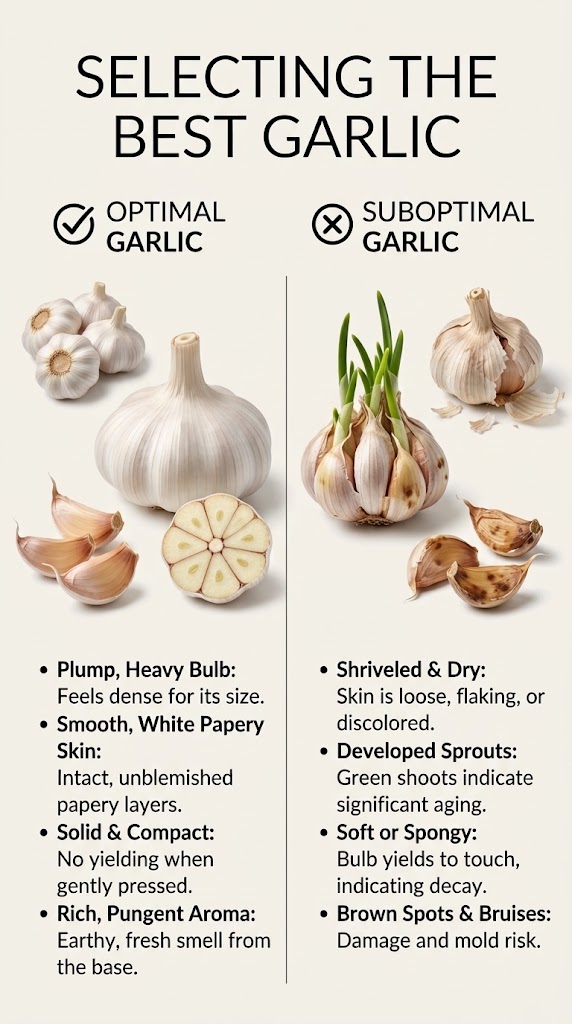
Choose organic or seed garlic. Grocery store bulbs are a gamble. Some are treated to stop sprouting. Organic heads often sprout fine.
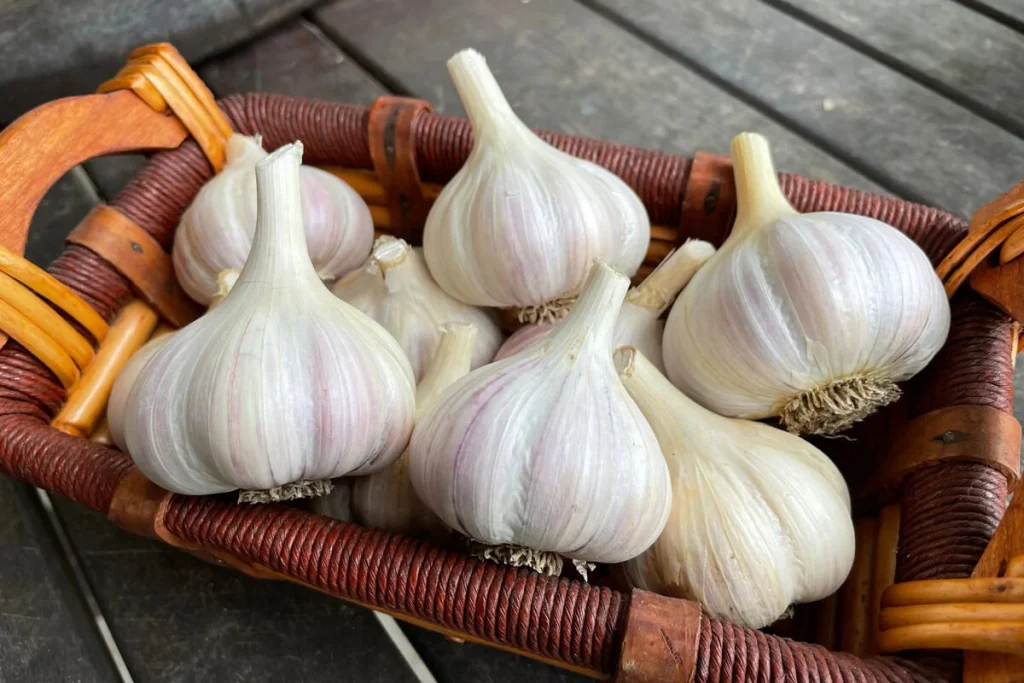
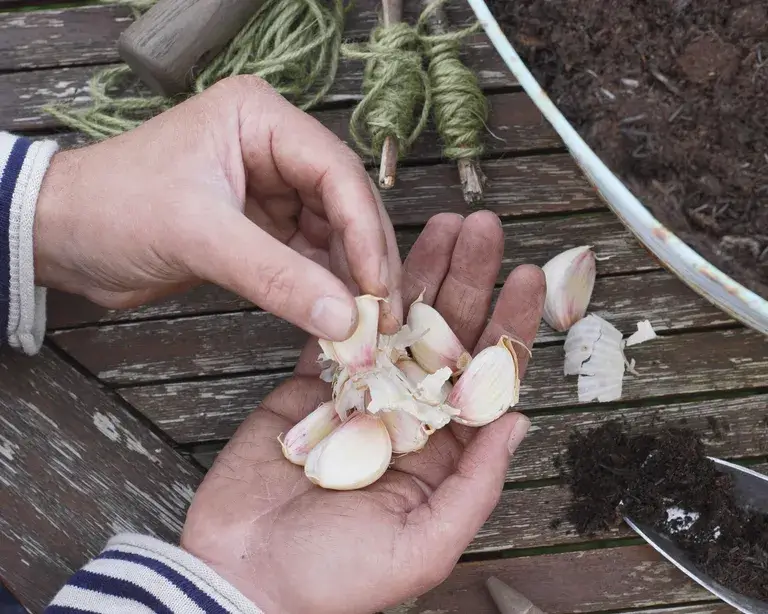
Pick the plumpest bulb you can find. Break it into cloves. Keep the papery skin on each one. Save the biggest cloves for growing heads. Use the small ones for greens or dinner.
Softneck vs. hardneck: Softneck is the easiest choice for both paths. It needs a shorter chill. Hardneck gives you scapes but needs a longer chill.
Quick shopping list: A deep pot, a saucer, potting mix, compost, perlite, and organic garlic.
Path 1: How to Grow Garlic Greens
Garlic greens are the easy win. You plant, you wait a week or two, and you snip. You don’t need any fridge time.
Grow Greens in Soil
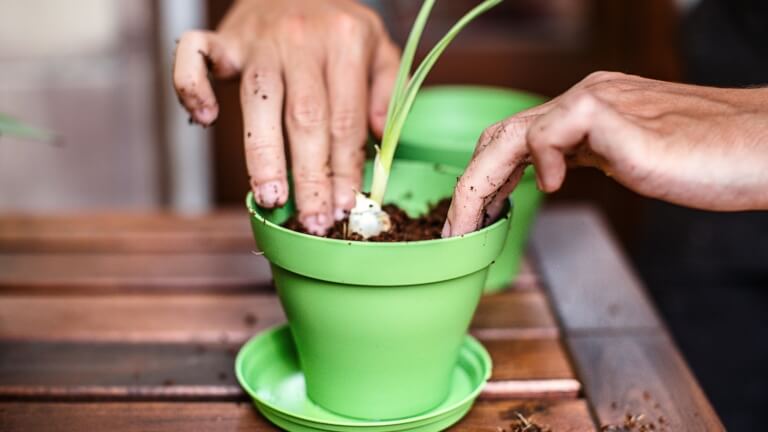
Fill your pot with potting mix. Press the cloves into the soil, pointy end up. Pack them close together, about an inch or two apart.
Cover the cloves with about an inch of soil. Water well. Set the pot in a bright window. Green shoots show up in about a week.
Grow Greens in Water
No soil? No problem. Fill a small jar with pebbles. Nestle the cloves between them, pointy end up.
Add water until it covers less than half of each clove. Place the jar on a bright windowsill. Swap the water every few days to keep it fresh.
When to Snip
Wait until the shoots reach 4 to 7 inches tall. Then snip off the top third. The lower part tastes more bitter, so leave it behind.
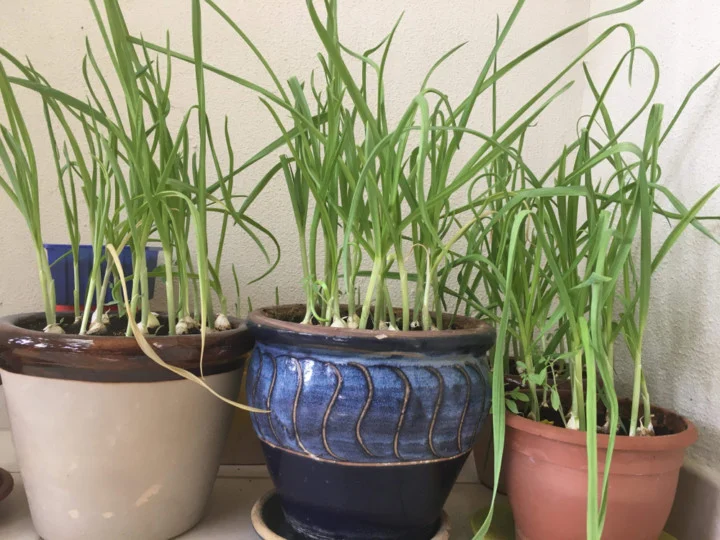
Snip only what you plan to eat. Fresh greens taste best. Use them like chives in eggs, soups, and salads.
Pro tip: Plant a new batch every few weeks. You’ll always have a fresh crop coming.
Path 2: How to Grow Garlic Bulbs
This path takes patience. But it rewards you with real homegrown garlic. Here’s how it goes.
Step 1: Chill Your Cloves
Garlic needs a cold spell to form bulbs. You’ll fake winter with your fridge.
Put whole cloves in a paper bag. Store the bag in the crisper drawer. Keep the fridge between 34 and 40°F. Never use the freezer.
Softneck cloves need two to three weeks. Hardneck cloves need four to eight weeks.
Step 2: Plant Your Cloves
Fill your pot with your potting mix blend. Stir in about 2 tablespoons of granular organic bulb fertilizer. It’s rich in phosphorus, which helps heads size up.
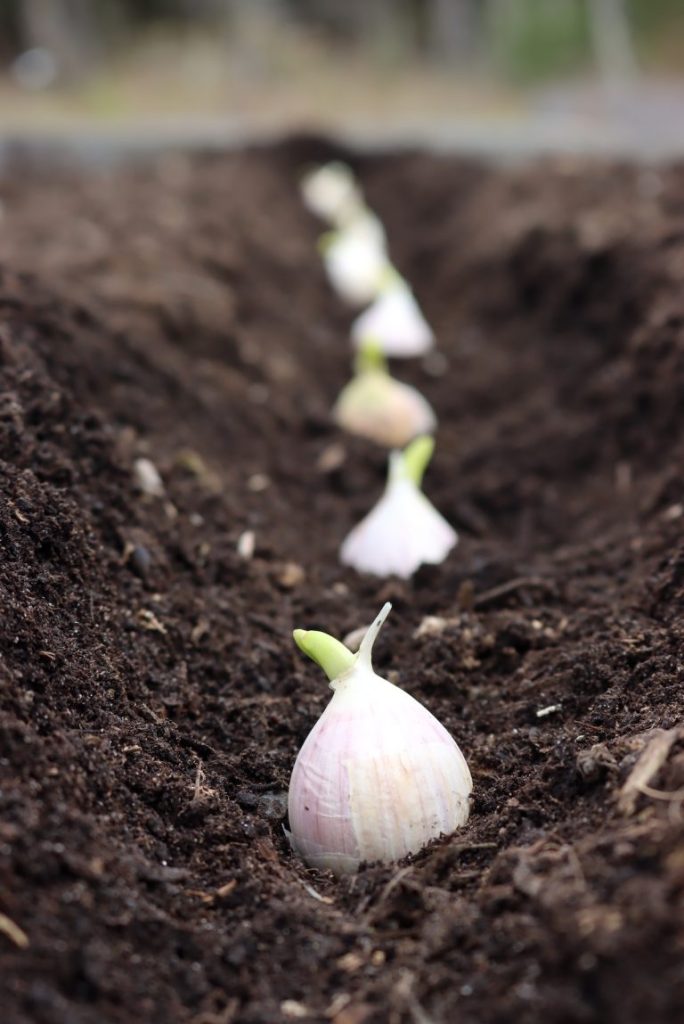
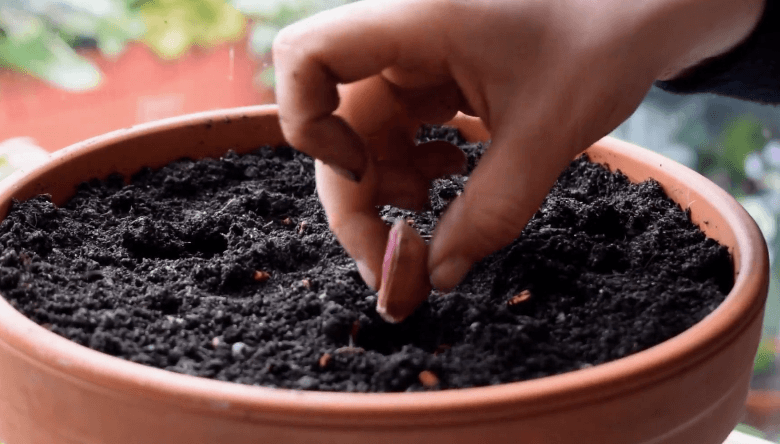
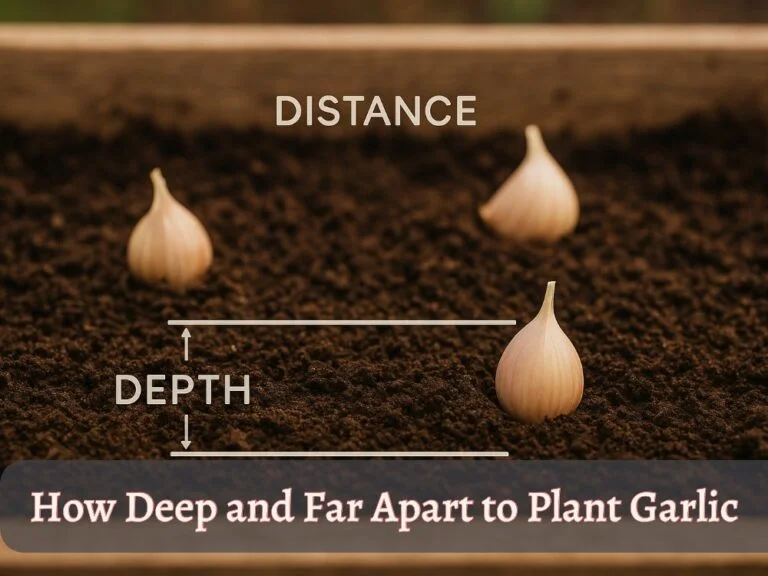
Push each clove into the soil, pointy end up. Plant about 2 inches deep. Space the cloves 3 to 4 inches apart. Crowded cloves make tiny bulbs.
Water well after planting. Then set the pot in your brightest spot.
Step 3: Water and Feed
Water when the top inch of soil feels dry. Soak the pot until water drains out. Then empty the saucer.
Once the shoots stand several inches tall, add another 2 tablespoons of bulb fertilizer. Sprinkle it on top of the soil.
Tall leaves can flop over. Push a bamboo stake into the pot to hold them up.
Step 4: Snap the Scapes
Hardneck garlic grows a curly flower stalk called a scape. Snap it off as soon as it appears. This sends the plant’s energy into the bulb instead.
Softneck garlic skips this step. Lucky you.
Step 5: Harvest Your Bulbs
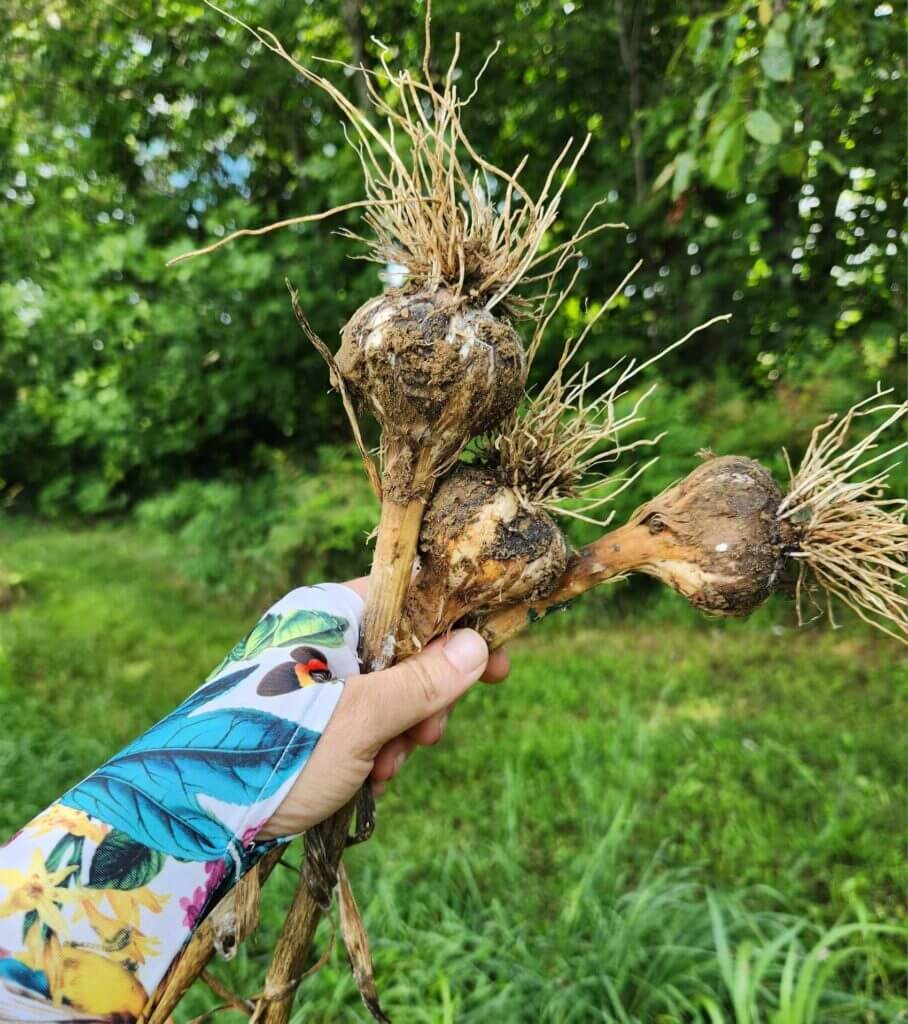
You’ll see the leaves turn yellow. Harvest when about half of them have yellowed. Ease off watering about a week before.
Tip the pot out gently. Don’t yank the bulbs by their stems. Brush off the soil. Don’t wash the bulbs.
Step 6: Cure and Store
Curing makes garlic last. Leave the stems and leaves on. Set the bulbs in a cool, shaded spot with good airflow. Keep them out of direct sun.
Wait three to four weeks. Then trim the tops and roots. Store your garlic in a cool, dry place.
Give Your Garlic Enough Light
Light makes or breaks indoor garlic. Garlic loves sun. Your windowsill needs to deliver.
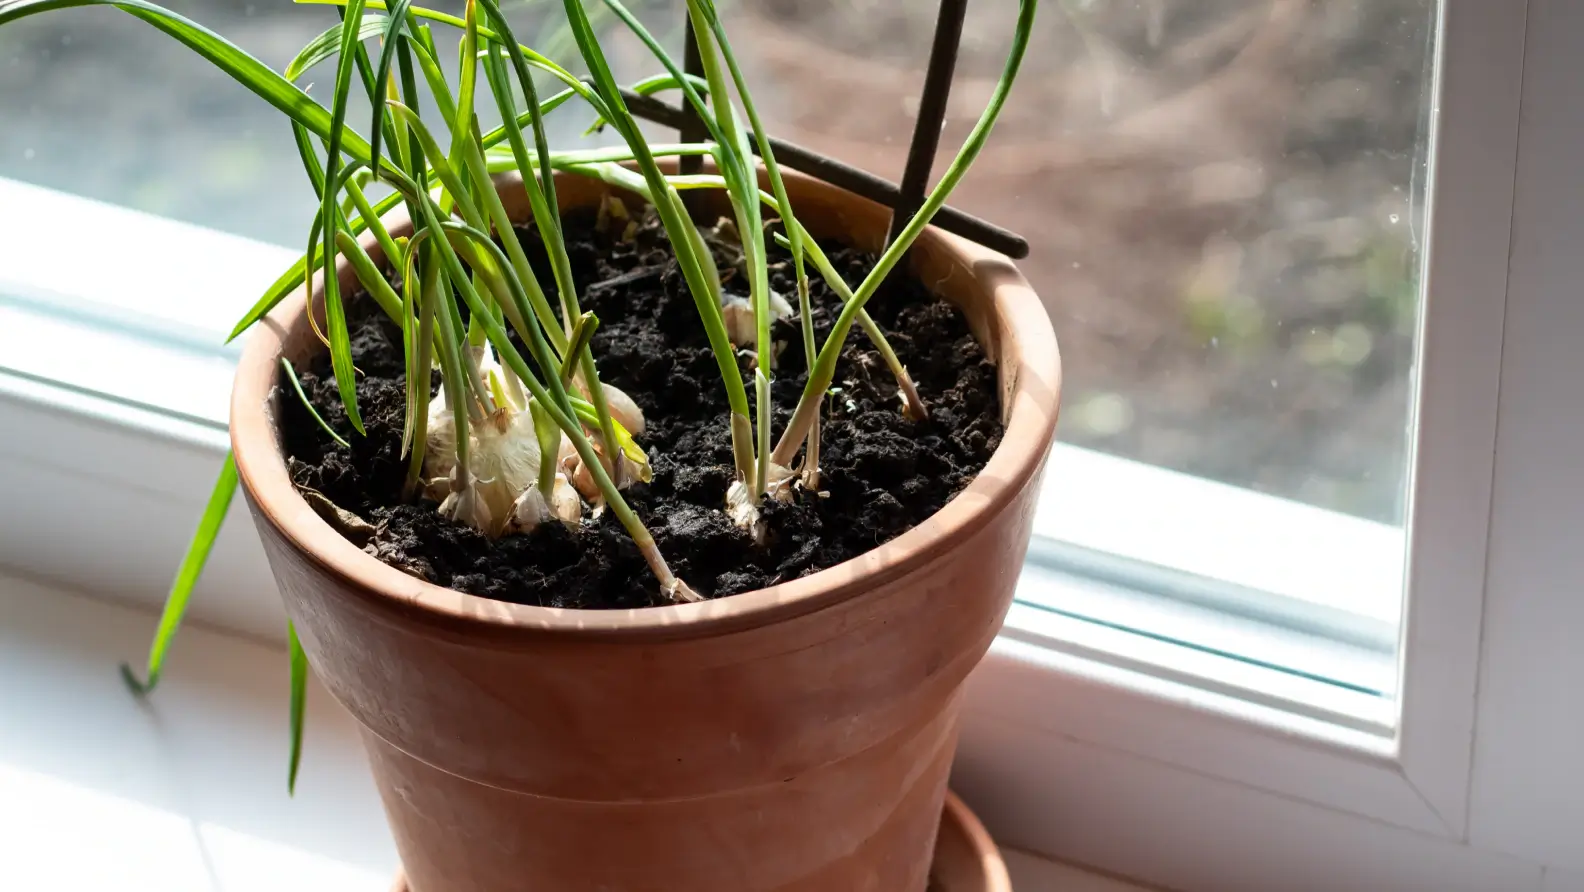
Window light: A south-facing window gives the most light in the Northern Hemisphere. Greens need about four hours of direct sun. Bulbs need six or more.
Grow lights: Not enough sun? Add an LED grow light. Run it 12 to 16 hours a day.
Give your plants at least 8 hours of darkness. A simple outlet timer does the work for you.
Follow the distance printed on your light’s package. Raise the light as the leaves grow. Dry, scorched tips mean the light sits too close.
Warning signs: Pale, floppy shoots that stretch toward the window need more light. Turn your pot a quarter turn every few days. That keeps growth even.
Your Indoor Garlic Timeline
Garlic moves at its own pace. Here’s what to expect on each path.
Garlic Greens Timeline
Day 1: Plant your cloves close together in soil or set them in a jar.
Days 7 to 14: Green shoots rise. Keep the pot in bright light.
Weeks 2 to 3: Shoots reach 4 to 7 inches. Snip the top third and enjoy.
Every few weeks: Plant a fresh batch for steady harvests.
Garlic Bulbs Timeline
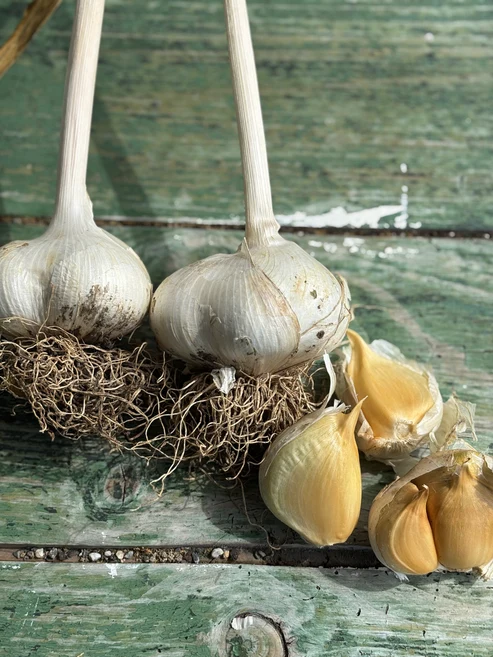
Weeks 1 to 8: Chill your cloves in the fridge. Softneck needs two to three weeks. Hardneck needs four to eight.
Planting day: Plant 2 inches deep and 3 to 4 inches apart. Add bulb fertilizer.
Months 2 to 5: Roots and leaves grow. Water when the top inch dries. Feed once the shoots stand tall.
Months 6 to 7: Hardneck types send up scapes. Snap them off right away.
Month 8: Leaves turn yellow. Harvest when about half have yellowed.
After harvest: Cure the bulbs for three to four weeks before storing.
Common Mistakes and Easy Fixes
Most garlic problems come down to water, light, or timing. Here’s how to spot them and fix them fast.
Mistake: Planting grocery store garlic that never sprouts. Some bulbs are treated to stop sprouting. Switch to organic or seed garlic.
Mistake: Skipping the chill. Without a cold spell, you get leafy tops but no real bulb. Chill the cloves before you plant.
Mistake: Overwatering. Yellow, mushy leaves point to soggy soil. Fungus gnats are another clue. Let the top inch dry out between waterings. Empty the saucer every time. Yellow sticky traps catch the gnats.
Mistake: Underwatering. Dry, crispy leaf tips mean the pot got too dry. Soak the soil until water drains out. Then keep a steady routine.
Mistake: Too little light. Pale, floppy shoots are begging for more sun. Move the pot closer to the window. Or add a grow light.
Mistake: Crowding the cloves. Packed cloves make tiny bulbs. Give each one 3 to 4 inches of space.
Mistake: Snipping the bulb plants. Leaves feed the bulb. Cut greens only from your greens pot.
Don’t panic about this one: Yellow leaves near the end of the cycle are normal. They tell you harvest time is close.
Keep Pets Safe Around Garlic
Garlic is toxic to dogs and cats. Every part of the plant counts, from the leaves to the bulb. Elephant garlic is toxic too.
Signs of trouble include vomiting, weakness, panting, and a fast heartbeat. Keep your pots out of reach. A high shelf or a closed room works well. Snip your greens away from curious pets.
If your pet chews on garlic, call your vet right away. You can also call the ASPCA Animal Poison Control Center at (888) 426-4435. A consultation fee may apply.
Garlic in Pots FAQ
Can I grow garlic indoors all year?
Yes, you can grow greens all year. Plant a new batch every few weeks. Bulbs take about eight months, so each pot gives you one harvest per cycle.
Can I plant a sprouting clove from my kitchen?
Yes, if it’s plump and organic. A clove that already sprouted isn’t treated to stop growth. It makes a great start for a greens pot.
Do I need a grow light?
Not for greens in a sunny window. Bulbs need more light. Add a grow light if your window gives less than six hours of direct sun.
Why are my garlic leaves turning yellow?
Early yellowing usually means too much water or too little light. Check your soil and your window first. Late yellowing means your bulbs are almost ready.
Does indoor garlic smell?
Not while it grows. You’ll notice the scent when you snip a leaf or cut a clove. Your living room stays fresh.
Start Small, Snip Soon
You don’t need a garden to grow garlic. A pot, a bright window, and a few cloves will do. Plant a greens pot this weekend and snip your first harvest in about two weeks.
Tuck a few cloves in the fridge too. In eight months, you’ll hold your own homegrown bulbs.