Fern Care in Winter: Keep Every Type Green Until Spring

Your porch ferns looked amazing all summer. Then the nights turned cold, and now you’re staring at a big, leafy pot wondering what to do.
Good news: you can save it. Winter care just depends on which fern you own.
Some ferns need to move inside before the first cold snap. Others stay outdoors and handle winter on their own.
In this guide, I’ll show you how to sort your ferns, time the move, and prep each one for winter.
Find Your Fern’s Winter Plan
Not every fern needs the same care. Find yours in the list below.
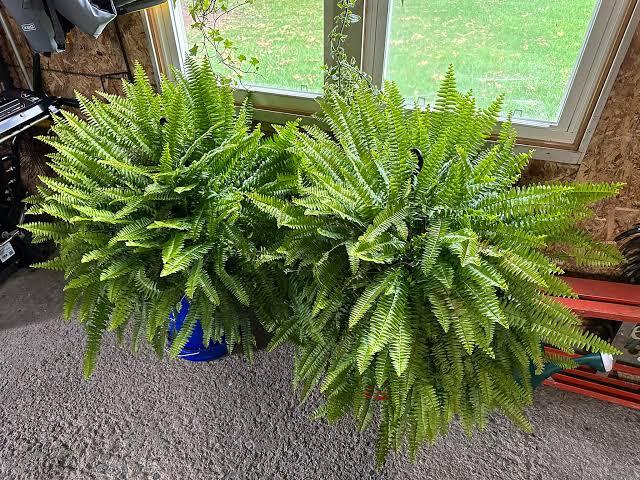
Tender porch ferns. Boston, Kimberly Queen and Macho ferns belong here. They love summer on the porch. They can’t handle frost.

Outside zones 9 to 11, these ferns need to come inside for winter.
Houseplant ferns. Bird’s nest, staghorn, maidenhair, blue star and rabbit’s foot ferns usually live indoors all year. You don’t need to move them. They do need a few winter tweaks.
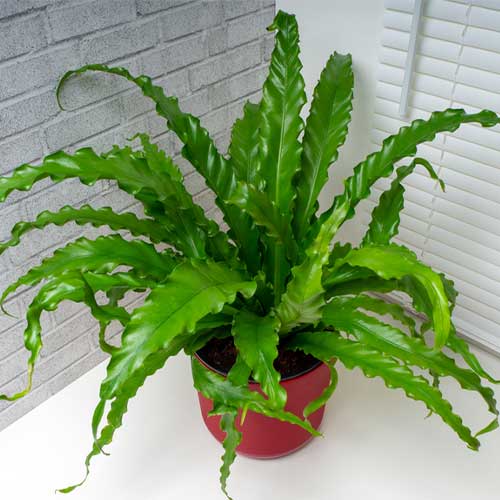
Hardy garden ferns. Autumn, Christmas, ostrich and lady ferns grow in the ground and handle cold on their own. You can skip the move completely. I’ll cover their winter care later in this guide.
Not sure what you have? Check the plant tag. It lists the hardiness zones.
When to Bring Ferns Inside
Don’t wait for frost. By the time frost shows up, your fern is already damaged. Boston ferns handle cool nights, but they won’t survive a hard freeze.

Different growers give different temperature numbers. This simple range works for every tender fern:
- Watch the forecast once nights start sliding toward 55°F.
- Move your ferns in before nights drop below 50°F.
- Treat 45°F as your last call.
Moving early makes life easier for your fern. Outdoor and indoor air feel similar in early fall, so the plant adjusts faster. You also get extra time to check for pests.
Expect a few dropped fronds in the first week. That’s normal. Your fern is just adjusting to its new home.
Did frost catch your fern first? Don’t toss it. The roots may still be alive. Cut off the damaged fronds and bring it inside.
Get Ferns Ready to Come In
A little prep keeps pests out of your house. Spread these steps over a few days before the move.
Inspect. Lift the fronds and look underneath. Check the soil surface and the pot rim too. Watch for fine webbing, white cottony spots and small brown bumps.
Rinse. Pick a warm day, 60°F or higher. Spray the whole plant, including the undersides of the fronds. Flush the pot with water to push out any soil pests.
Let it drain. Give the fronds time to dry. Let the pot drain fully before it goes inside.
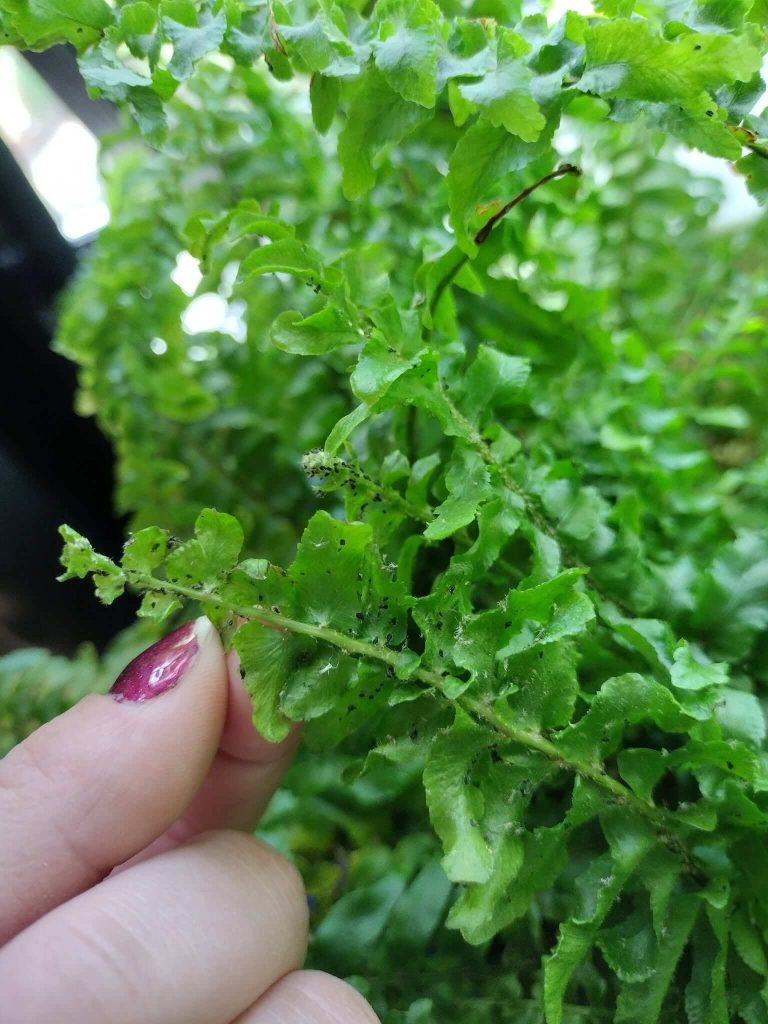
Treat any bugs. Dab mealybugs and scale with a cotton swab dipped in rubbing alcohol. Use insecticidal soap on aphids and mites. Follow the label.
Trim. Pick your trim style in the next section.
Quarantine. Keep the fern away from your other houseplants for the first few weeks. Check it every few days.
Trim Light or Cut Hard?
You have two options. The right one depends on where your fern will spend winter.
Light trim. Choose this if your fern is going to a bright room. Snip off brown or damaged fronds.
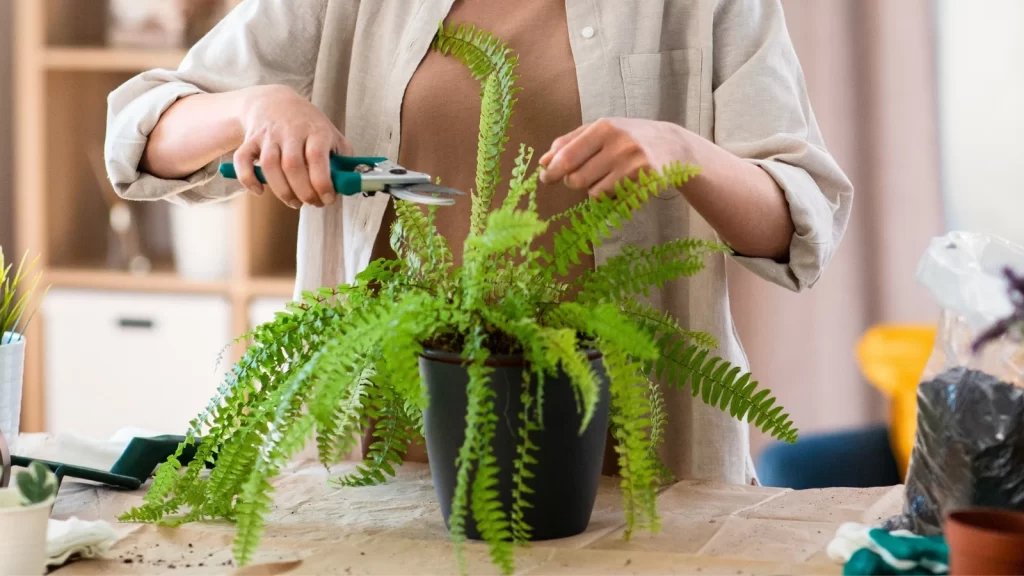
Shorten any long ones that make the pot awkward to move. Then give the plant a gentle shake to drop loose leaves.
Hard cut. Choose this if your fern is heading to a cool garage or basement, or if space is tight. Cut it back by about one-third to one-half.
A shorter fern rests better and makes less mess.
Skip repotting and dividing for now. Save both for spring, when new growth starts.
Best Winter Spot, Light and Temperature
Your fern needs one of two homes this winter. Pick the one that fits your space.
A bright room. This is my first choice if you have room. Your fern stays green and grows slowly. Give it bright, indirect light near a window.
Skip direct sun, since strong rays can scorch the frond edges. An east-facing window works well. So does a spot a few feet back from a south-facing one.
A cool garage or basement. Your fern goes dormant here. It stops growing and rests until spring. It needs very little light, so a small window is enough.
One rule matters most: the space must stay above freezing. A garage that freezes can kill a Boston fern. Hang a cheap thermometer there for a few nights before you commit.
Spots to Avoid
Indoor ferns hate sudden changes. Move yours away from these trouble spots:
- Heating vents. Hot, dry air crisps the fronds fast.
- Drafty doors. Cold blasts stress the plant.
- Cold window glass. Fronds pressed against it can chill and brown.
Expect a few dropped fronds in the first weeks. Some ferns also turn a paler green indoors. Both are normal. They pass as your fern settles in.
Winter Watering
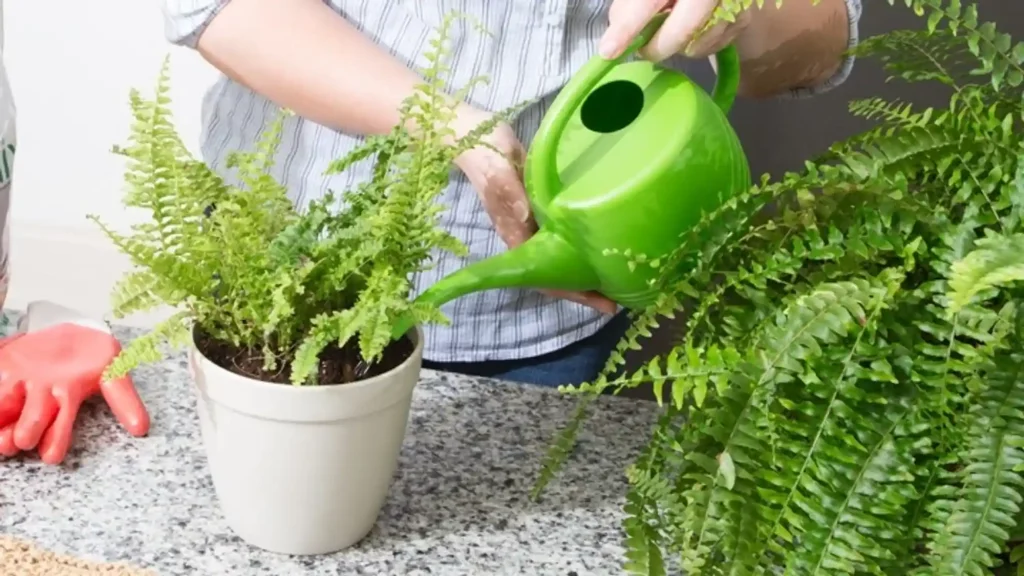
Winter changes how your fern drinks. The plant grows slowly, so it uses less water. Overwatering is the biggest risk now. Ferns rot much faster than they dry out.
Ferns in a bright room. Skip the calendar and use your finger. Water when the top inch of soil feels dry.
Soak the pot until water runs out the bottom. Then empty the saucer. Never let the pot sit in standing water.
Ferns in a cool garage or basement. Water about once a month. Your fern is resting, so it drinks very little.
Check the soil now and then. Don’t let the roots dry out completely.
Heated rooms dry soil faster than cool garages. Your living room fern needs water more often than your garage fern. That’s why your finger beats a schedule.
Fix Dry Air Before It Browns Your Fronds
Dry air is the real winter villain. Most heated homes sit around 30% humidity. Ferns want 40 to 60%.
Brown, crispy tips usually point to dry air, not a watering mistake. You can water perfectly and still see crispy fronds. Here are your options, from strongest to weakest:
- Run a humidifier. This works best by far. Place it near your ferns and let it do the job.
- Group your plants. Plants release moisture into the air around them. A cluster creates a small humid pocket.
- Use a pebble tray. Fill a saucer with pebbles and add water. Keep the water level below the top of the pebbles. The pot sits on the stones, never in the water.
- Mist the fronds. It feels nice, but the boost fades fast. Treat misting as a quick refresher only.
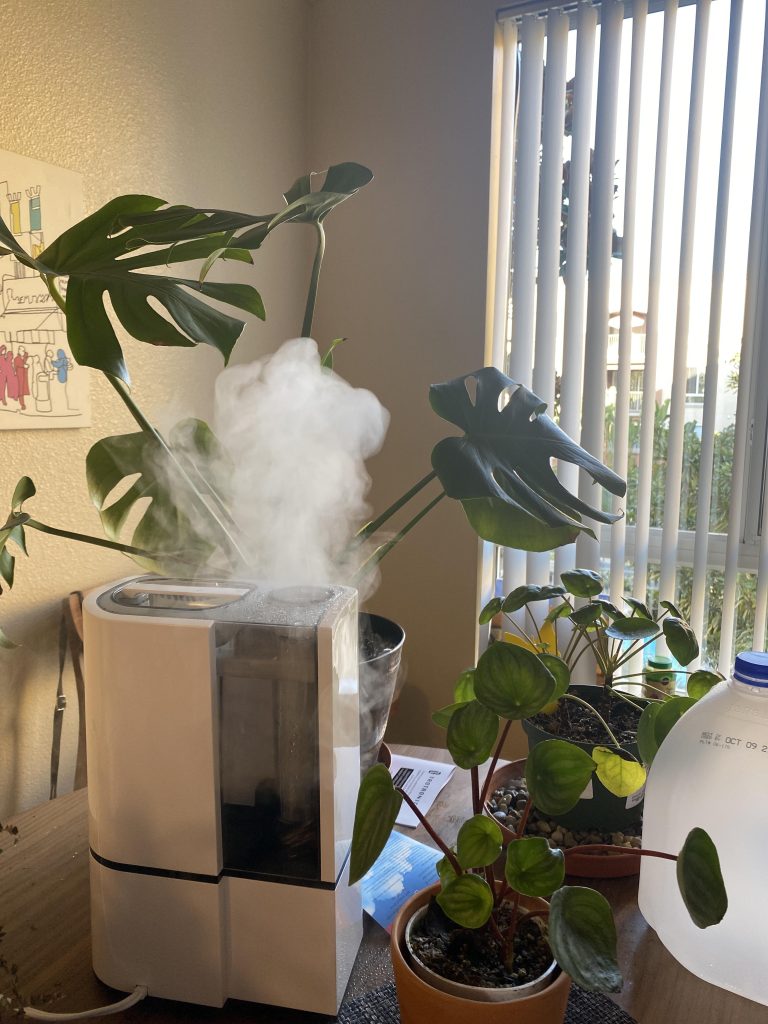
Bathrooms help too. Steam from showers keeps the air moist. A bright bathroom is a great winter home for a thirsty maidenhair fern.
Brown tips won’t turn green again. Trim them off with clean scissors. New fronds will grow in clean once the air improves.
Feeding and Pest Watch
Skip the Fertilizer
Your fern isn’t hungry in winter. Growth slows, so the plant can’t use the extra food. Fertilizer just builds up in the soil and can burn the roots.
Stop feeding now. Wait until you see fresh new fronds in spring. Then you can start again.
Check for Pests Every Week
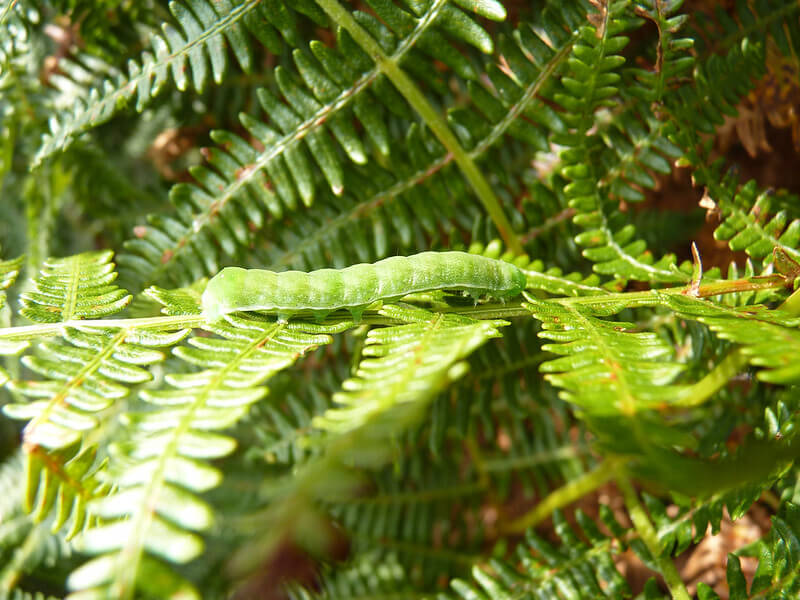
Warm, dry indoor air invites pests. Spider mites love it most. Scale and mealybugs also show up on stressed ferns.
Give your ferns a quick check once a week. Lift the fronds and look underneath. Watch for these signs:
- Fine webbing between the fronds points to spider mites.
- White cottony spots mean mealybugs.
- Small brown bumps on stems or fronds mean scale.
- Sticky leaves signal mealybugs or scale feeding on the plant.
Act fast if you spot trouble. Move the fern away from your other plants. Rinse it well under lukewarm water in the sink or shower.
Dab mealybugs and scale with a cotton swab dipped in rubbing alcohol.
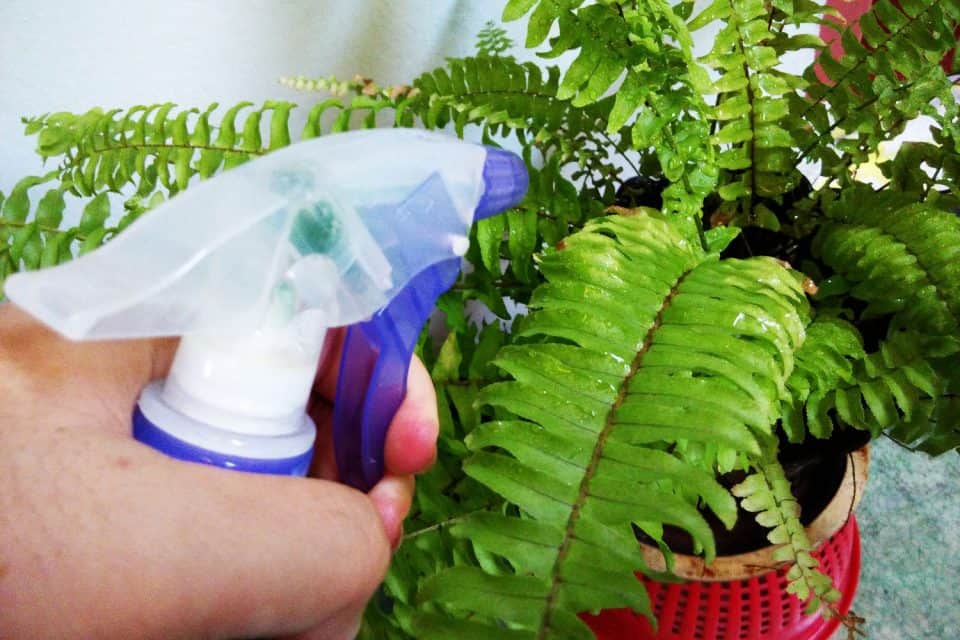
Spray insecticidal soap on mites and other soft-bodied pests. Repeat every week until the bugs are gone.
A badly infested fern may not be worth saving. Letting it go protects the rest of your plants.
Care for Hardy Garden Ferns
Got ferns planted in the ground? You’re off the hook. Hardy ferns handle winter on their own. Your job is simple.
First, know what kind you have. Evergreen and semi-evergreen ferns keep their fronds all winter. Christmas, holly and autumn ferns fit here.
Deciduous ferns lose their fronds. Ostrich and lady ferns are good examples.
Here’s what to do:
- Leave the fronds alone. Old fronds shield the crown from cold. Even brown, flopped-over ones help.
- Add mulch. Spread 2 to 3 inches of shredded leaves or pine straw around the base. Mulch also stops freeze and thaw cycles from pushing crowns out of the ground.
- Wait to cut back. Cutting back ferns is a cosmetic choice. Your plant doesn’t need it.
- Tidy up in late winter. Pick a day before new growth starts. Cut old fronds at the base, about 1 to 4 inches above the crown.
Watch for the new shoots. Fern buds look like tight, curled fiddleheads called croziers. Don’t cut them. They become your new fronds.
Are Your Ferns Safe for Pets?
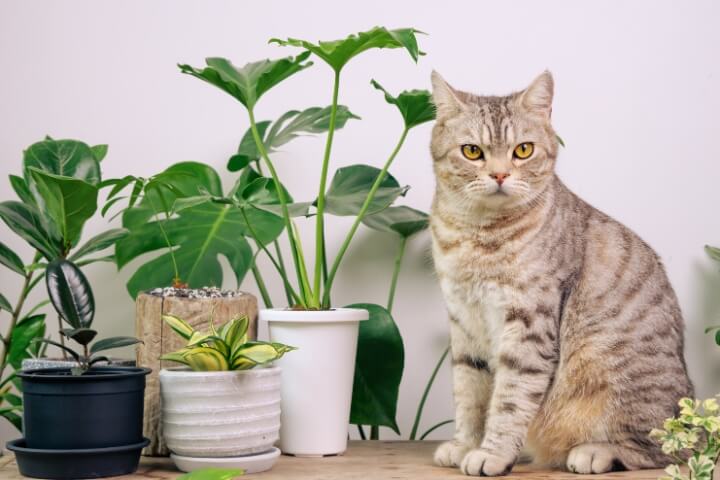
Cats love to bat at dangling fronds. Dogs sometimes chew them. Good news: most true ferns are safe.
Safe for cats and dogs: Boston, button, sword, staghorn, bird’s nest, maidenhair and rabbit’s foot ferns.
Not safe: Asparagus ferns (also called Sprengeri, emerald or lace ferns) and foxtail ferns. They aren’t true ferns, even though the names say so. They can harm cats and dogs.
Even safe ferns can upset a stomach if a pet eats a lot. Hang your ferns up high to protect them from pawing. Call your vet or animal poison control if your pet nibbles a toxic plant.
Winter Fern Troubleshooting
Something looks off? Match your fern’s symptom below.
Brown, crispy tips. Dry air is the usual cause. A heating vent can also be the problem. Run a humidifier and move the pot away from the vent. Trim the brown tips with clean scissors.
Yellow fronds. Wet soil or low light often causes this. Check the soil before you water again. Make sure the pot drains well. Move the fern to a brighter spot if the soil isn’t soggy.
Dropping fronds. Some drop is normal during the first few weeks inside. Your fern is adjusting. If it keeps dropping fronds after that, look for drafts or sudden temperature swings.
Thin, stretched fronds. Your fern is reaching for light. Move it closer to a bright window. Keep it out of direct sun.
Sticky leaves. Mealybugs or scale are likely feeding on your plant. They leave a sugary residue called honeydew. Dab the bugs with rubbing alcohol on a cotton swab.
Fine webbing. Spider mites are at work. Rinse the whole plant well. Spray insecticidal soap every week until the webs disappear.
White crust on the soil. Salts have built up in the pot. Scrape off the crust and replace the top inch of soil with fresh potting mix. Skip fertilizer until spring.
Your Month-by-Month Fern Calendar
Print this one or pin it. These dates fit cold-winter climates, around zones 5 to 7. Shift them a few weeks earlier or later for your area.
- Late September to early October. Inspect, rinse and trim your tender ferns. Start the quarantine. Move them in before nights drop below 50°F.
- October to November. Let your ferns settle in. Expect a few dropped fronds. Stop fertilizing.
- December to January. Water by touch, or monthly for dormant ferns. Run the humidifier. Check for pests every week.
- Late winter. Trim old fronds on your garden ferns. Watch for fiddleheads on the hardy ones. Look for fresh growth on your indoor ferns.
- February to March. Repot ferns that have filled their pots. Divide big clumps. Start feeding at half strength once new fronds appear.
- April to May. Wait until frost danger passes. Then move your ferns outside slowly. Start them in shade for about a week. Give them more light each day after that.
FAQ
Can I leave my Boston fern outside for winter?
Only if you live in zones 9 to 11. Elsewhere, a Boston fern can’t survive a freeze. Bring it inside before nights turn cold.
Do ferns die in winter?
Hardy deciduous ferns die back, then return in spring. Tender ferns die if frost hits them. Indoor ferns don’t die, but they slow down a lot.
Should I cut back my fern for winter?
It depends on where your fern will live. Cut hard if it’s heading to a cool garage or a tight spot. Trim lightly if it’s going to a bright room. Hardy garden ferns need no cutting until late winter.
How often should I water ferns in winter?
Water ferns in a bright room when the top inch of soil feels dry. Water ferns in a cool garage about once a month. Never let any fern sit in standing water.
Why is my fern turning brown indoors?
Dry air causes it most of the time. Heated rooms often sit near 30% humidity. Run a humidifier and keep your fern away from vents and drafts.
Ready for Spring
Winter care for ferns comes down to three things: good timing, steady water and moist air.
Get those right, and your fern comes back fuller than any new one at the garden center.
Pick your spot, grab your watering can, and give your ferns the head start they deserve.