Peace Lily Pruning Guide: What to Cut, What to Keep, and When

Your peace lily looks lovely, then you spot a yellow leaf, a crispy brown tip, and a white flower that has gone limp.
Do you cut them? Which ones? And how close to the soil?
Most people freeze at this point because they fear hurting the plant. Relax. Peace lily pruning is quick, low risk, and easy once you know what to look for.
This guide shows you what to cut, what to leave alone, and how to keep your plant full and glossy all year.
Does a Peace Lily Really Need Pruning?
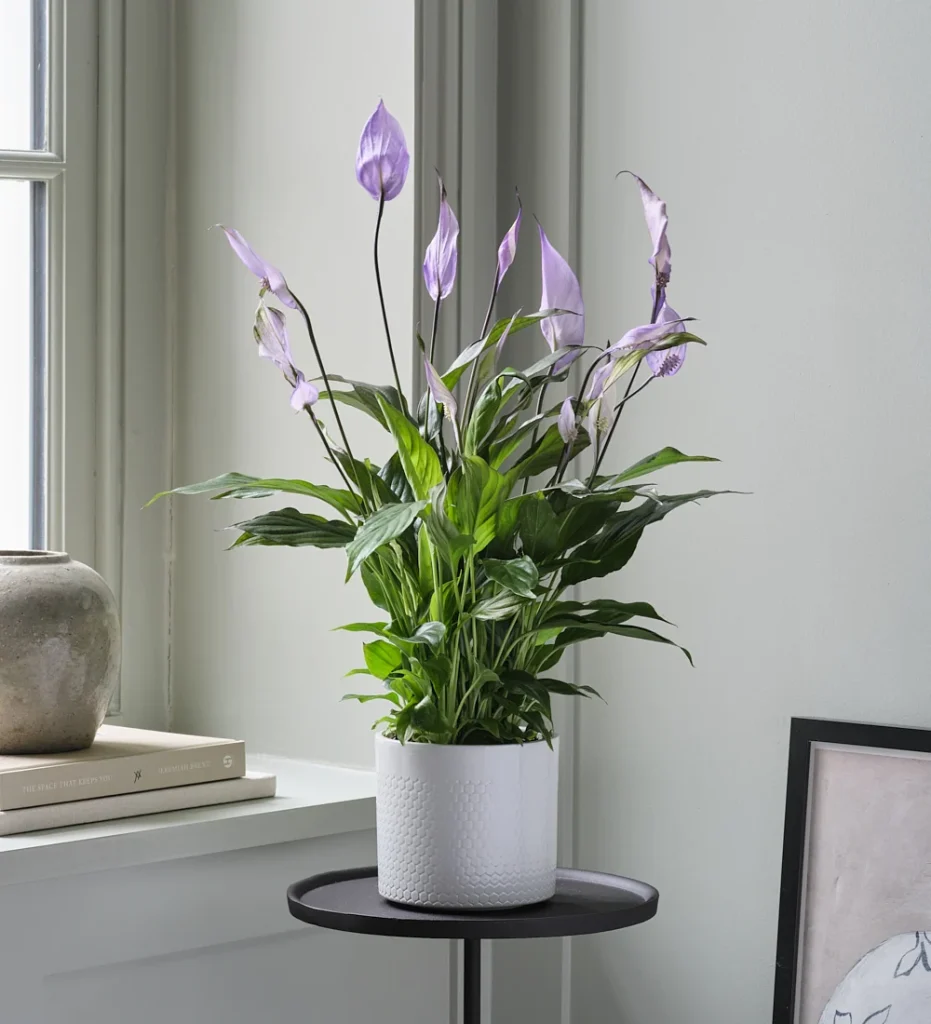
Not as much as you think. A peace lily has no branches to shape. Every leaf and flower rises straight from the soil on its own stalk. So pruning here means grooming, not shaping.
Grooming still pays off. Dead leaves hold moisture, which invites rot and gives pests a place to hide. Old flowers keep drawing energy from the plant.
Clear them out, and your lily puts that energy into fresh leaves and new blooms. Air also moves better through the center of the clump.
Pruning won’t force a flower, though. Light and steady watering decide that. Pruning just clears the way.
Also read: Repotting Peace Lily: When to Do It and Exactly How
When to Prune a Peace Lily
You don’t need a calendar. Cut whenever you see something finished. A quick check at each watering is plenty.
Light grooming works any time of year. Cut a yellow leaf the day you spot it. Cut a flower once the white bract turns green and starts to wilt.
Save bigger trims for spring and summer. Your plant grows fast then and replaces lost leaves quickly. In winter, growth slows. Keep your cuts light and take only what is clearly dead.
Read more: Peace Lily Care Indoors: How to Stop the Droop and Get More Blooms
Read Your Plant Before You Cut
Not every problem calls for scissors. Some call for a change in care. Use this guide before you snip.
One yellow leaf low on the plant: This is normal aging. Cut it off at the base.
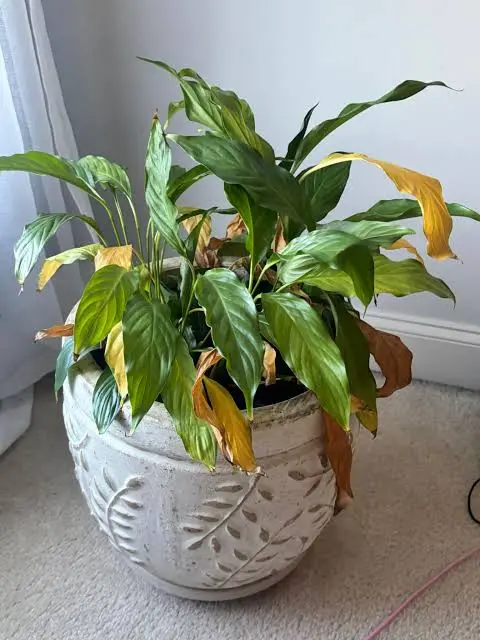
Several yellow leaves at once: Check the soil first. Soggy soil means overwatering, and trimming won’t fix that. Let the top inch dry out, then remove the damaged leaves.
Brown, crispy tips on green leaves: Tap water minerals, dry air, or fertilizer salts usually cause this. Trim the tips, then fix the cause, or they will keep coming back.
Drooping but green leaves: Your plant is thirsty. Water it well and the leaves usually perk up within hours. Don’t cut them.
A white flower turning green and floppy: It’s done. Time to deadhead.
Dark, mushy stems at the soil line: This points to rot. Pruning won’t solve it. Check the roots and repot into fresh mix.
Also read: How to Repot a Peace Lily
What You Need Before You Start
You need very little. Gather these four things first.
Sharp scissors or small pruners: Dull blades crush stems and invite disease.
Rubbing alcohol and a clean cloth: Wipe the blades before you start. Wipe them again between cuts if any leaf looks diseased.
Gloves: Peace lily sap contains calcium oxalate crystals that can irritate your skin.
A small bag or bowl: Collect every clipping right away. Pets and kids should never find them.
How to Prune a Peace Lily: 7 Simple Steps
This takes about ten minutes. Work from the bottom of the plant up, and save the flowers for last.
Step 1: Wipe Your Blades and Put On Gloves
Clean your scissors with rubbing alcohol. Let them dry for a few seconds. Then slip on your gloves. The sap can irritate bare skin, so don’t skip this part.
Step 2: Check the Base of the Plant
Lift the lower leaves and look at the base. Small new leaves sometimes die off here, and old leaves often turn yellow first. This spot also hides pests.
Look for white cottony bits (mealybugs) and small brown bumps (scale). If you find them, dab each one with a cotton swab dipped in rubbing alcohol.
Step 3: Remove Yellow and Dead Leaves
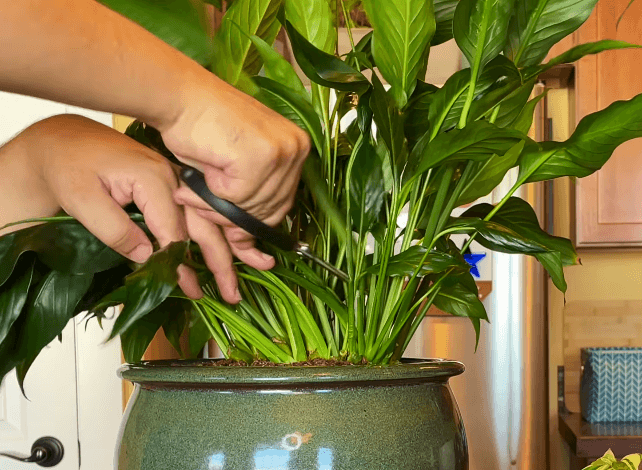
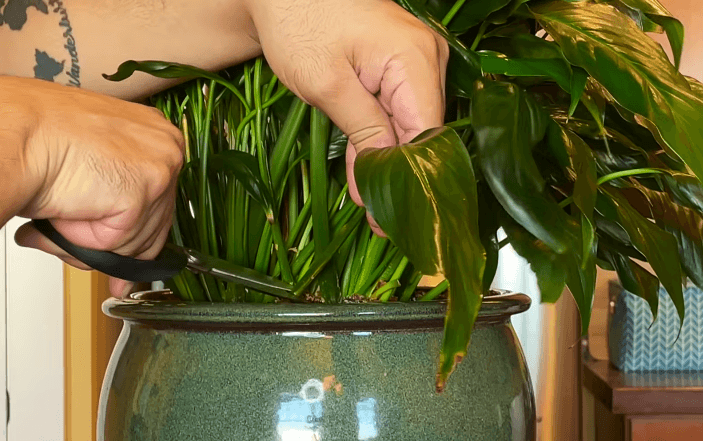
Follow the leaf stalk down to the soil. Cut it as close to the base as you can without nicking the leaves next to it. If the stalk joins a main stem, cut at that stem instead.
Don’t leave stubs behind. They look messy and hold moisture. Once a leaf turns fully yellow or brown, it won’t green up again, so don’t wait.
A leaf that is only partly yellow is different. If the rest of it is firm and green, leave it for now. It still feeds the plant.
Step 4: Trim Brown Tips
Cut along the natural curve of the leaf. Keep the tip pointed. A flat, blunt cut stands out against the other leaves and looks like a mistake.
If most of a leaf has turned brown, remove the whole leaf instead.
Trimming only fixes the look. The brown will return unless you fix the cause. The mistakes section below covers that.
Step 5: Deadhead Spent Flowers
Each white flower sits on its own long stalk. Wait until the white bract turns green and starts to wilt or brown. Then follow the stalk down through the leaves to the soil.
Cut it off at the base, as close to the soil as you can. Never snip just the flower head. The leftover stalk will look bare and stiff for weeks.
The stalk may still look green. Cut it anyway. Old stalks never flower again.
Try a slight angle on the cut. Water can’t pool on an angled surface, which lowers the risk of rot.
Step 6: Thin Out Crowded Growth
Most plants don’t need this step. If yours has become a thick mass of leaves, start with the oldest outer leaves.
New growth rises from the center, so the outside leaves matter least.
Never remove more than about a quarter of the leaves at once. Leaves feed the plant. Taking too many shocks it. For a big reduction, work in rounds with a rest between each one. Spread them over several months.
A packed clump can also mean the roots have run out of room. Cutting leaves won’t fix that. The plant needs a bigger pot or a division.
Also read: How to Repot a Peace Lily
Step 7: Clean Up and Finish Strong
Bag every clipping right away. Wash your hands with soap and warm water. Wipe your blades again.
Next, wipe the remaining leaves with a damp cloth. Dust blocks light, and clean leaves look glossier. Water as usual. Check the plant again in two or three weeks.
Quick Cut-or-Keep Reference
Fully yellow or brown leaf: Cut at the base.
Brown tip on a green leaf: Trim along the leaf shape.
Green, wilting flower: Cut the whole stalk at the base.
Healthy green leaf: Leave it alone.
Common Peace Lily Pruning Mistakes (and Fixes)

Most pruning problems come from a handful of habits. Here’s what to avoid.
Removing too many leaves at once: Leaves feed the plant. Stripping off more than about a quarter of them in one go shocks it. Spread big cleanups over several rounds with rest in between.
Trimming brown tips without fixing the cause: This is the big one. You can snip tips all day, and new ones will keep appearing. Tap water is the usual culprit.
Most city water carries fluoride and chlorine, and peace lilies react to both. Switch to filtered, distilled, or rain water.
Check that your filter actually removes fluoride, because many don’t. Letting tap water sit overnight releases some chlorine, but it won’t remove fluoride.
Other causes are worth ruling out too.
- Dry air: Set the pot on a tray of moist pebbles or run a humidifier nearby.
- Fertilizer buildup: Salts collect in the soil and burn leaf tips. Flush the pot with plain water and feed only every six weeks or so in spring and summer.
- Harsh sun: Direct afternoon rays scorch leaves. An east-facing window gives bright light without the burn.
Give it a few months. Fluoride already in the soil lingers, but new leaves will grow in clean.
Cutting leaves that only need water: A drooping, floppy peace lily is usually thirsty. Water it thoroughly and the leaves bounce back within hours. Save your scissors for leaves that stay limp after a drink.
Treating yellow leaves as a pruning problem: One old yellow leaf is normal. A cluster of them points to overwatering. Let the top inch of soil dry out before the next drink.
Empty the saucer too. Peace lilies like moist soil, but they hate sitting in water.
Using dull or dirty blades: Dull scissors crush stems. Dirty ones spread disease from plant to plant. Sharpen or replace them, and wipe them with rubbing alcohol before every session.
Pet and Skin Safety After Pruning
Every part of a peace lily holds tiny calcium oxalate crystals. That includes the leaves, stalks, and flowers. The sap can irritate your skin, and chewing a piece causes mouth pain, drooling, and vomiting in cats, dogs, and kids.
Make these habits part of every trim.
- Wear gloves while you cut.
- Wash your hands with soap and warm water afterward.
- Rinse your eyes with clean water if sap splashes them.
- Seal clippings in a bag and move them out of the house. Pets love to chew fallen leaves.
- Keep the plant on a shelf or stand where pets and toddlers can’t reach.
If your pet chews on the plant, call your vet or a pet poison hotline right away.
Peace Lily Pruning FAQ
Can I cut a peace lily all the way back?
Yes, but do it in stages. Removing every leaf at once shocks the plant. Take out the worst leaves first, wait a few weeks, and repeat.
Should I trim brown tips or remove the whole leaf?
Trim the tips if the rest of the leaf is green. Follow the leaf’s natural shape and keep the point. Remove the whole leaf when most of it has turned brown.
Will pruning make my peace lily bloom more?
It helps. Removing spent flowers sends energy back into new growth. Light matters more, though. If your plant makes leaves but no flowers, move it to brighter indirect light.
Do I cut the flower stalk while it’s still green?
Yes. Once the bract has faded, that stalk is finished. It won’t bloom again, so cut it at the base.
Can I prune a peace lily in winter?
Yes, but keep it light. Remove only clearly dead leaves and flowers. Save bigger trims for spring and summer, when the plant grows fast.
Final Thoughts
Peace lily pruning takes about ten minutes and very little skill. Grab clean scissors, check the base, and snip only what’s finished. Your plant will thank you with glossy new leaves and fresh white blooms.